



 My Orders




7MMVWB855EC3 Maytag Washer - Overview
Diagrams for 7MMVWB855EC3
See every part. Know exactly what you need.


Enter a part description. DIY Heroes keep it simple, eg. "belt" or "pump".
Search filter:
Clear Filter
Your search term must have 3 or more characters.

$69.91
In Stock
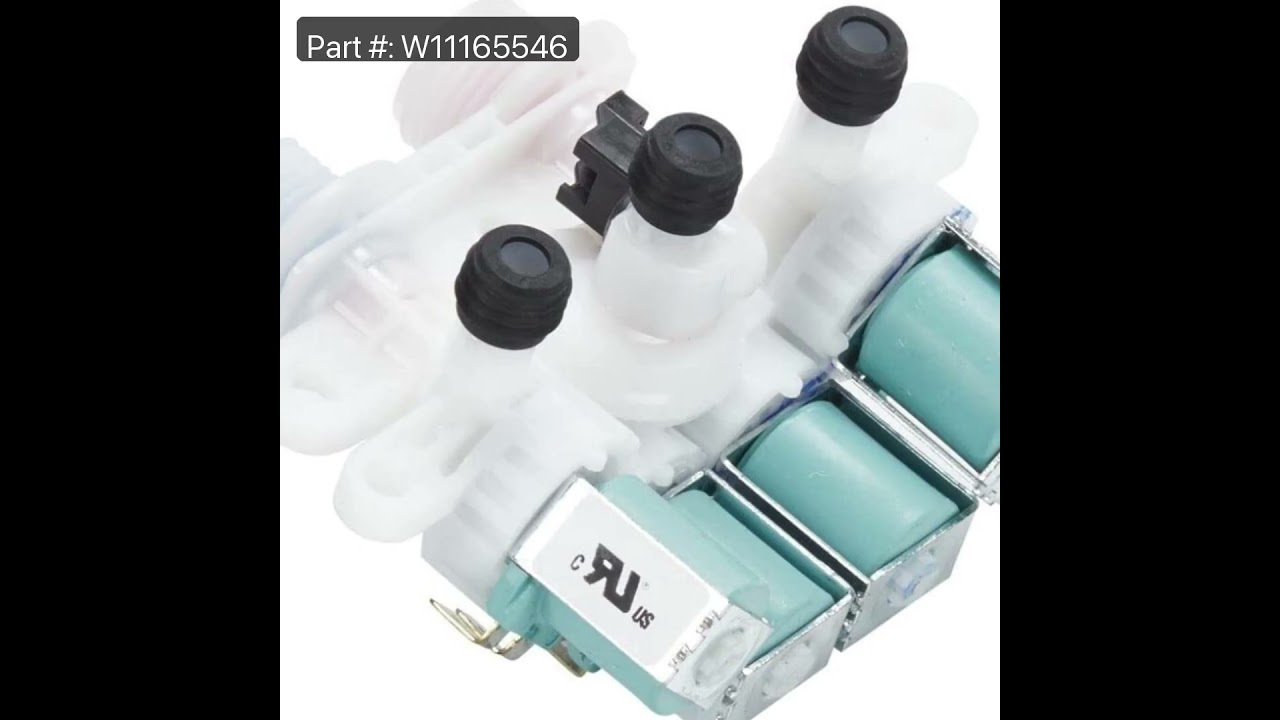
Water Inlet Valve
Part #W11165546
This is an inlet valve for your washing machine. The inlet valve is an electrically controlled valve with a solenoid that opens and closes as needed, during the water filling cycle of the washing machine. This inlet valve features two inlets, one for hot and one for cold water, and three push-on valves that connect within your washing mac...Read morehine. If your washer is having issues filling or is leaking water from the area of the inlet valve, it needs to be replaced immediately. Replacing this valve will require a screwdriver and a wrench to replace. This inlet valve is an OEM part and is sold individually.
Read less

$9.62
In Stock
Hose Clamp
Part #WP285655
The hose clamp is used to hold the water hose in place which will prevent the hose from leaking water. Sometimes the clamp may lose its ability to latch on, causing a leaking washer. For the installation, you will need a flat head screw driver to replace the clamp and a drill to access the screws to remove the front of the washer. Be care...Read moreful if you do not have specific clamp pliers as the clamp could fly off. Once the front of the washer has been removed, take a quick look for water damage or any obvious signs of where the leak is coming from. If it is not obvious, run water to test.
Read less

$7.47
In Stock

$9.62
In Stock
Impact Absorber
Part #WP8564458
This is an impact absorber, also known as a sound dampening pad, for washing machines. This sound dampening pad attaches to the top of your washing machine drum to reduce the severity and harshness of vibrations and movement during the washing and spinning cycle, to produce a quieter laundry experience. If your washer is shaking excessive...Read morely during operation, this pad may be worn out or simply missing, and in need of replacement. To replace this pad, you will need a screwdriver or wrench to access the inner portion of your washing machine and remove the old one and install the new one. This OEM pad measures 5-inches by 3-inches and is sold individually.
Read less

$26.82
In Stock
Washer Drain Hose
Part #W11244231
The drain hose carries used water from the washer to your house drain.

$48.45
In Stock
SLIDER
Part #W10734521
This clutch slider kit is genuine OEM replacement kit that fits in various models of washing machine. It is a part of the transmission system in your washer which is responsible for controlling the movement of the agitator during the wash and spin cycles. The assembly includes the clutch band, slider, and lock ring. The kit helps to regul...Read moreate the speed and direction of the agitator or drum. It allows the machine to start and stop spinning smoothly, as well as change speeds as needed during the wash and spin cycles. If the clutch slider kit has worn or damaged components, it can lead to problems like difficulty starting or stopping the machine, excessive noise during operation, or failure to spin properly.
Read less

$103.58
In Stock
Water-Pump
Part #W10876600
This drain pump is specially designed to fit in top load washing machines. It is responsible for removing water from the washer tub during the drain cycle and directing it to the household plumbing system through the drain hose. If you notice longer draining times, grinding or rattling sounds, or standing water in the tub at the end of a ...Read morecycle, the drain pump is likely faulty. This may be due to several reasons such as normal aging, wiring problems or physical damage. It is also common for the drain pump to become clogged with small items such as coins or buttons.
Read less

$21.45
In Stock

$21.45
In Stock
Washer Wire Hinge
Part #WP8563965
This lid hinge is a genuine OEM replacement part for your washing machine. This hinge is for the left side of your lid, although it is a good idea to replace btoh hinges at once. The hinge holds up the washing machine lid and can become rusted over time. This repair is rated easy by our customers.

No Longer Available
Spray Paint - 12 oz. - White
Part #350930
Appliance spray paint is a great way to cover up any chips and scratches that have appeared on your appliances. Instead of replacing the part entirely, this is an easy fix. This is also a great way to give a fresh new look to any handles or areas that have discoloring due to wear. Make sure to clean the area before you begin and wear a pr...Read moreotective mask for safety. Give the can a good shake and spray a few inches away from the surface. Apply the paint until the area is fully covered as desired. Wait until the paint has dried before using the appliance.
Read less

$98.24
In Stock
CLUTCH
Part #W10754448
This is a clutch designed for use within top-load washers. The clutch is used to engage the transmission of your washer during the agitation and spinning cycles, to ensure it runs properly. If your washing machine is not agitating or spinning properly, the clutch could be the problem, and it will need to be tested and then potentially rep...Read morelaced. To replace the clutch in your washing machine, you will need to disassemble your washer from underneath, and will need a socket wrench and screwdriver as a result. This clutch is an OEM part and is only sold with a single securing screw.
Read less

$21.45
In Stock
Washer Wire Hinge Right Side
Part #WP8572974
Introducing Whirlpool's Genuine OEM Wire Hinge, which is specifically designed for the right side of your washer. This essential component enables your washer lid to effortlessly pivot open and close, establishing the necessary connection between the lid and the top panel. Manufactured with precision, it bears the unique Whirlpool endurin...Read moreg quality, intended to serve some models of Whirlpool, KitchenAid, Maytag, Jenn-Air, Amana, Inglis, and Magic Chef. Despite similar appearances, minor variations in size and shape can exist among parts, thus verifying the model compatibility before order placement is suggested. Installation of this lid hinge may necessitate work gloves for hand protection. Boost the functionality of your Whirlpool washer with this expertly engineered Right Side Wire Hinge.
Read less
Common Symptoms of the 7MMVWB855EC3
How this model fails, and the parts that fix it.
Leaking
Fixed by
these parts
these parts


Show All
Water Filling Issues
Fixed by
these parts
these parts
Show All
Lid or door won’t close
Fixed by
these parts
these parts


Show All
Will not drain
Fixed by
these parts
these parts

Show All
Shaking and Moving
Fixed by
these parts
these parts


Show All
Will not agitate
Fixed by
these parts
these parts


Show All
Spinning Issues
Fixed by
these parts
these parts
Show All
No hot or cold water
Fixed by
these parts
these parts
Show All
Draining Issues
Fixed by
these parts
these parts
Show All
Will Not Start
Fixed by
these parts
these parts

Show All
Cycle Not Advancing
Fixed by
these parts
these parts
Show All
Locking Issues
Fixed by
these parts
these parts
Show All
Noisy and Marks Left on Clothes
Fixed by
these parts
these parts
Show All
Spins slowly
Fixed by
these parts
these parts
Show All
Watch our pros, then fix it yourself.
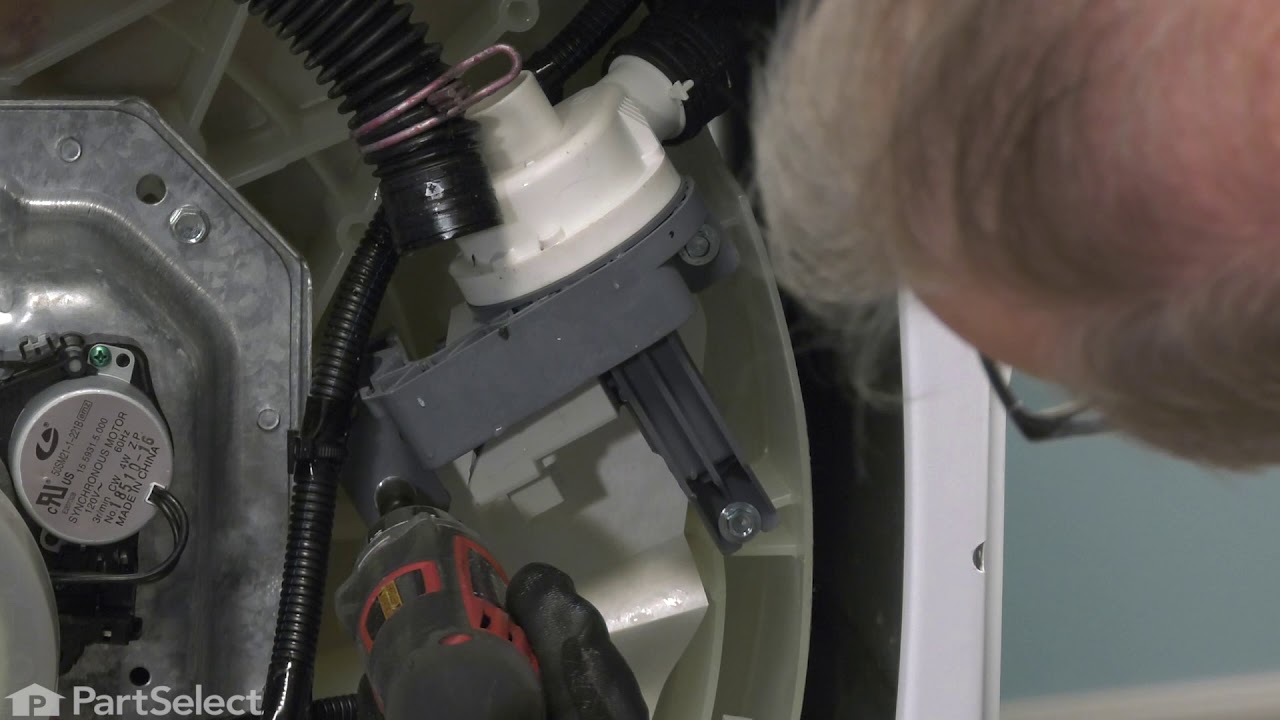
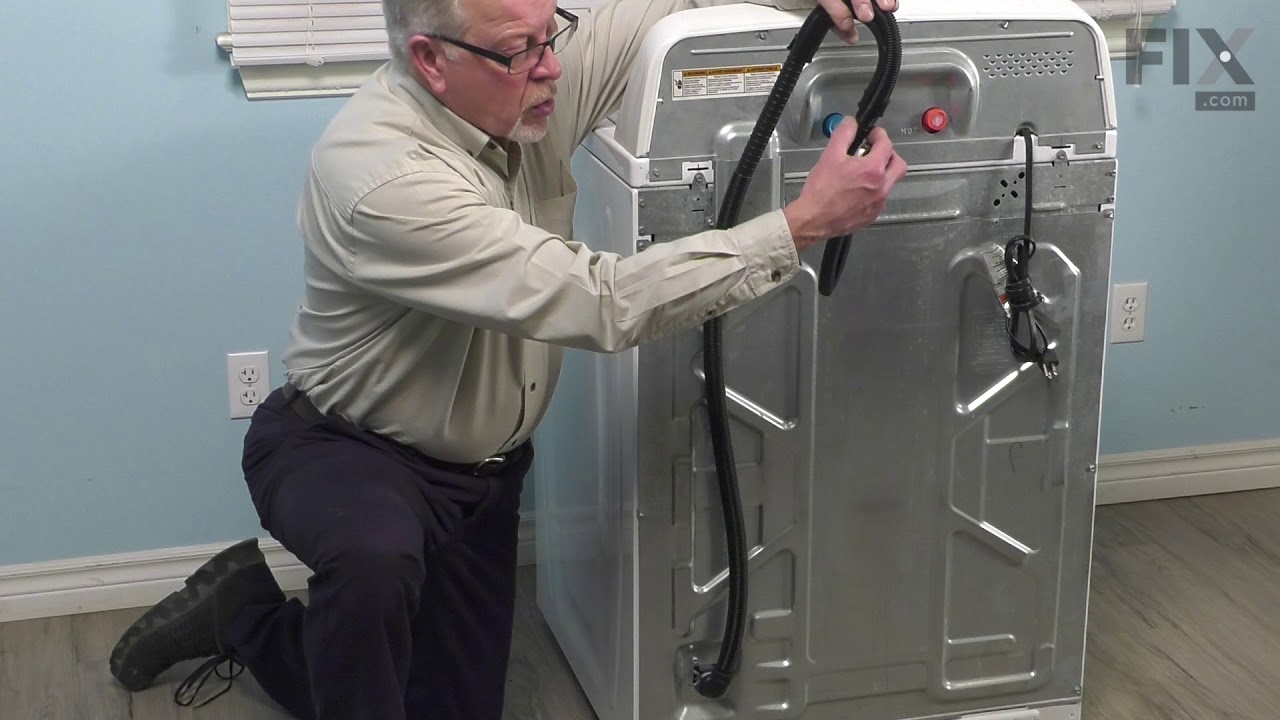
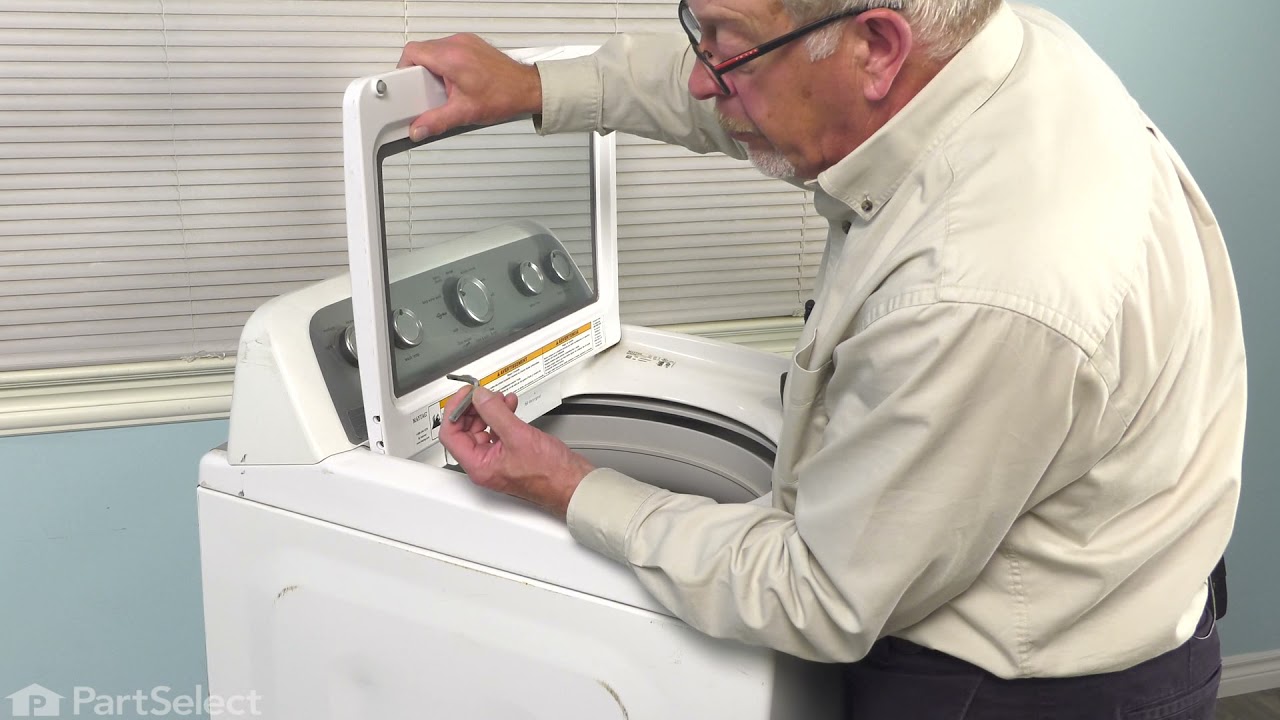

See how others fixed this model. Time, tools, difficulty, and steps that lead to victory!
View More