


 My Orders




79691362910 Kenmore Dryer - Overview

Enter a part description. DIY Heroes keep it simple, eg. "belt" or "pump".
Search filter:
Clear Filter
Your search term must have 3 or more characters.

$36.85
In Stock
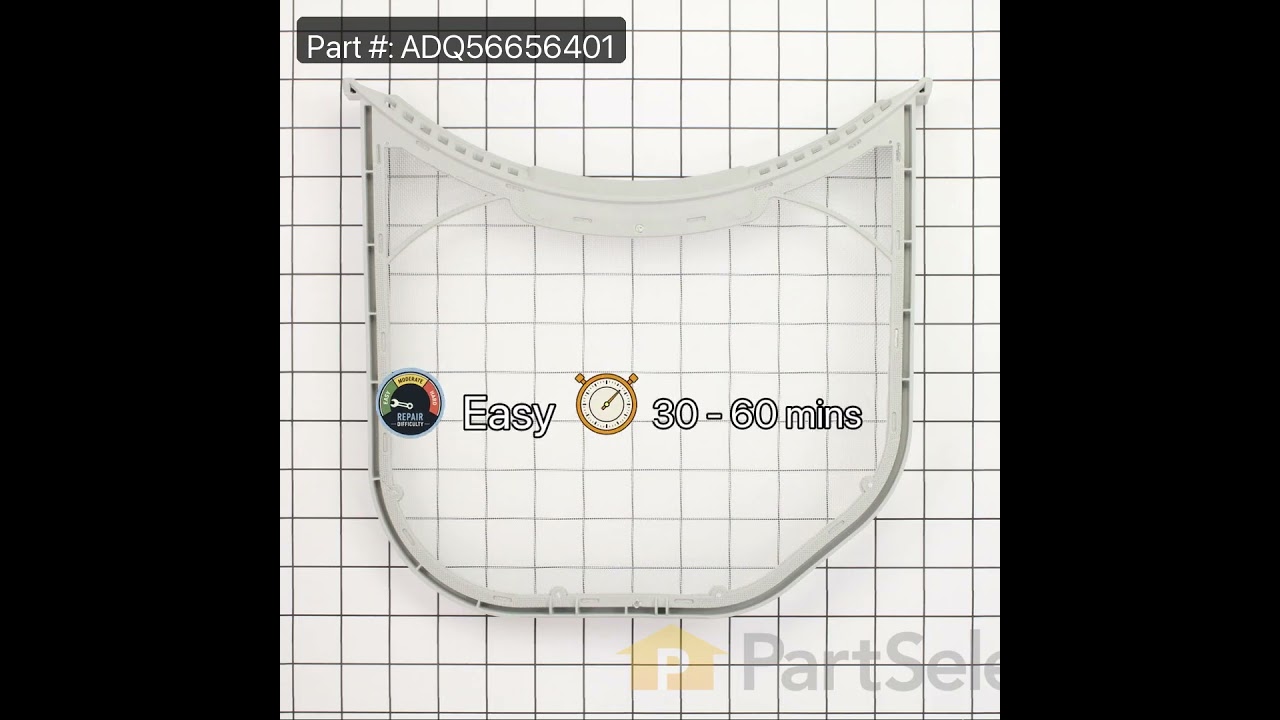
Dryer Lint Filter
Part #ADQ56656401
This dryer lint filter assembly captures lint, hair, and loose fabric fibres as air leaves the drum. Its fine mesh screen allows air to pass through while collecting debris for easy removal after each load. A torn screen, cracked frame, or warped edge may let lint bypass the filter or prevent it from seating properly. Replacing a damaged ...Read moreassembly restores the screening surface and secure support. Cleaning collected lint after every load helps maintain airflow and supports normal drying times during everyday use. This is an OEM part sourced directly from the manufacturer.
Read less

$144.76
In Stock
4 PACK ROLLER ASSEMBLY
Part #4581EL2002L
This part is sold individually. The drum support roller is found in your dryer. It is used to hold the drum in place in the cabinet while letting the drum rotate on the support rollers. It is recommended that you replace both rollers at once. You may notice that this part needs to be replaced if you are experiencing a squeaking noise, whi...Read morech could be due to the bearing going bad. The bearing could be severely damaged if you hear a very loud thumping noise, much like you would when you are drying a pair of shoes.
Read less

$48.35
In Stock
Lint Screen Housing
Part #MCK49049101
Clothing stays separated from the lint duct opening with help from this gray plastic dryer lint filter cover and guide. It supports the removable lint screen and provides a smooth barrier around the filter area as laundry tumbles. Cracks, broken edges, or warping may cause garments to snag or prevent the screen from seating securely. Repl...Read moreacing a damaged cover helps restore filter support and protects the opening around the lint duct. The guide also supports routine removal and insertion of the screen for cleaning. This is an OEM part sourced directly from the manufacturer.
Read less

$21.95
In Stock
Moisture Sensor
Part #6500EL3001A
Damp clothing makes contact with this dryer moisture sensor bar as it tumbles, providing an electrical signal used to monitor drying progress. The metal electrode works with the control system to adjust automatic cycle time as the load becomes drier. A damaged bar or poor electrical contact may cause the cycle to end too soon or leave clo...Read morethes damp. Replacing a faulty sensor bar helps restore moisture detection, allowing the dryer controls to respond to the load and finish at the selected dryness level. This is an OEM part sourced directly from the manufacturer.
Read less

$37.35
In Stock
Dryer Drum Belt
Part #4400EL2001F
Get clothes tumbling again with this dryer drum drive belt. It wraps around the drum and runs over the motor and tension pulleys, transferring motor power to turn the drum during drying. A cracked, stretched, or broken belt may slip, make unusual noises, or leave the drum still while the motor runs. Replacing a worn belt helps restore ste...Read moready tumbling so clothes move through the warm air. Unplug the dryer before opening the cabinet, and follow the installation directions for proper belt routing. This is an OEM part sourced directly from the manufacturer.
Read less

$53.85
In Stock
Blower Thermostat
Part #6931EL3002M
Monitor exhaust air temperature with this dryer blower housing thermostat. Mounted on the blower assembly, it responds to heat and opens its electrical circuit when the temperature reaches its set limit, helping protect the dryer from overheating. A failed thermostat may interrupt operation, leaving the dryer unable to start or heat prope...Read morerly. Replacing a faulty thermostat helps restore the temperature safety circuit. Unplug the dryer before opening the cabinet, and clear lint from the exhaust path to support proper airflow. This is an OEM part sourced directly from the manufacturer.
Read less

$103.35
In Stock
High Limit Thermostat and Thermistor Kit
Part #AGM30045804
This dryer thermistor temperature sensor helps monitor and regulate the temperature inside a dryer. This part includes the wire harness. If your dryer overheats, does not produce enough heat, or takes too long to dry, then the thermistor might be defective or damaged. This can cause a fault code and could begin either prolonging or shorte...Read morening drying time. As a safety precaution, make sure to unplug the dryer from the power source before beginning this installation, and wear gloves to protect your hands. Refer to the installation instructions provided by the manufacturer for further guidance.
Read less

$134.43
In Stock
Gas Igniter
Part #5318EL3001A
Gas burner ignition begins when this dryer igniter heats to a glowing temperature, allowing the burner to light and produce drying heat. The assembly includes a mounting bracket and wire harness for connection to the ignition circuit. A cracked or burned out igniter may prevent a flame from forming, leaving the drum tumbling without heat ...Read moreand clothes damp. Replacing a faulty assembly helps restore burner ignition and normal heating. The fragile heating surface requires careful handling to avoid damage during installation. This is an OEM part sourced directly from the manufacturer.
Read less

$19.40
In Stock
PARTS ASSEMBLY
Part #383EEL3002R
This genuine OEM conversion kit allows your dryer to be converted from using natural gas to liquid propane. It caters to homes that rely on propane for their energy needs. This kit comes with an orifice that controls the flow rate of propane gas, and replaces the one originally installed on the gas burner in your dryer. This kit is sold i...Read morendividually. Proceed with caution when installing it yourself to ensure safe and proper installation.
Read less

$52.75
In Stock
Felt Seal
Part #4036EL3001A
Warm air stays within the intended drying path with help from this dryer drum felt seal. It closes the gap between the rotating drum and stationary housing while providing a cushioned contact surface as the drum turns. A worn, torn, or displaced seal may allow air and lint to escape into the cabinet or cause scraping noises during operati...Read moreon. Replacing a damaged seal helps restore proper airflow through the drum and reduces rubbing at the sealed edge, supporting smoother rotation and normal drying performance. This is an OEM part sourced directly from the manufacturer.
Read less

$52.75
In Stock

$48.35
In Stock
Filter Cover
Part #MCK66787901
This dryer lint filter screen cover helps keep clothing and small items from slipping into the exhaust duct near the lint filter. The plastic flap fits into the filter housing and covers the opening when the lint screen is removed. Cracks, warping, or broken mounting tabs may keep the cover from sitting properly or moving as it should. Re...Read moreplacing a damaged or missing cover restores this protective barrier and helps prevent clothing from catching on broken edges around the lint filter area. This is an OEM part sourced directly from the manufacturer.
Read less
Common Symptoms of the 79691362910
How this model fails, and the parts that fix it.
Noisy
Fixed by
these parts
these parts


Show All
Marks left on clothes
Fixed by
these parts
these parts


Show All
Not Heating
Fixed by
these parts
these parts


Show All
Door won’t close
Fixed by
these parts
these parts


Show All
Drum Not Spinning
Fixed by
these parts
these parts

Show All
Won’t Start
Fixed by
these parts
these parts


Show All
Clothes Still Wrinkled
Fixed by
these parts
these parts
Show All
Timer Not Working
Fixed by
these parts
these parts
Show All
Door Pops Open
Fixed by
these parts
these parts
Show All
Door Sags
Fixed by
these parts
these parts
Show All
Watch our pros, then fix it yourself.
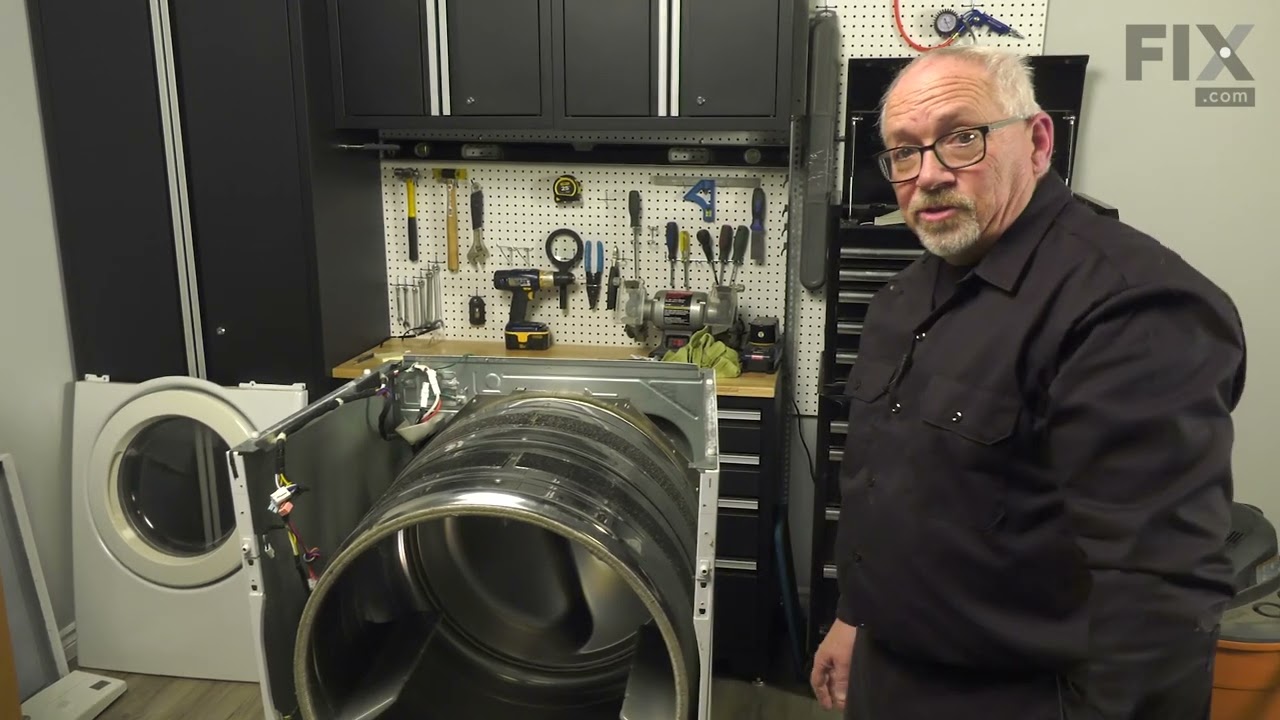
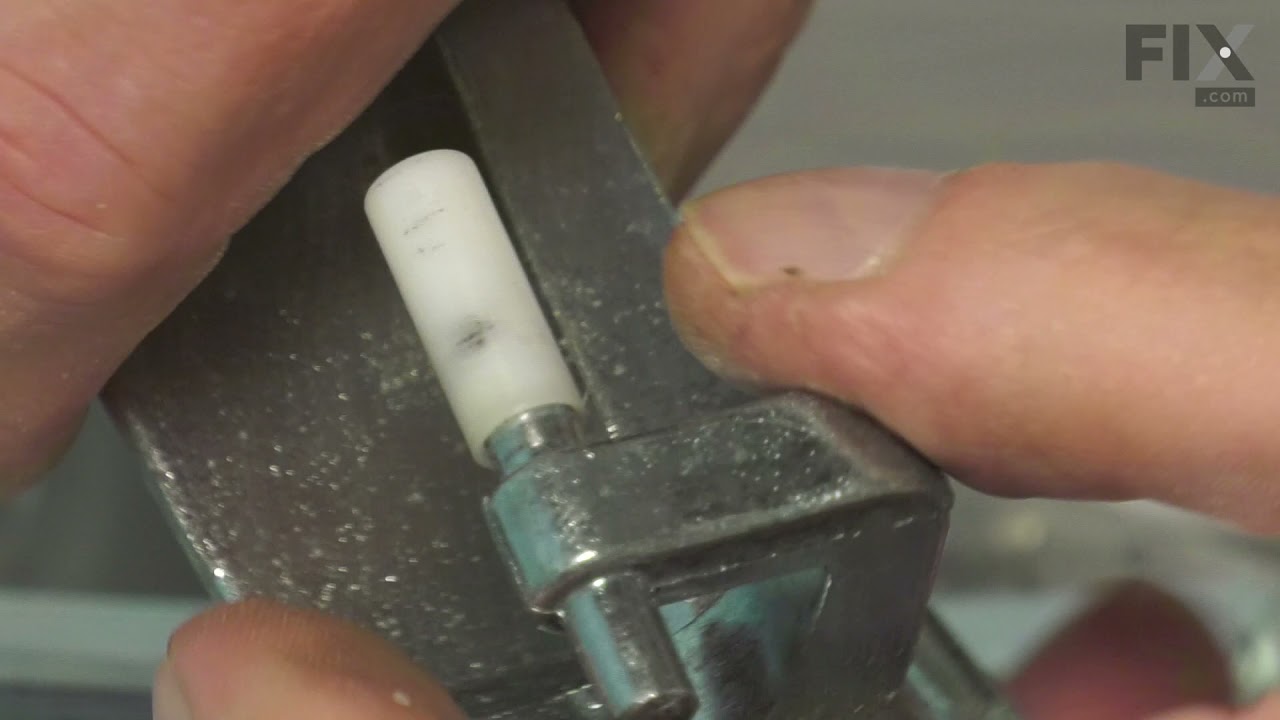
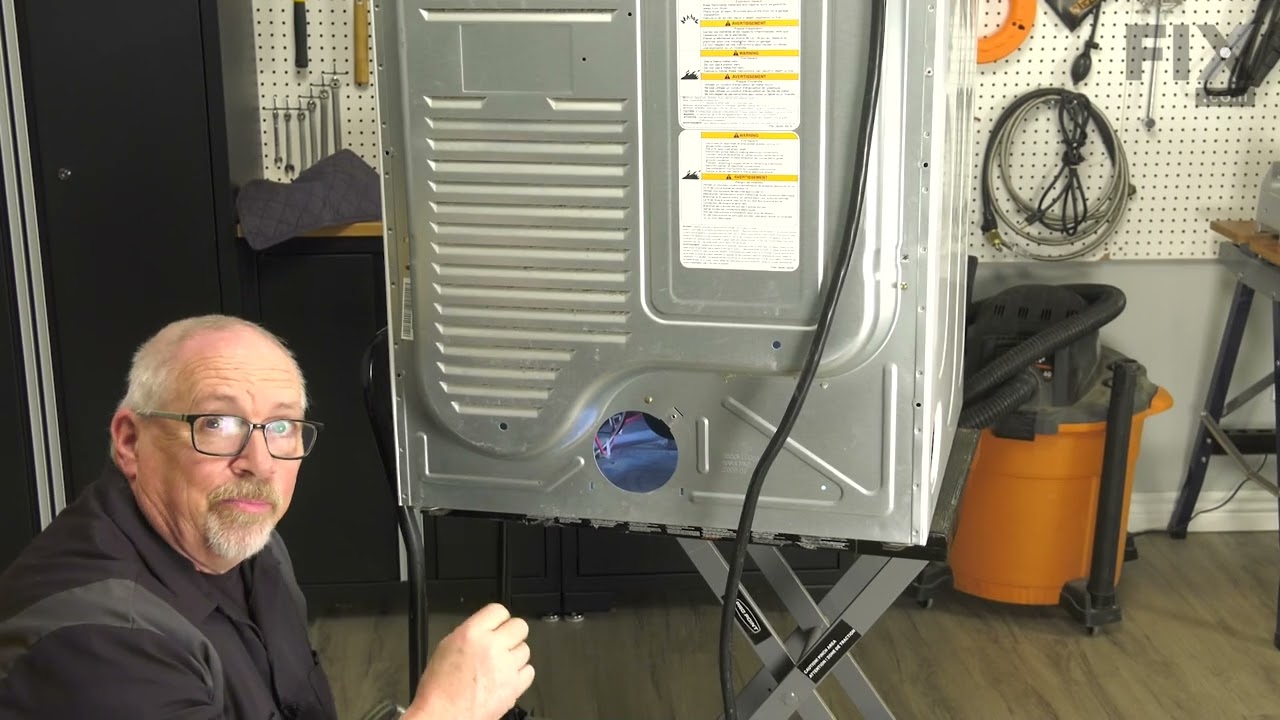
See how others fixed this model. Time, tools, difficulty, and steps that lead to victory!
View More