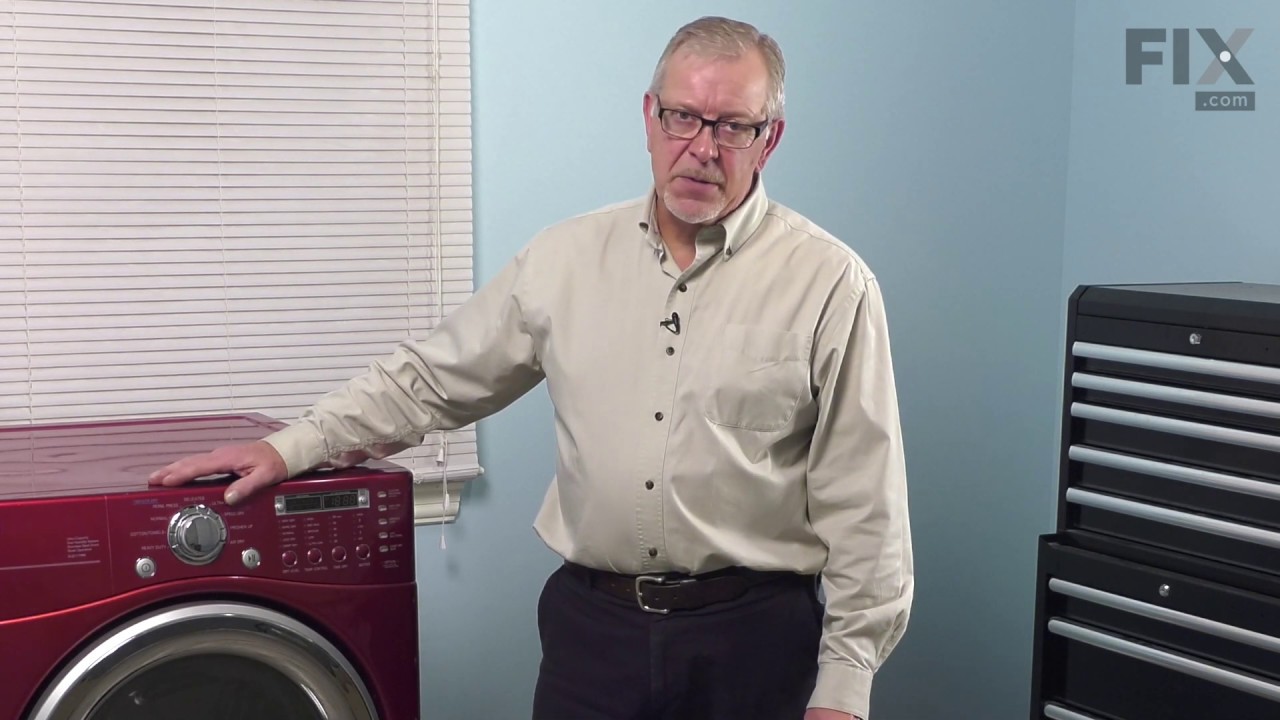
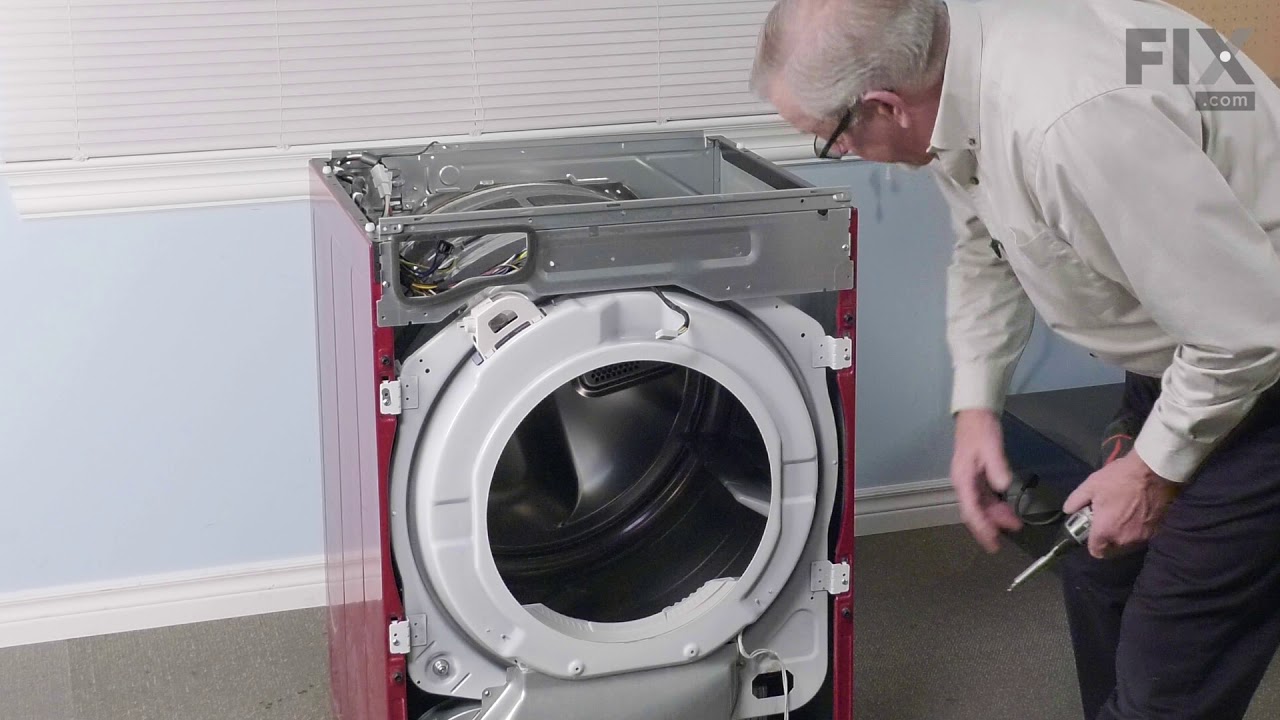
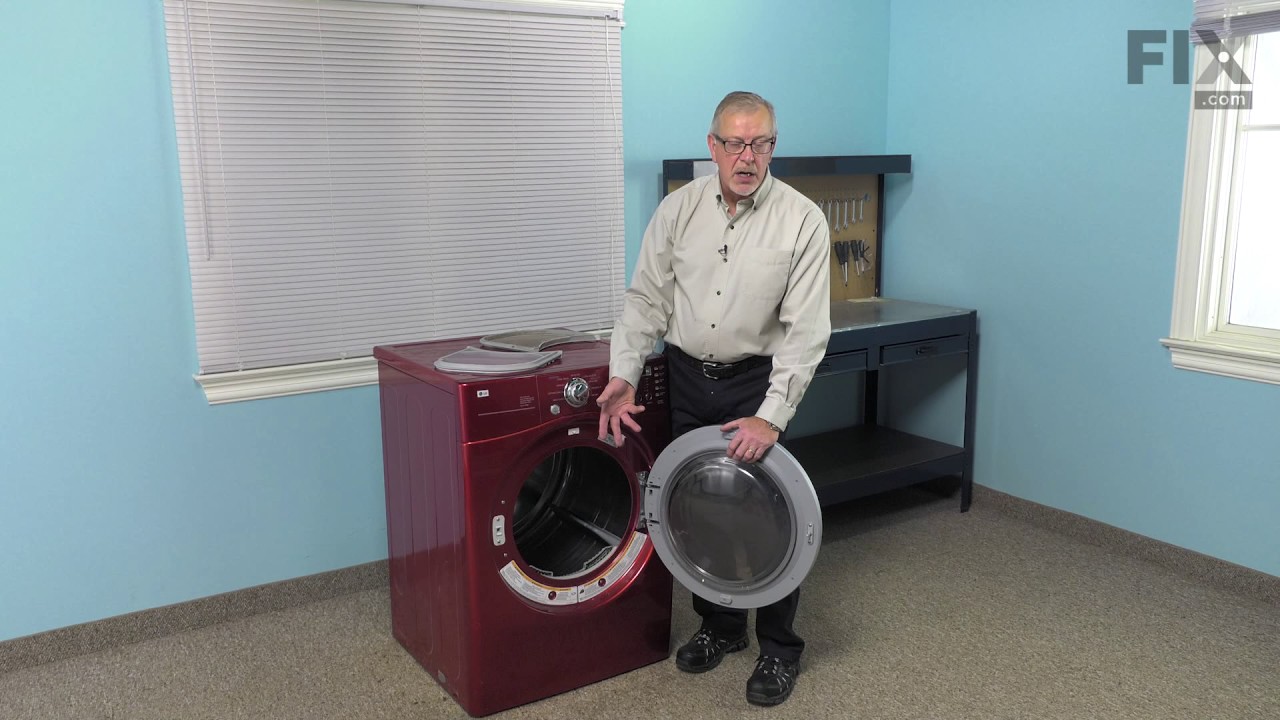
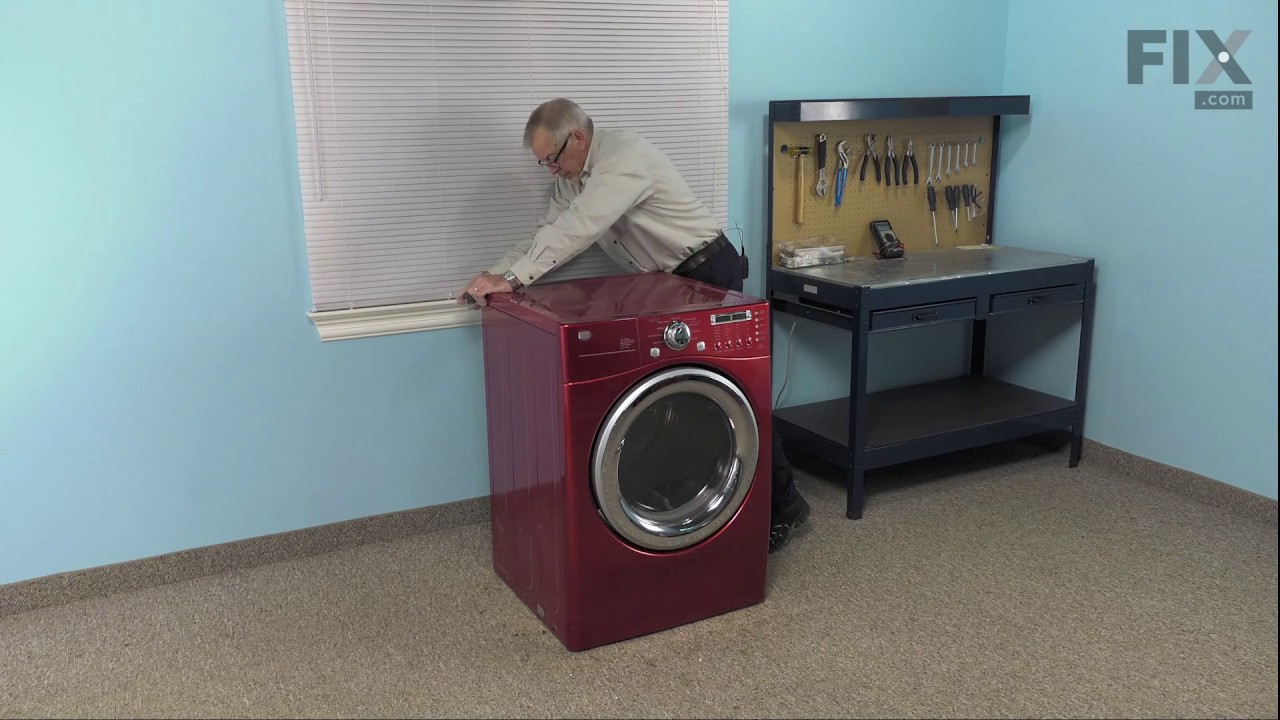
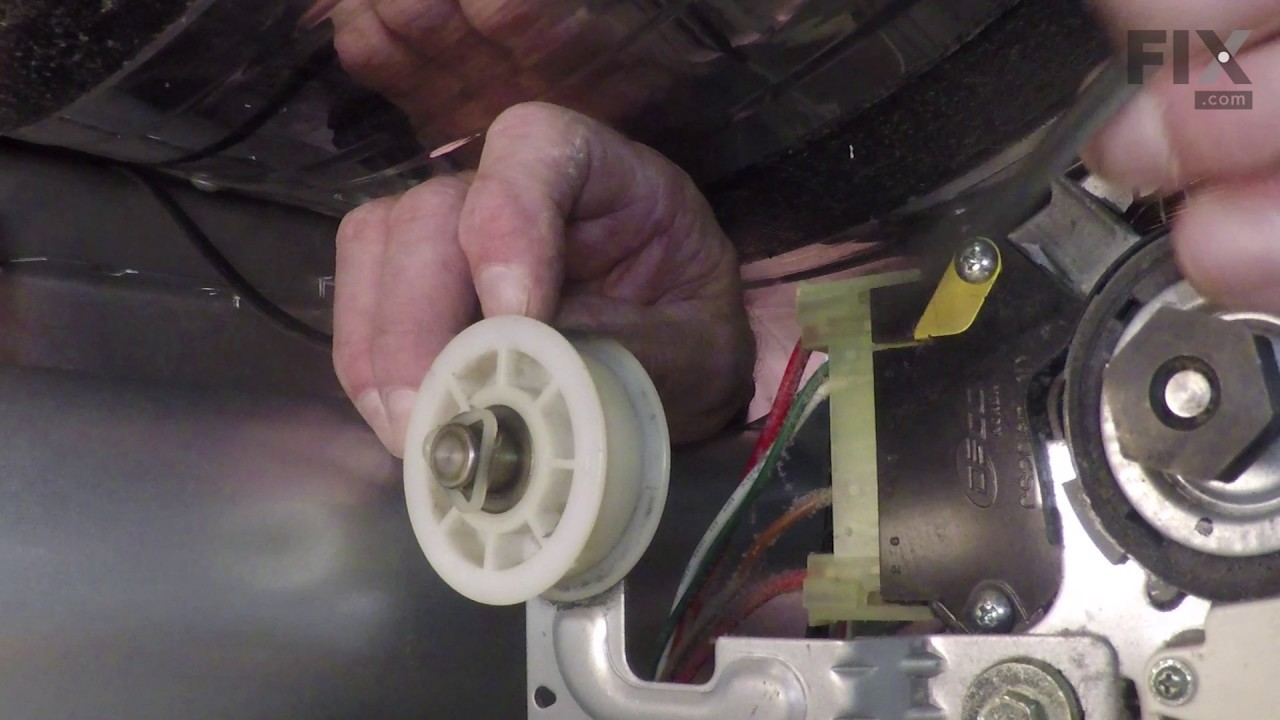
This part is sold individually. The drum support roller is found in your dryer. It is used to hold the drum in place in the cabinet while letting the drum rotate on the support rollers. It is recommended that you replace both rollers at once. You may notice that this part needs to be replaced if you are experiencing a squeaking noise, whi...Read morech could be due to the bearing going bad. The bearing could be severely damaged if you hear a very loud thumping noise, much like you would when you are drying a pair of shoes.
This lint filter fits select clothes dryers. It catches lint, dust, and clothing fibers before they enter the dryers air system. A clean filter helps maintain good airflow and drying performance. Replace it if the screen is torn, cracked, bent, or has holes. Clean the filter after every load and remove any buildup with a soft brush when n...Read moreeeded. Use the complete dryer model number to guarantee the proper fit. No tools are normally needed because the filter slides into the opening near the dryer door. This is an OEM part sourced directly from the manufacturer.
This thermal fuse acts as a high-limit thermostat, and shuts off the heating element when the dryer overheats by cutting off power to the dryer. If the thermal fuse has blown, the dryer will not start. These fuses cannot be reset, so if yours has blown, you will need to replace it. A common reason for the thermal fuse to blow on a dryer i...Read mores if the exhaust vent on your dryer is restricted or blocked. Hot air will be confined in the dryer and the fuse will trip and stop the electricity from flowing to the gas valve or heating element.
Damp clothing makes contact with this dryer moisture sensor bar as it tumbles, providing an electrical signal used to monitor drying progress. The metal electrode works with the control system to adjust automatic cycle time as the load becomes drier. A damaged bar or poor electrical contact may cause the cycle to end too soon or leave clo...Read morethes damp. Replacing a faulty sensor bar helps restore moisture detection, allowing the dryer controls to respond to the load and finish at the selected dryness level. This is an OEM part sourced directly from the manufacturer.
Get clothes tumbling again with this dryer drum drive belt. It wraps around the drum and runs over the motor and tension pulleys, transferring motor power to turn the drum during drying. A cracked, stretched, or broken belt may slip, make unusual noises, or leave the drum still while the motor runs. Replacing a worn belt helps restore ste...Read moready tumbling so clothes move through the warm air. Unplug the dryer before opening the cabinet, and follow the installation directions for proper belt routing. This is an OEM part sourced directly from the manufacturer.
Monitor exhaust air temperature with this dryer blower housing thermostat. Mounted on the blower assembly, it responds to heat and opens its electrical circuit when the temperature reaches its set limit, helping protect the dryer from overheating. A failed thermostat may interrupt operation, leaving the dryer unable to start or heat prope...Read morerly. Replacing a faulty thermostat helps restore the temperature safety circuit. Unplug the dryer before opening the cabinet, and clear lint from the exhaust path to support proper airflow. This is an OEM part sourced directly from the manufacturer.
This dryer thermistor temperature sensor helps monitor and regulate the temperature inside a dryer. This part includes the wire harness. If your dryer overheats, does not produce enough heat, or takes too long to dry, then the thermistor might be defective or damaged. This can cause a fault code and could begin either prolonging or shorte...Read morening drying time. As a safety precaution, make sure to unplug the dryer from the power source before beginning this installation, and wear gloves to protect your hands. Refer to the installation instructions provided by the manufacturer for further guidance.
Clothing stays separated from the lint duct opening with help from this gray plastic dryer lint filter cover and guide. It supports the lint screen and guides it into place for regular removal and cleaning. Cracks, broken edges, or a warped guide may cause garments to snag near the lint trap or make the filter difficult to insert and remo...Read moreve. Replacing a damaged cover restores a smooth barrier around the opening and helps keep the lint screen securely seated during dryer operation. This is an OEM part sourced directly from the manufacturer.
Temperature protection in the dryer heating system depends on this rear high-limit thermostat assembly. It senses heat at its mounting location and opens the heating circuit when the temperature reaches its cutoff point, helping prevent excessive heat from damaging surrounding components. A faulty thermostat may interrupt heating, leave c...Read morelothes damp, or prevent normal temperature control. Replacing a failed assembly helps restore the protective switching function needed during drying. The thermostat works within the heating circuit to limit heat when operating temperatures rise too high. This is an OEM part sourced directly from the manufacturer.
Warm air stays within the intended drying path with help from this dryer drum felt seal. It closes the gap between the rotating drum and stationary housing while providing a cushioned contact surface as the drum turns. A worn, torn, or displaced seal may allow air and lint to escape into the cabinet or cause scraping noises during operati...Read moreon. Replacing a damaged seal helps restore proper airflow through the drum and reduces rubbing at the sealed edge, supporting smoother rotation and normal drying performance. This is an OEM part sourced directly from the manufacturer.
This filter guide fits select clothes dryers. It supports the lint filter and helps keep it lined up with the air duct. It also keeps clothing away from the lint filter opening during the drying cycle. Replace the guide if it is cracked, bent, or causing clothes to snag. The flap and spring may be sold separately. Use the complete dryer m...Read moreodel number to guarantee the proper fit. Unplug the dryer and wear work gloves before starting the repair. This is an OEM part sourced directly from the manufacturer.
Ask our experts a question about this model and we'll get back to you as soon as possible!
We may have answered a similar question already! Search questions and answers left by others using simple keywords like "fit", "broken", "easy", or "quality" to find questions that match.
Search filter:
Clear Filter
Your search term must have 3 or more characters.
Sort by:
Prev
1
Next
Sorry, we couldn't find any existing answers that matched.Try using some different or simpler keywords, or submit your new question by using the "Ask a Question" button above!
Bobby - For model number 79681272210
November 11, 2023
WHAT ISBTHE CAPSITRY OF THIS MODEL KENMORE DRYER
Hi Bobby, thank you for contacting us. We have found that the capacity of your model is 7.3 cu. ft. We hope this information helps!
2 peoplefound this instruction helpful.
Was this helpful?
Thank you for voting!
Robie - For model number 79681272210
April 12, 2023
is this model a gas model?
Hello Robie, Thank you for writing. This model number shows to be an electric dryer. We hope this helps!
Was this helpful?
Thank you for voting!
Prev
1
Next
✖
Ask a Question
Ask our experts a question on this model and we'll respond as soon as we can.
See how others fixed this model. Time, tools, difficulty, and steps that lead to victory!View More
Search repair tips from other customers using simple keywords like "replace", "fit", "remove", "inspect". DIY doesn't mean you have to do it alone!
Search filter:
Clear Filter
Your search term must have 3 or more characters.
Dryer making a thumping and squealing noise when running
132 of 171 peoplefound this instruction helpful.
Mark from WAVERLY, OH
Easy
30 - 60 mins
Screw drivers, Wrench (Adjustable), Wrench set
Had to replace front drum support rollers. Removed screws underneath top in back that held bracket that keeps top in place. Slid top towards rear and lifted up. Removed 4 screws that hold plastic front panel in place (inside..2 on each corner) Unplugged front panel electric plugs to remove panel. Opened door..removed 2 screws at bottom of
... Read more door opening. Removed screws on top of front panel. Unplugged door switch plug. Removed front panel. Removed right front roller with 9/16th wrench for nut. Adjustable for back of stud. Lifted up on drum to get roller out. Reversed to install. Left roller a bit harder to get to stud. Removed and installed same as right side. Did not attempt to replace rear rollers. Have them if needed but very much more involved to replace.
Read less
Was this helpful?
Thank you for voting!
Dryer would run with no heat
98 of 116 peoplefound this instruction helpful.
Richard from ORMOND BEACH, FL
Easy
30 - 60 mins
Screw drivers
I actually went to mr fix it on u tube. Great instruction on how to take dryer apart. First I unplugged the dryer. I found I could reach the heating system by removing the lint tube in the back of the dryer. I put my I phone with the light on inside the back of the dryer and tested the connections to see if all were working. The thermal f
... Read moreuse was not working. I removed the two wires , red on top and white on the bottom. Then used a small Phillips screwdriver to remove the two mounting screws and removed the fuse. I then used a vacuum to clear any lint from the back of the dryer and inside the dryer. This took me about an hour and a half. I did it this way because I did not want to disassemble the entire dryer to get to the components. I received the fuse in 3 days and tested it. It was fine. I then put it in the dryer screwed it in place, connected the wires. Replaced the lint tube. This took about 10 minutes. Dryer is running great.
Read less
Was this helpful?
Thank you for voting!
Dryer not heating
57 of 69 peoplefound this instruction helpful.
Sheryl from SPRINGFIELD, MO
Easy
1- 2 hours
Pliers, Screw drivers
I followed video instruction in disassembling and set screws from each section into diferent small bowls in the order they were removed. Hardest part was some of the screws were really hard to get loose without stripping them and my control panel did not match video but I figured it out. Replacing the parts were easy and putting it back
... Read more together. While it was apart I cleaned everything including fan blower wheel. Thanks for the right parts and your online video. With your help and a prayer this 62 year old woman fixed the problem and dryer runs like new.


 My Orders