


 My Orders




79641563910 Kenmore Washer - Overview

Enter a part description. DIY Heroes keep it simple, eg. "belt" or "pump".
Search filter:
Clear Filter
Your search term must have 3 or more characters.

$66.13
In Stock
Tub-to-Pump Drain Hose
Part #4738ER1002A
Water leaves the washer tub through this flexible tub-to-pump drain hose before reaching the drain pump housing. Its corrugated bellows section bends with tub movement, helping maintain the connection during washing and spinning. Cracks, punctures, or worn folds may allow water to leak beneath the appliance, while a collapsed section can ...Read morerestrict drainage. Replacing a damaged hose restores the enclosed path between the tub and pump, helping water drain properly while accommodating movement between the suspended tub and the pump assembly. This is an OEM part sourced directly from the manufacturer.
Read less

$43.95
In Stock
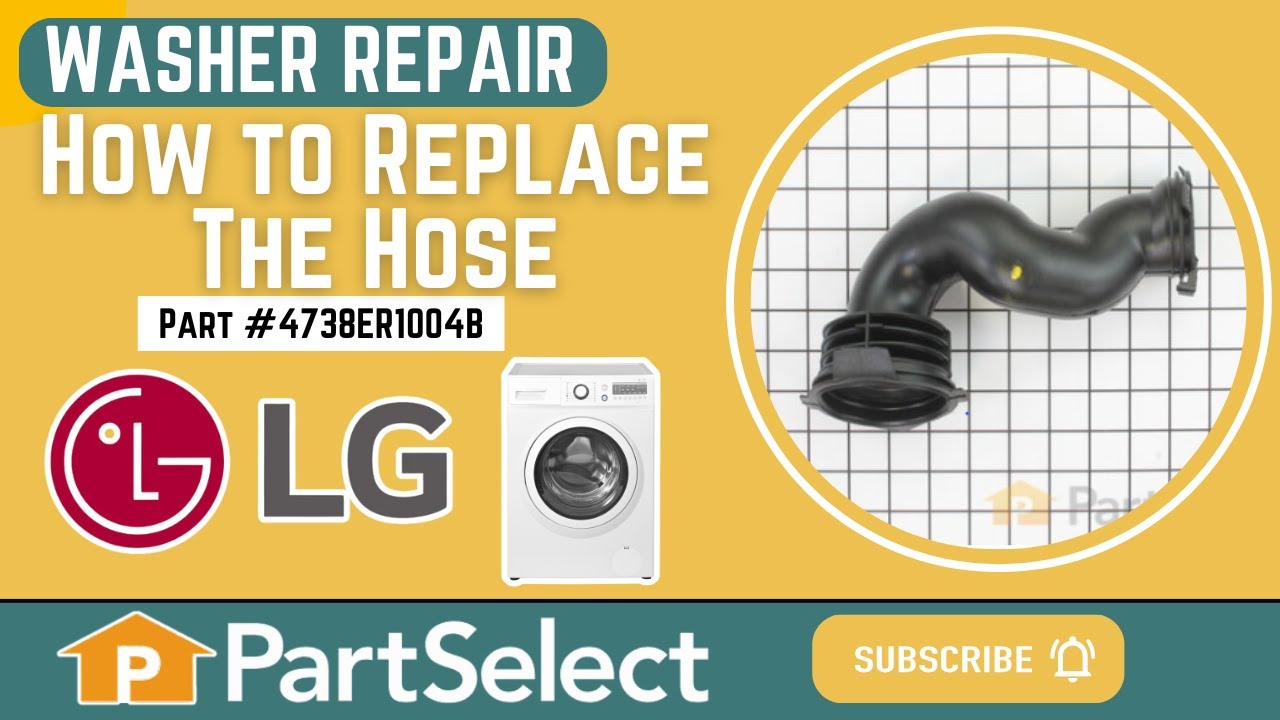
Washer Hose with Bellows
Part #4738ER1004B
Water and detergent travel from the dispenser into the washer tub through this flexible rubber dispenser hose. Its bellows folds allow the hose to flex as the tub moves during operation, helping maintain the connection between the dispenser and tub. Cracks, tears, or worn sections may allow water to drip inside the cabinet, especially dur...Read moreing filling. Replacing a damaged hose restores the enclosed path that carries the detergent mixture into the wash tub and helps prevent leaks from the hose body. This is an OEM part sourced directly from the manufacturer.
Read less

$25.75
Special Order
Locking Pin
Part #4774FR3118B
This is a locking pin, and it works in conjunction with your washer. The part measures to be roughly 3 inches long, and less than an inch wide. The pin is cylindrical, off-white in color, and made entirely of plastic. This part is used to hold the shock absorber on the washing machine. There is a pin used at the bottom and top of the shoc...Read morek absorber. This model is sold individually. If your washing machine is experiencing an above-average amount of shaking and moving this part may be the reason.
Read less

$52.75
In Stock
Washer Hinge Spring
Part #4970FR2084Z
This heavy-duty suspension spring fits select front-load washing machines and washer-dryer combinations. It connects the outer tub to the cabinet and helps support the tub while absorbing movement during washing and spinning. Replace the spring if it is stretched, weak, rusty, broken, or no longer holds the tub correctly. Use the exact wa...Read moresher model number to guarantee the proper fit. Check the product listing to confirm the quantity because some washers use more than one spring. Unplug the washer, shut off the water, and support the tub before removing the spring. This is an OEM part sourced directly from the manufacturer.
Read less

$32.95
In Stock
Clamp Assembly
Part #ACA56078801
This is an outer seal clamp designed for use within LG washing machines. This clamp tightens and secures the gasket that seals the washer tub from the door. If your gasket is loose fitting and is not damaged or warped, this clamp is likely worn out and in need of replacing. This clamp is an OEM part and is made entirely of metal, with a s...Read moretrong tension spring in the middle. This outer seal clamp is sold individually and will require a set of pliers to replace.
Read less

$16.45
In Stock
Clamp
Part #4861FR3068A
A secure hose connection helps keep water contained inside the appliance. This hose clamp applies pressure around the hose end, holding it firmly against its fitting during operation. A weakened, bent, or broken clamp may allow the connection to loosen and leak into the cabinet or onto the floor. Replacing a damaged clamp helps restore th...Read moree grip needed to keep the hose attached and sealed. It secures the connection while allowing the hose to be removed when maintenance or replacement is required. This is an OEM part sourced directly from the manufacturer.
Read less

$19.30
In Stock
BOLT ASSEMBLY
Part #FAA31690703
This shipping bolt is an OEM part that holds the tub and basket of your washer steady during transport, stopping them from moving around and getting damaged. You will usually find these bolts at the back of the washer, screwed into the frame. This is sold individually, but keep in mind that most washers need two of these bolts.

$145.15
In Stock
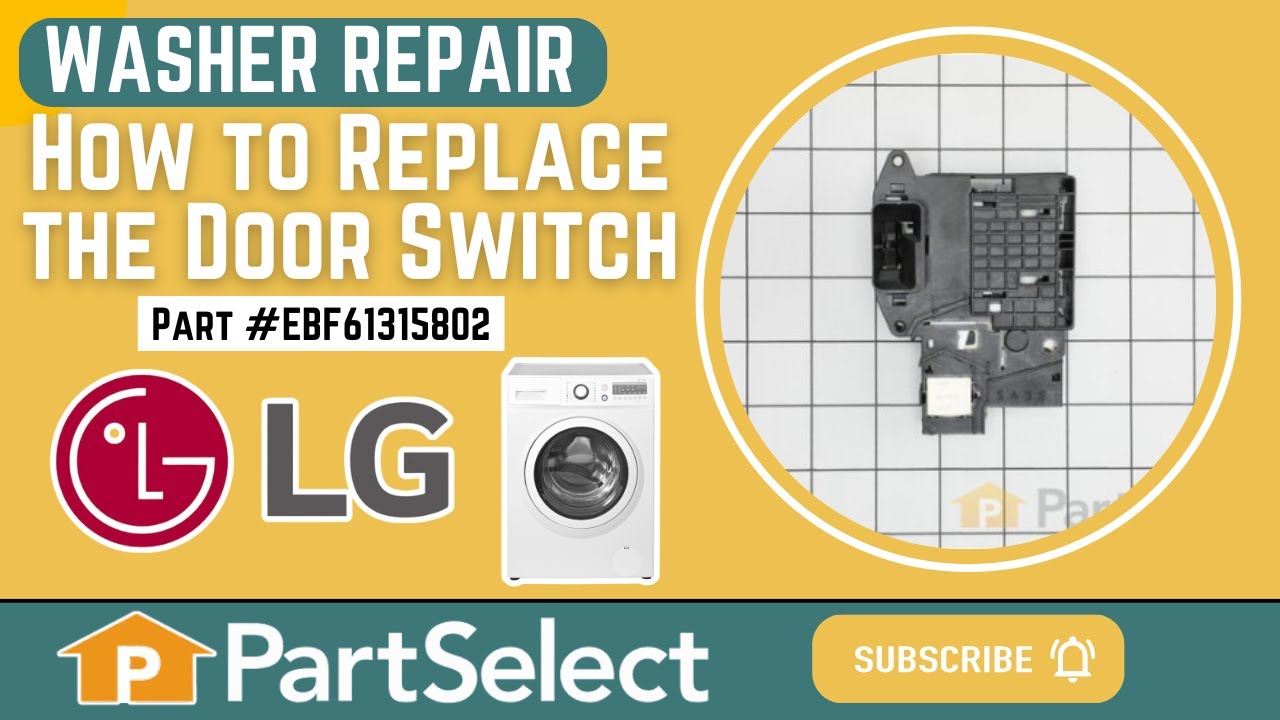
Washer Switch Assembly
Part #EBF61315802
This is a door lock switch, compatible with various models of LG washing machines. This door lock switch is designed to communicate to the control board when the door of the washer is closed, so the door can lock and allow the washing cycle to safely begin. If your washer is having difficulty locking before it begins its washing cycle, or...Read more if it has difficulty starting in general, you may need to replace this lock switch. This switch is made primarily of black, gray, and white plastic, and will require a screwdriver/drill, and a pair of needle nose pliers to replace. This door switch is a genuine OEM part that will require you to disassemble part of your washing machine to completely replace it.
Read less

$23.05
In Stock
Washer Hose Connector
Part #5214FR4006G
Residual water can be emptied before pump filter cleaning through this washer cleanout drain hose. The flexible rubber hose connects to the drain pump filter housing and provides a controlled outlet for water remaining in the pump area. Cracks, splits, or worn sections may cause leaks near the lower front of the washer or make manual drai...Read morening difficult. Replacing a damaged hose restores the drainage path used during filter maintenance and helps contain water until it is intentionally released into a suitable container. This is an OEM part sourced directly from the manufacturer.
Read less

$22.73
In Stock
BOLT ASSEMBLY
Part #FAA31690704
Protect the wash tub during a move with this short washer shipping bolt assembly. It holds the suspended tub securely in place, limiting movement that could damage internal parts during transport. The bolt installs through the designated opening at the rear of the washer to brace the tub while the appliance is being relocated. Replace a m...Read moreissing or damaged bolt before transport to restore this support. Remove all shipping bolts before running the washer, and save them for future moves. This is an OEM part sourced directly from the manufacturer.
Read less

$52.75
In Stock

$19.75
In Stock
CAP,DRAIN HOSE
Part #5006EN3015A
This washer drain hose cap plugs the small manual drain hose beside the pump filter. It keeps water from leaking out during wash cycles and can be removed to drain leftover water before cleaning the filter. A cracked, loose, or missing cap may cause drips or puddles near the lower front of the washer. Replacing a damaged cap helps keep th...Read moree hose sealed between cleanings. The removable design gives you access to drain trapped water into a container before opening the main filter. This is an OEM part sourced directly from the manufacturer.
Read less
Common Symptoms of the 79641563910
How this model fails, and the parts that fix it.
Leaking
Fixed by
these parts
these parts


Show All
Locking Issues
Fixed by
these parts
these parts


Show All
Lid or door won’t close
Fixed by
these parts
these parts
Show All
Will not drain
Fixed by
these parts
these parts

Show All
Water Filling Issues
Fixed by
these parts
these parts


Show All
Will Not Start
Fixed by
these parts
these parts
Show All
Watch our pros, then fix it yourself.
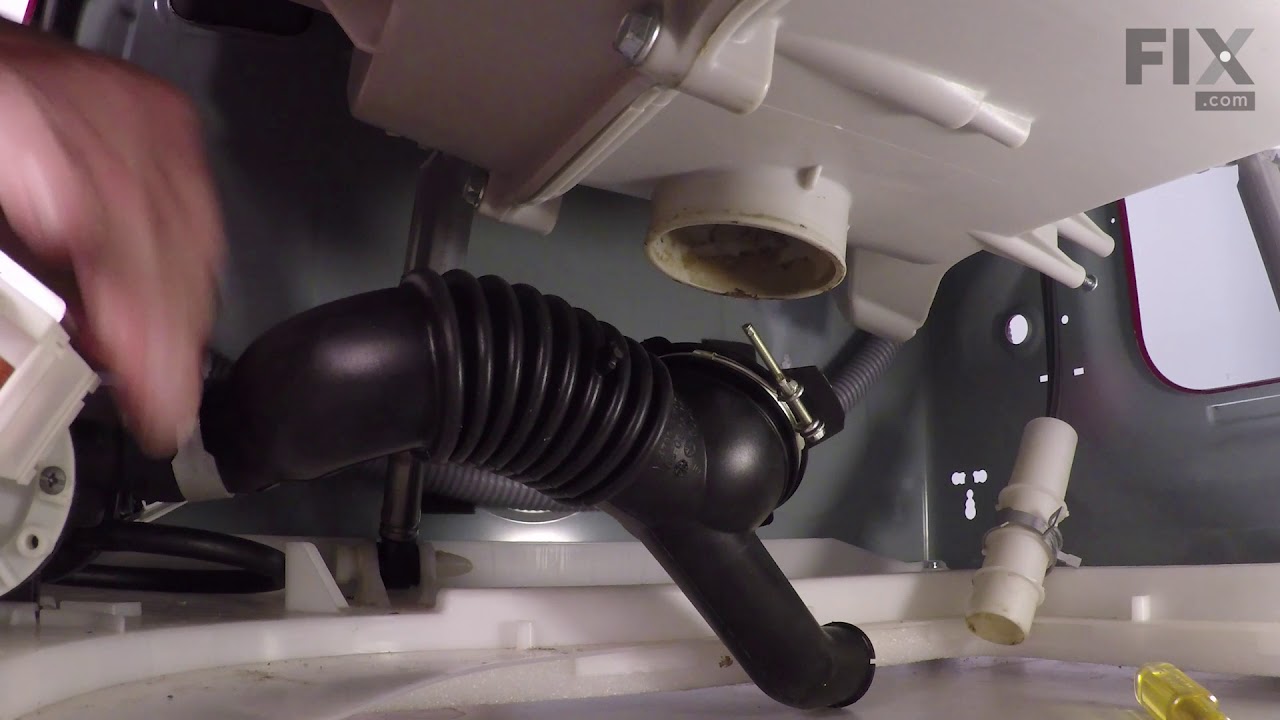
See how others fixed this model. Time, tools, difficulty, and steps that lead to victory!
View More