EasyApplianceParts is now PartSelect! We've merged our sites to provide a better shopping experience for you.   Full Details
✖

Find Parts

Parts Departments

Top Model Types

Top Brands

Repair Help

Expert Repair Videos

Keep typing for more specific results...

79641379211 Kenmore Washer - Overview

Diagrams for 79641379211

See every part. Know exactly what you need.

Enter a part description. DIY Heroes keep it simple, eg. "belt" or "pump".

Search filter:
Clear Filter
Your search term must have 3 or more characters.
Water Inlet Valve - Hot – Part Number: 5220FR2006H
$35.80
In Stock
Water Inlet Valve - Hot
★★★★★
★★★★★
(94)
Part #5220FR2006H
The hot water inlet valve on your washing machine controls the water flow into the washer. This inlet valve has a standard hose fitting inlet and one water outlet. The water inlet valve opens to allow water to enter the washing machine. If the water inlet valve is defective, the washer may leak, fill slowly, or not fill at all. To test your valve, unplug the washer when the symptom occurs. If the washer continues to fill, then your inlet valve is defective. This part is approximately 3 inches long x 3 inches wide.
Water Inlet Valve - Cold – Part Number: 5220FR2075L
$139.65
Special Order
Water Inlet Valve - Cold
★★★★★
★★★★★
(93)
Part #5220FR2075L
The cold water inlet valve on your washing machine dispenses the cold water and bleach into the washer in the prewash cycle. This inlet valve has a standard hose fitting inlet and 2 water outlets facing 45 degrees to the left. The water inlet valve opens to allow water to enter the washing machine. If the water inlet valve is defective, the washer may leak, fill slowly, or not fill at all. To test your valve, unplug the washer when the symptom occurs. If the washer continues to fill, then your inlet valve is defective. This part is approximately 4 inches long x 3 inches wide.
Rear Tub Gasket – Part Number: 4036ER2004A
$24.67
In Stock
Rear Tub Gasket
★★★★★
★★★★★
(15)
Part #4036ER2004A
If you notice your washing machine is leaking water from the top of the transmission, it might be due to the gasket being damaged or worn down. When replacing your gasket, consider replacing your tub bearings at the same time. The gasket (or seal) is located at the back of the outer tub of your washing machine. To access this part you will need to pull the top off of the appliance by releasing the screws holding it in place. This part is sold individually, is black in color, and measures 3 inches in diameter.
Tub-to-Pump Drain Hose – Part Number: 4738ER1002A
$55.29
In Stock
Tub-to-Pump Drain Hose
★★★★★
★★★★★
(16)
Part #4738ER1002A
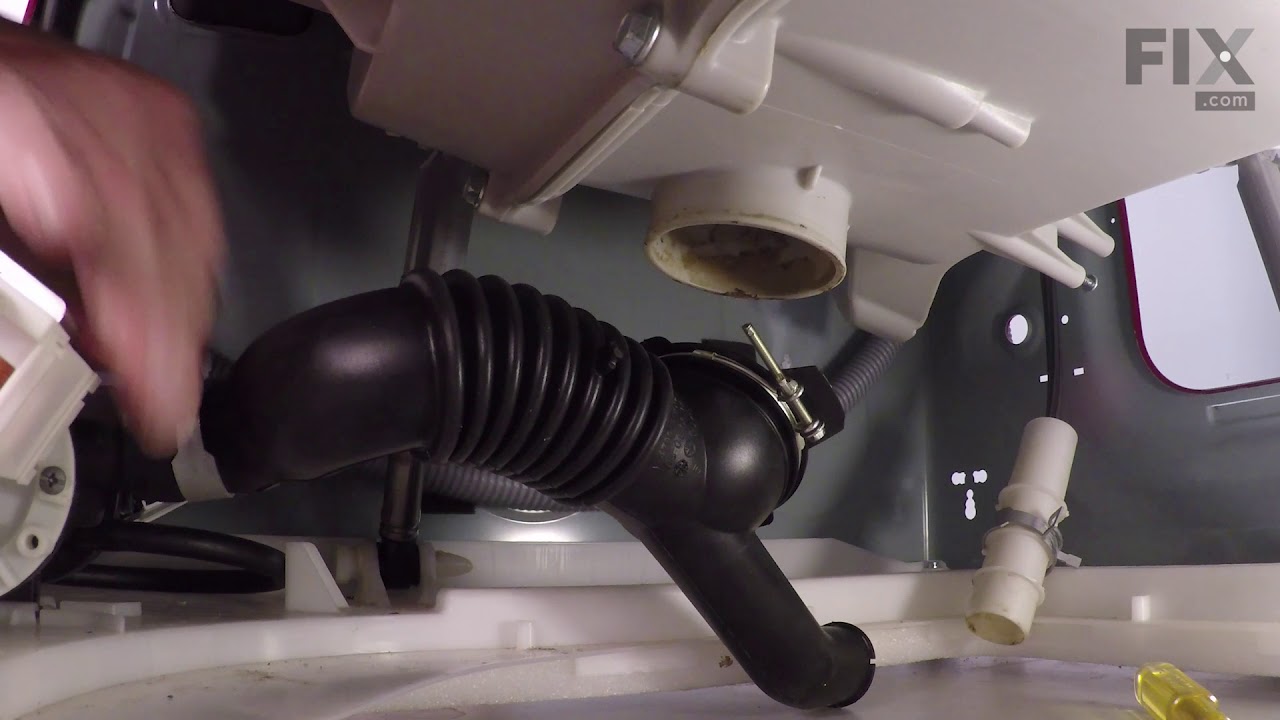
This is a tub-to-pump drain hose for a front load washer. The hose features flexible bellows which allow it to expand and contract when necessary. It carries the water from the tub of the washer to the drain pump so the used water can properly empty from the tub. This part is made of rubber, is black in color and measures 13 inches long. Be sure to drain the excess water from the washer before completing this repair. This is an authentic OEM part that is sourced directly from the manufacturer.
Door Lock Assembly – Part Number: EBF49827801
$70.95
In Stock
Door Lock Assembly
★★★★★
★★★★★
(29)
Part #EBF49827801
The door lock assembly is a part for your washing machine and tells the washer that the door is closed and locked into place. If the switch has shorted out and not locking, it is no longer delivering the message to the machine and it will not latch into place. If you find that your door will not close, open, or start, it is more than likely an issue with the locker switch assembly. The switch is located behind the front panel. You will need to remove the gasket to reach the switch.
SENSOR ASSEMBLY – Part Number: 6501KW2002B
$55.29
In Stock
SENSOR ASSEMBLY
★★★★★
★★★★★
(25)
Part #6501KW2002B
This is a replacement sensor assembly for your washer. It may also be known as a motor rotor position sensor. The sensor assembly monitors the direction and speed of the spinning rotor and communicates this information to the electronic control board. If your washer pumps but will not spin or agitate, you may have a damaged sensor assembly. This part is sold individually, and is an OEM part sourced directly from the manufacturer. Be sure to shut off the power to your washer before you begin this repair.
Detergent Dispenser – Part Number: 3891ER2003A
$24.67
In Stock
Detergent Dispenser
★★★★★
★★★★★
(20)
Part #3891ER2003A
This is a replacement detergent dispenser for your washer. It stores the detergent, and then dispenses it into the washer at the appropriate point in the wash cycle. If the detergent dispenser is broken, or if the detergent is not dispensed during the wash cycle, you may need to replace it. The dispenser is made of blue plastic, and is approximately 4 inches wide, 4.5 inches long, and two inches tall. This is an OEM part made by the manufacturer.
Inlet Valve Assembly – Part Number: 5221ER1003A
$128.66
In Stock
Inlet Valve Assembly
★★★★★
★★★★★
(5)
Part #5221ER1003A
This replacement water inlet valve is designed for use in washing machines to manage water flow during the cold water fill, bleach dispensing, and prewash cycles. It features a standard hose fitting inlet and three outlet ports—two angled 45 degrees to the right and one angled 45 degrees to the left—ensuring precise routing of water to designated compartments. Constructed for durability and compatibility with select models, this genuine OEM component helps maintain proper cycle performance and water distribution. Replacement is recommended if water fails to enter the machine correctly or if specific cycles are not functioning. Always disconnect power and water supply before installation.
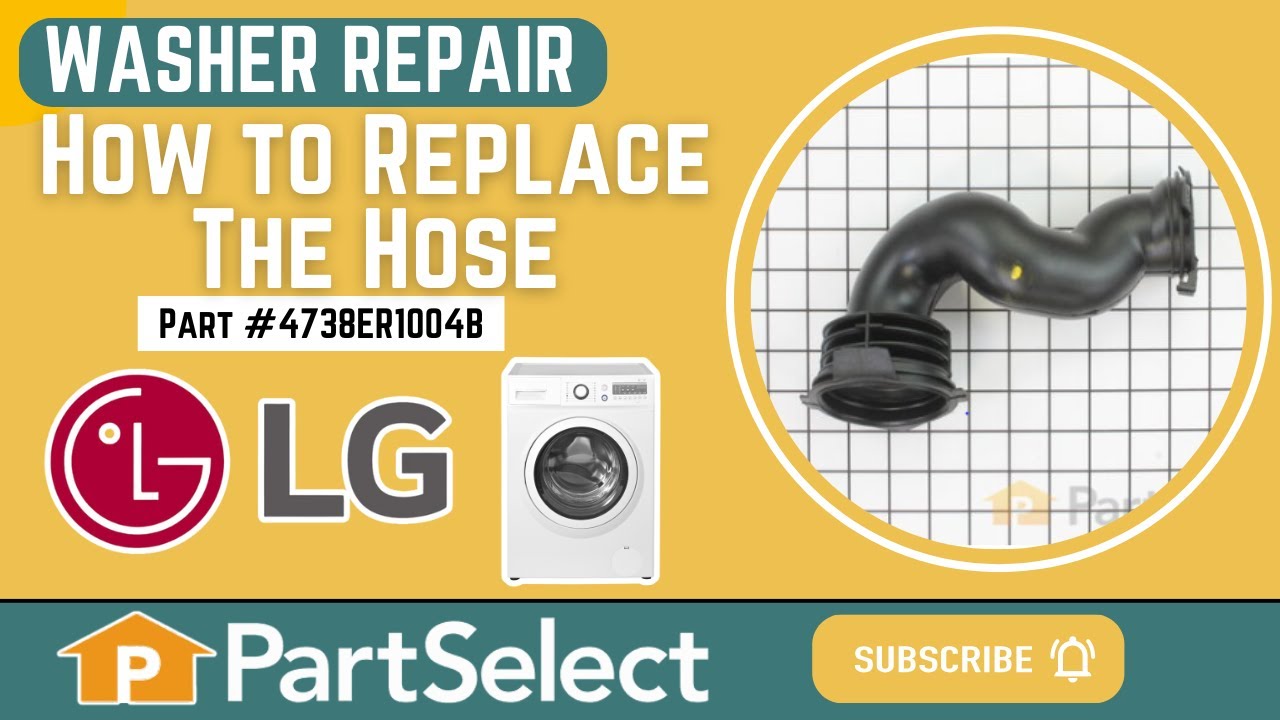
Washer Hose with Bellows – Part Number: 4738ER1004B
$42.12
In Stock
Washer Hose with Bellows
★★★★★
★★★★★
(12)
Part #4738ER1004B
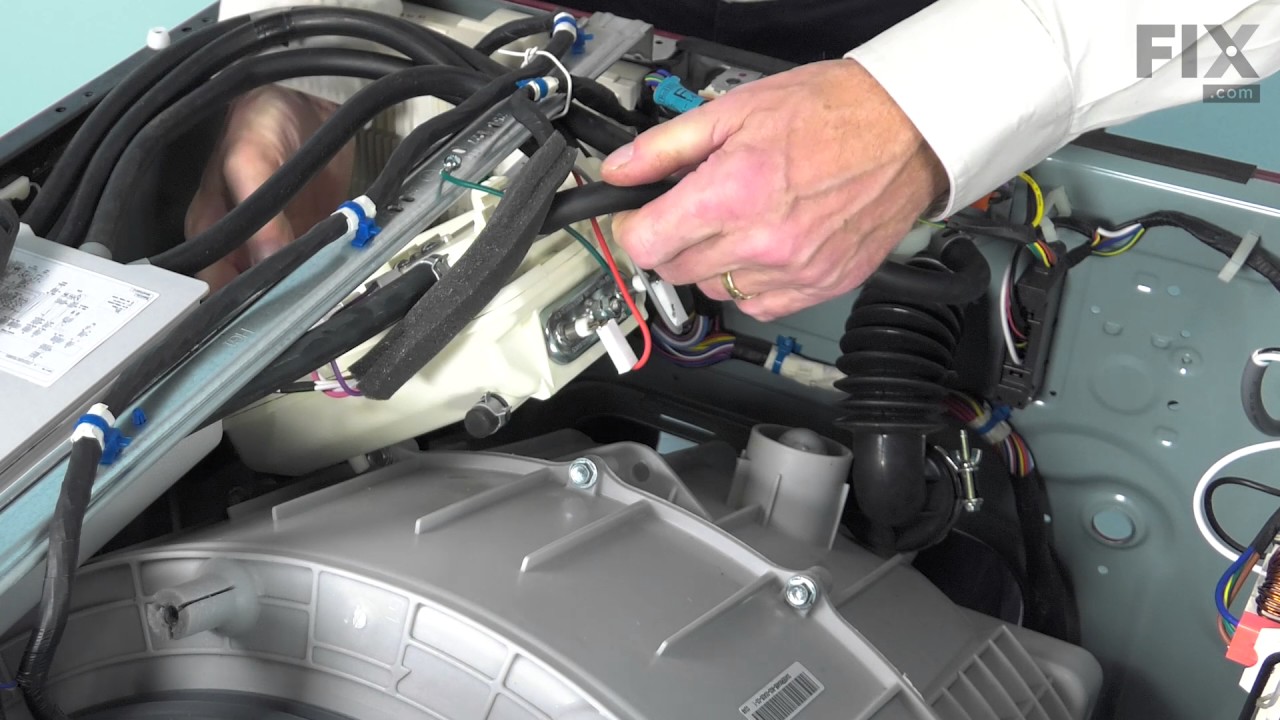
This washer hose with bellows, also known as a dispenser hose, is a genuine OEM replacement part for your washer. Replacing this part can be helpful if your washer is leaking. The dispenser hose connects the dispenser assembly to the tub. Before beginning the repair, unplug the washer and turn off the water supply. You will need a Phillips head screwdriver to complete this repair; a clamp tool can also be helpful. Remove the screws holding the lid of the washer in place, and take off the lid. Locate the dispenser hose and remove its clamps. Place the clamps on the new hose, using the arrows for a guide in positioning the clamps. Install the new hose and reassemble all other parts.
Washer Tub Bearing, Rear – Part Number: 4280EN4001F
$72.00
On Order
Washer Tub Bearing, Rear
Part #4280EN4001F
Washer Tub Bearing – Part Number: MAP61913708
$56.33
Special Order
Washer Tub Bearing
★★★★★
★★★★★
(1)
Part #MAP61913708
Tub bearing. This part is very difficult to install. The manufacturer recommends replacing the complete rear tub and bearing assembly.
Drain Hose Assembly – Part Number: 5215ER2002G
$36.85
In Stock
Drain Hose Assembly
★★★★★
★★★★★
(3)
Part #5215ER2002G
The drain hose assembly is a genuine OEM assembly supplied directly by LG for use in washing machines. The assembly includes the hose, connector, elbow fitting, and metal clamp. It is responsible for directing wastewater from the washing machine tub to the household drain or plumbing system. It allows the water to exit the washer efficiently and prevents it from pooling inside the machine at the end of the cycle. If the hose can no longer stay attached to the washer or drainpipe, water is leaking from the hose, or the hose has visible damage such as cracks and splits then you will need to replace it before you can resume using your washer.

Questions And Answers for 79641379211

Ask our experts a question about this model and we'll get back to you as soon as possible!

Sort by:
  • 1
Sorry, we couldn't find any existing answers that matched.Try using some different or simpler keywords, or submit your new question by using the "Ask a Question" button above!
Alonzo - For model number 79641379211
October 22, 2024
Need drain pump part
Chris Boyle Profile
Hello Alonzo, thank you for your question. The Drain Pump is PS3579318. Good luck with your repair.
$58.42
In Stock
Washing Machine Drain Pump
Was this helpful?
Thank you for voting!
  • 1

Common Symptoms of the 79641379211

How this model fails, and the parts that fix it.

Watch our pros, then fix it yourself.

See how others fixed this model. Time, tools, difficulty, and steps that lead to victory! View More

Search repair tips from other customers using simple keywords like "replace", "fit", "remove", "inspect". DIY doesn't mean you have to do it alone!

Search filter:
Clear Filter
Your search term must have 3 or more characters.
LE Error Message and won't spin drum properly
255 of 339 people found this instruction helpful.
  • Mark from Harrisburg, PA
  • Easy
  • 30 - 60 mins
  • Screw drivers, Socket set
I first tested the motor per the service manual. I checked the resistance between the terminals of the 3 pin connector. It's supposed to be 5-15 ohms. The motor checked out so I replaced the main electrical board. It turns out that wasn't the problem. After a brief web search I found out that the hall sensor (which is attached to the motor stator) was the likely cause of the failure. I replaced that and everything works great now. And now I have a spare main board in case that ever fails. I also want to mention that I took the time to remove the dispenser box (where the water comes in and is directed to the different cleaning products) and cleaned it with a very strong bleach solution. It got rid of the mildew and funky smell. It seems that the fabric softener caused a lot of mildew to form inside the dispenser directly above the fabric softener tray. The bleach took care of that. This is probably something that should be done routinely to keep the mildew from forming.
Was this helpful?
Thank you for voting!
leaking tub-to-pump drain hose
52 of 76 people found this instruction helpful.
  • Leslie from STOWE, VT
  • Easy
  • 30 - 60 mins
  • Screw drivers
Pull washer away from wall. Unplug cord and remove drain hose from receptacle. Remove 4 screws holding panel to rear of washer. Squeeze and slide back hose clamps on each end of drain hose and loosen center clamp with screwdriver. Remove old hose. Reinstall new hose in reverse order using existing clamps. Re-install back panel.
Was this helpful?
Thank you for voting!
Inlet valve leak
34 of 37 people found this instruction helpful.
  • John from Northport, NY
  • Really Easy
  • 30 - 60 mins
  • Pliers, Screw drivers
Followed directions on the video and went like a charm. Very impressed with service and video
Was this helpful?
Thank you for voting!