


 My Orders




79641373210 Kenmore Washer - Overview
Diagrams for 79641373210
See every part. Know exactly what you need.


Enter a part description. DIY Heroes keep it simple, eg. "belt" or "pump".
Search filter:
Clear Filter
Your search term must have 3 or more characters.

$37.35
In Stock
Water Inlet Valve - Hot
Part #5220FR2006H
Hot water enters the washer through this single solenoid inlet valve, which opens when the control calls for hot water and closes when filling stops. It connects the household hot water supply to the internal fill system, regulating flow during selected wash cycles. A faulty valve may prevent hot water from entering, cause slow filling, o...Read morer allow water to seep into the tub while the washer is off. Replacing a damaged valve helps restore controlled filling and proper shutoff of the hot water supply. This is an OEM part sourced directly from the manufacturer.
Read less

$36.25
In Stock
Rear Tub Gasket
Part #4036ER2004A
Protecting the tub bearings from wash water, this rear tub shaft seal forms a barrier around the rotating drum shaft. The rubber seal fits into the rear outer tub and helps keep water and detergent away from the bearing area while the drum turns. A worn, torn, or hardened seal may allow leaks near the rear of the tub and expose the bearin...Read moregs to moisture. Replacing a damaged seal restores the barrier needed to contain wash water and protect the drive shaft bearing area. This is an OEM part sourced directly from the manufacturer.
Read less

$66.13
In Stock
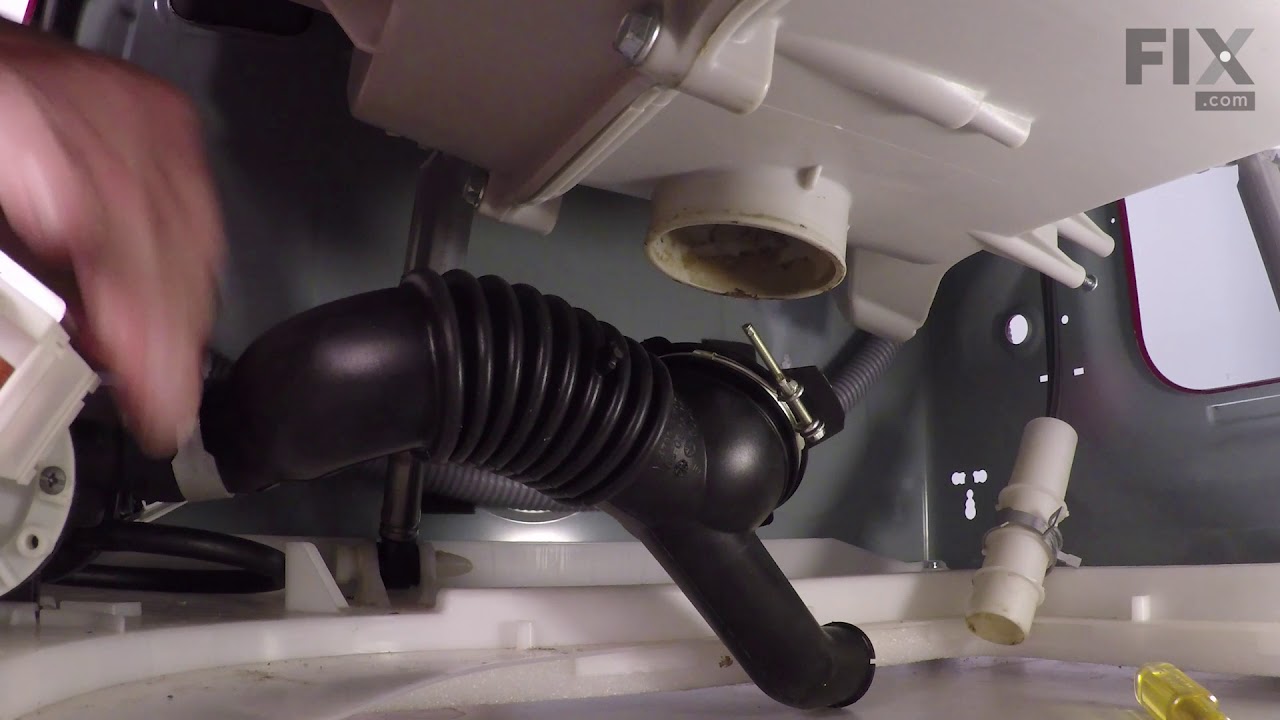
Tub-to-Pump Drain Hose
Part #4738ER1002A
Water leaves the washer tub through this flexible tub-to-pump drain hose before reaching the drain pump housing. Its corrugated bellows section bends with tub movement, helping maintain the connection during washing and spinning. Cracks, punctures, or worn folds may allow water to leak beneath the appliance, while a collapsed section can ...Read morerestrict drainage. Replacing a damaged hose restores the enclosed path between the tub and pump, helping water drain properly while accommodating movement between the suspended tub and the pump assembly. This is an OEM part sourced directly from the manufacturer.
Read less

$82.45
In Stock
Door Lock Assembly
Part #EBF49827801
Secure door locking allows a front load washer to begin and complete its cycles. This door lock and switch assembly holds the door closed during operation and reports its status to the main control board. A failed lock or internal switch may prevent a cycle from starting, trigger a door fault message, or keep the door from unlocking after...Read more the cycle ends. Replacing a faulty assembly helps restore reliable locking and status feedback, supporting controlled access to the drum during washing and spinning. This is an OEM part sourced directly from the manufacturer.
Read less

$25.83
In Stock
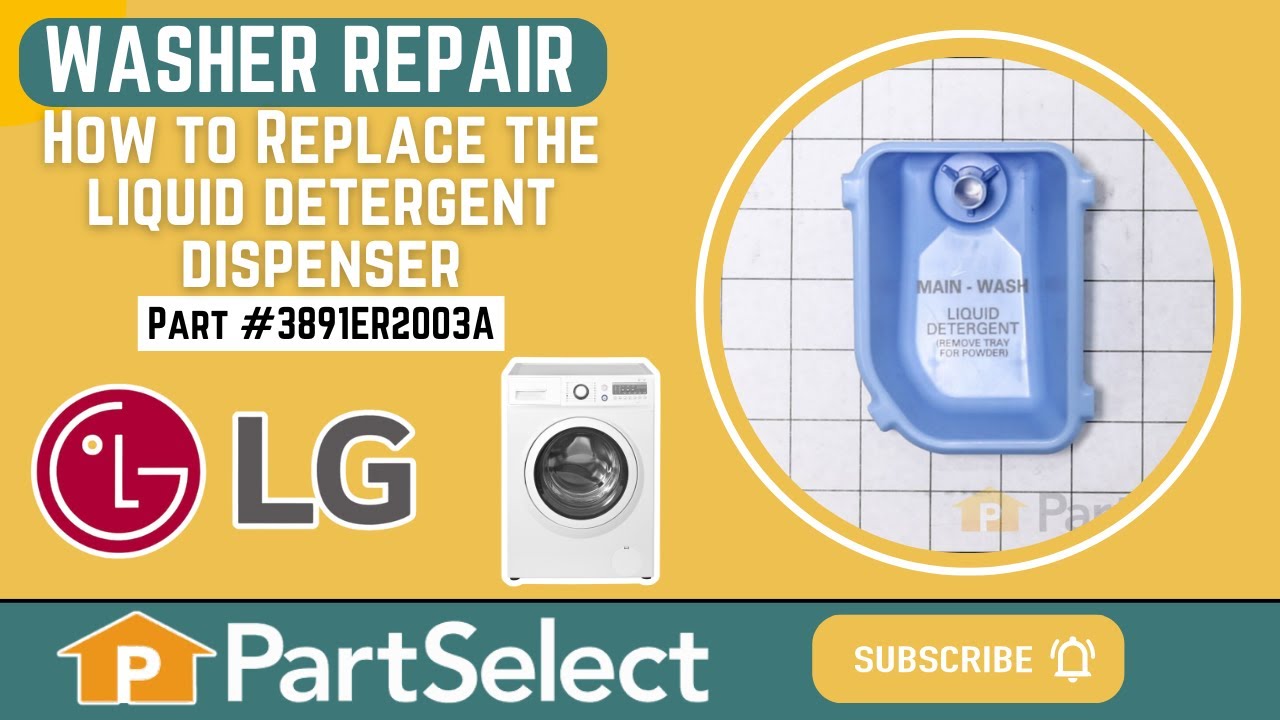
Detergent Dispenser
Part #3891ER2003A
Liquid detergent stays contained in this removable dispenser cup until water flushes it into the washer during the wash cycle. The blue plastic insert sits inside the main detergent drawer and can be lifted out for cleaning. Cracks, damaged edges, or a missing cup may prevent liquid detergent from being held properly before dispensing. Re...Read moreplacing a damaged insert restores the container used for liquid detergent in the dispenser drawer. Its removable design also makes it easier to rinse away residue that collects with regular use. This is an OEM part sourced directly from the manufacturer.
Read less

$133.63
In Stock
Inlet Valve Assembly
Part #5221ER1003A
Cold water reaches the washer tub and dispenser through this triple-solenoid inlet valve assembly. Its three controlled outlets open during selected cycle stages, directing water where needed before closing to stop the flow. A damaged housing or failed valve mechanism may cause slow filling, no cold water, leaks, or water entering the dru...Read morem while the washer is off. Replacing a faulty assembly helps restore controlled filling and reliable shutoff, supporting normal washing, rinsing, and delivery of laundry products from the dispenser. This is an OEM part sourced directly from the manufacturer.
Read less

$43.95
In Stock
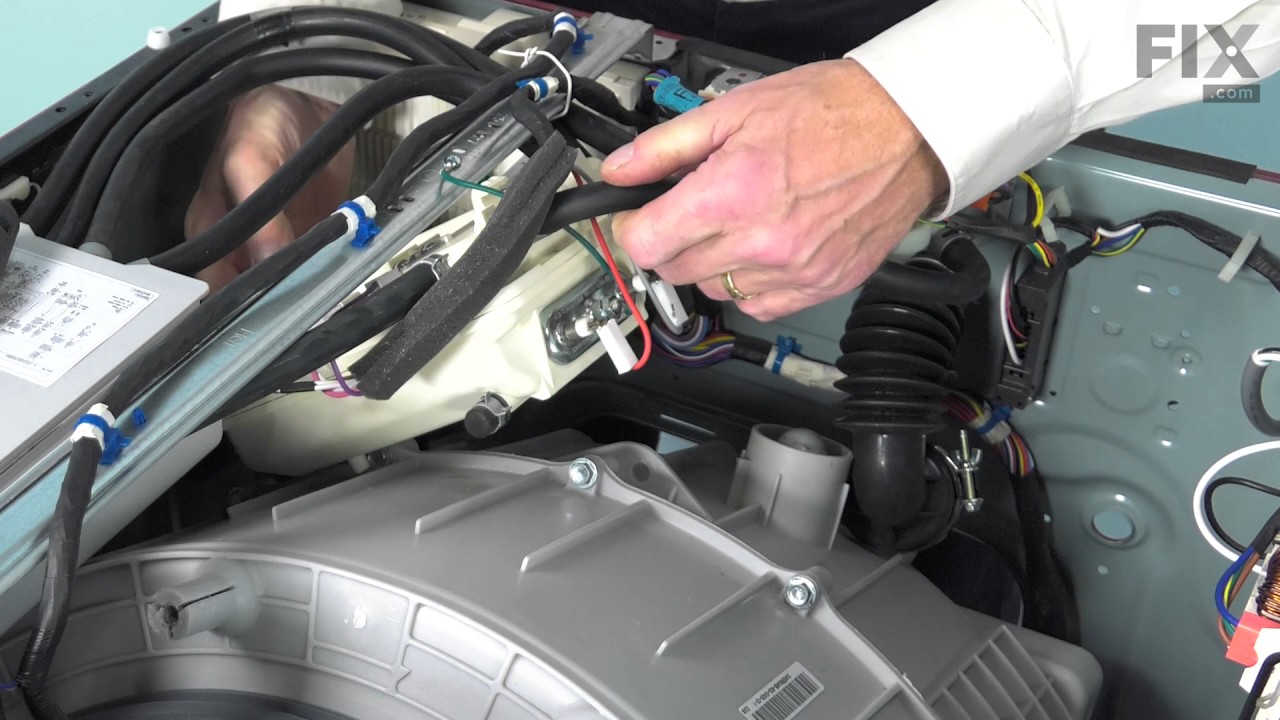
Washer Hose with Bellows
Part #4738ER1004B
Water and detergent travel from the dispenser into the washer tub through this flexible rubber dispenser hose. Its bellows folds allow the hose to flex as the tub moves during operation, helping maintain the connection between the dispenser and tub. Cracks, tears, or worn sections may allow water to drip inside the cabinet, especially dur...Read moreing filling. Replacing a damaged hose restores the enclosed path that carries the detergent mixture into the wash tub and helps prevent leaks from the hose body. This is an OEM part sourced directly from the manufacturer.
Read less

$72.00
In Stock
Washer Tub Bearing, Rear
Part #4280EN4001F

$56.33
Special Order
Washer Tub Bearing
Part #MAP61913708
Tub bearing. This part is very difficult to install. The manufacturer recommends replacing the complete rear tub and bearing assembly.

$46.29
In Stock
Drain Hose Assembly
Part #5215ER2002G
The drain hose assembly is a genuine OEM assembly supplied directly by LG for use in washing machines. The assembly includes the hose, connector, elbow fitting, and metal clamp. It is responsible for directing wastewater from the washing machine tub to the household drain or plumbing system. It allows the water to exit the washer efficien...Read moretly and prevents it from pooling inside the machine at the end of the cycle. If the hose can no longer stay attached to the washer or drainpipe, water is leaking from the hose, or the hose has visible damage such as cracks and splits then you will need to replace it before you can resume using your washer.
Read less

$25.75
Special Order
Locking Pin
Part #4774FR3118B
This is a locking pin, and it works in conjunction with your washer. The part measures to be roughly 3 inches long, and less than an inch wide. The pin is cylindrical, off-white in color, and made entirely of plastic. This part is used to hold the shock absorber on the washing machine. There is a pin used at the bottom and top of the shoc...Read morek absorber. This model is sold individually. If your washing machine is experiencing an above-average amount of shaking and moving this part may be the reason.
Read less

$255.06
In Stock
SPIDER
Part #4434ER0002H
This part is the replacement spider, or washer spinner support, for your washer. It is triangular, with three arms, and it is made of metal. The washer spinner supports and spins the tub or basket while the washer is running. If you notice that your washer shakes or moves during operation, or if it is excessively noisy, you may need to re...Read moreplace the spider. This part is sold individually and is an authentic OEM part sourced directly from the manufacturer.
Read less
Common Symptoms of the 79641373210
How this model fails, and the parts that fix it.
Leaking
Fixed by
these parts
these parts


Show All
Will Not Start
Fixed by
these parts
these parts

Show All
Lid or door won’t close
Fixed by
these parts
these parts

Show All
Water Filling Issues
Fixed by
these parts
these parts

Show All
Locking Issues
Fixed by
these parts
these parts
Show All
Does not dispense fabric softener or detergent
Fixed by
these parts
these parts

Show All
Will not drain
Fixed by
these parts
these parts

Show All
Burning smell
Fixed by
these parts
these parts


Show All
Noisy and Marks Left on Clothes
Fixed by
these parts
these parts

Show All
Spinning Issues
Fixed by
these parts
these parts

Show All
No hot or cold water
Fixed by
these parts
these parts
Show All
Draining Issues
Fixed by
these parts
these parts
Show All
Shaking and Moving
Fixed by
these parts
these parts
Show All
Watch our pros, then fix it yourself.
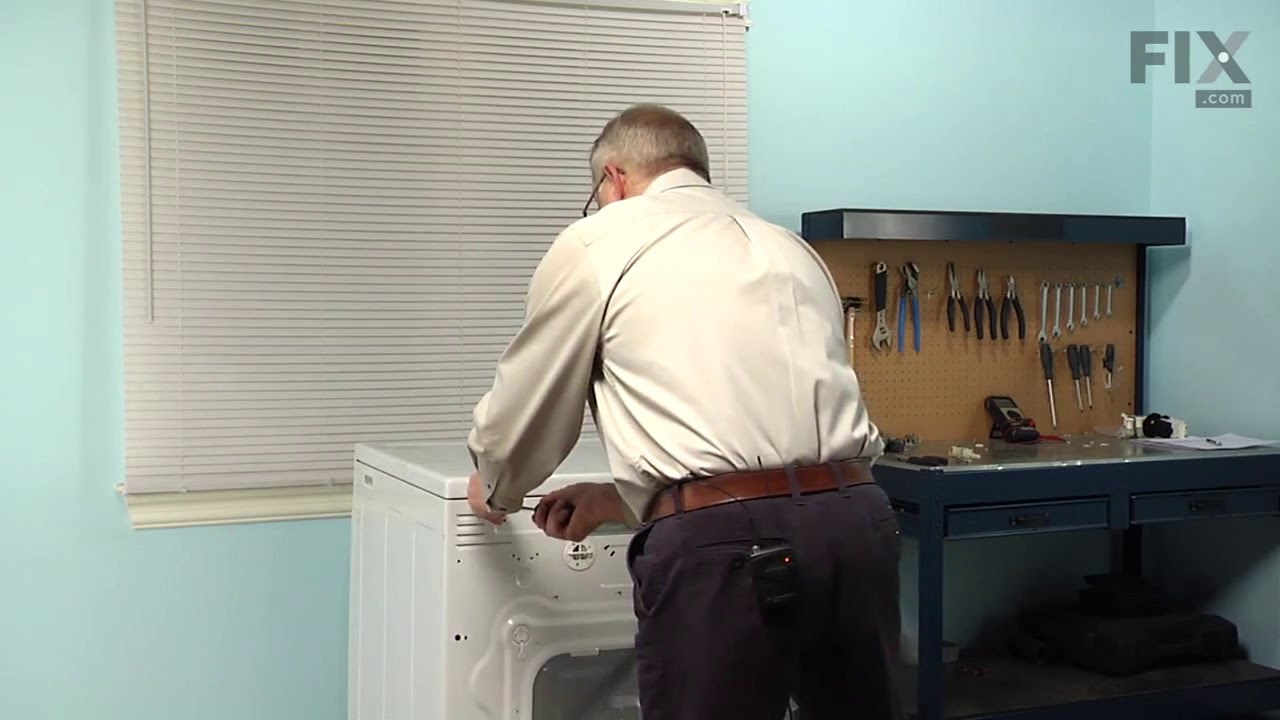
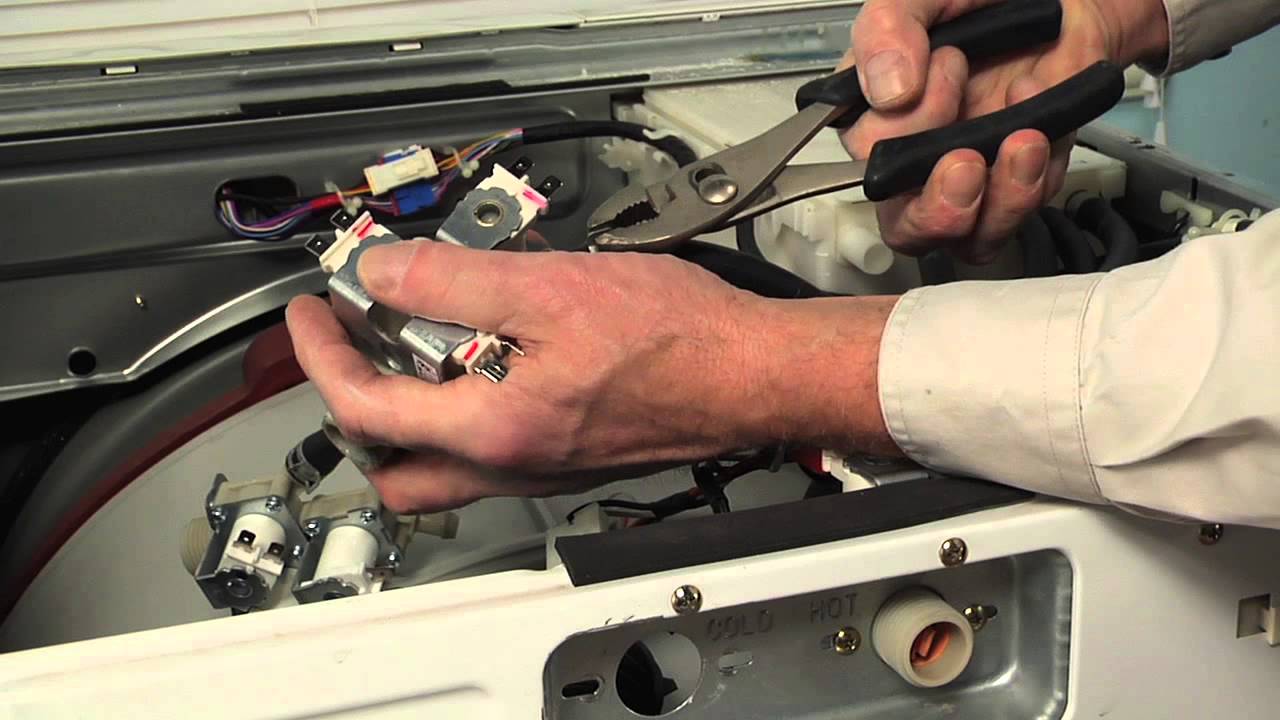
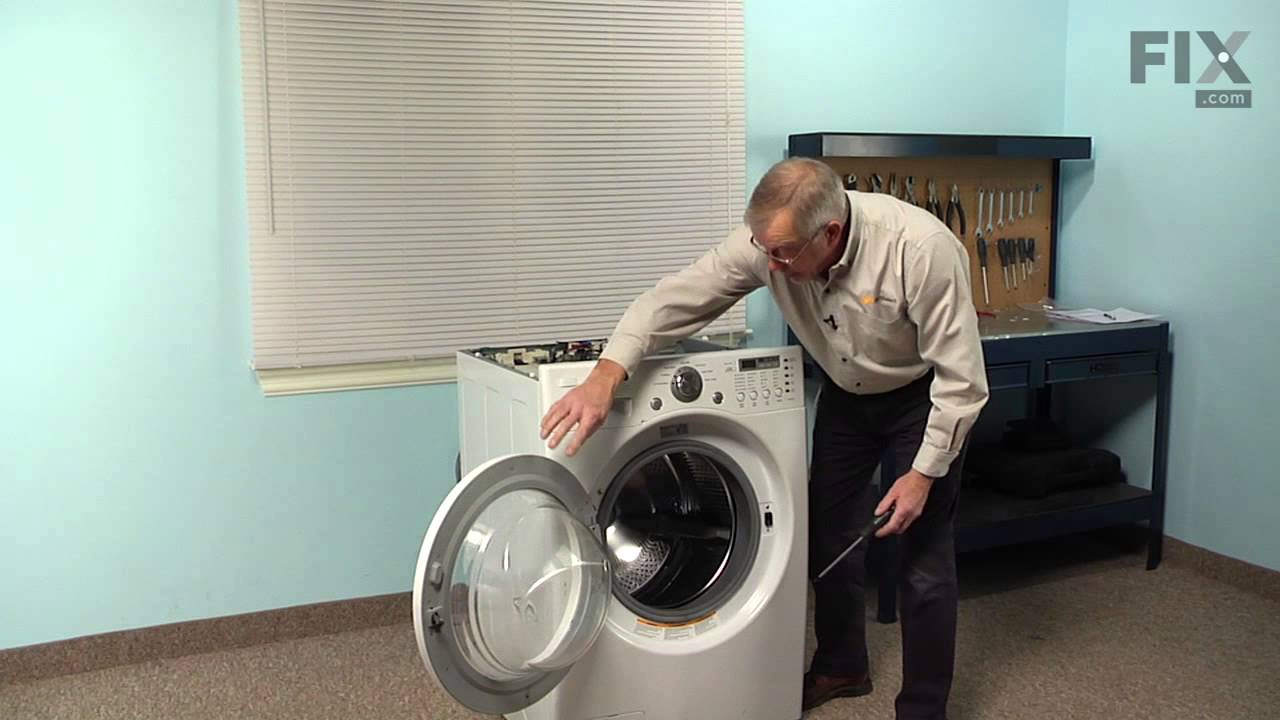
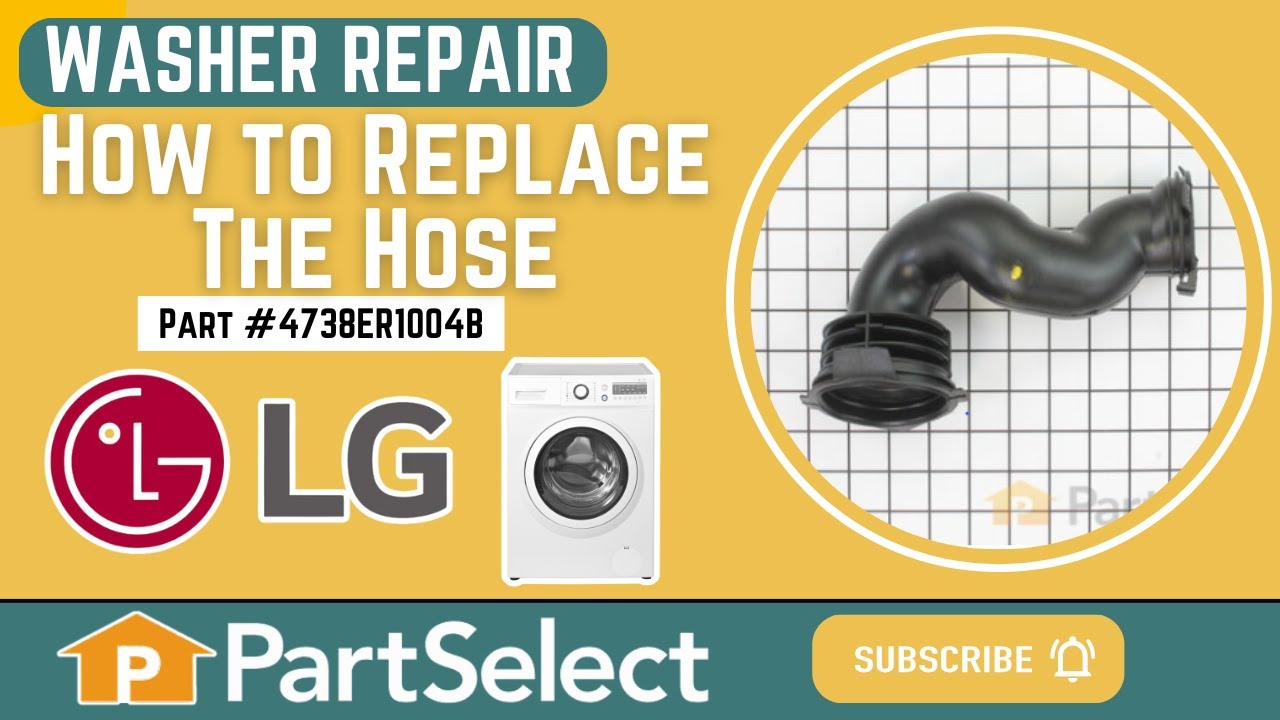
See how others fixed this model. Time, tools, difficulty, and steps that lead to victory!
View More