


 My Orders




79641262611 Kenmore Washer - Overview

Enter a part description. DIY Heroes keep it simple, eg. "belt" or "pump".
Search filter:
Clear Filter
Your search term must have 3 or more characters.

$61.55
In Stock
Washing Machine Drain Pump
Part #4681EA2001T
The drain pump and motor assembly may also be known as the washer drain pump and is a part for your washer. The drain pump helps expel water from the washing machine. The drain pump is activated after the spin cycle speed is maintained for a specific period of time. To make this installation you will need a Phillips screwdriver, a small f...Read morelat-blade screwdriver, a pair of needle-nose pliers, and a pair of slip-joint pliers. Note that the pump casing is not included. This medium-difficulty repair may vary, but can generally be started by disconnecting power, then removing the top of the washer by taking out the four back screws and two small brackets. Then, remove the front panel by taking out the two screws and eight tabs that should be taken from the top. Moving down the front of the washer, remove the door, latch, tub gasket, and drain cover. Disconnect the drain hoses and clip from under the drain assembly, and install new assembly from there. Reassemble parts in direct reverse order -- taking photos during disassembly and keeping parts clearly organized can help here. Despite the number of steps, you will only need a standard Phillips screwdriver to complete this repair.
Read less

$37.35
In Stock
Water Inlet Valve - Hot
Part #5220FR2006H
Hot water enters the washer through this single solenoid inlet valve, which opens when the control calls for hot water and closes when filling stops. It connects the household hot water supply to the internal fill system, regulating flow during selected wash cycles. A faulty valve may prevent hot water from entering, cause slow filling, o...Read morer allow water to seep into the tub while the washer is off. Replacing a damaged valve helps restore controlled filling and proper shutoff of the hot water supply. This is an OEM part sourced directly from the manufacturer.
Read less

$66.13
In Stock
Tub-to-Pump Drain Hose
Part #4738ER1002A
Water leaves the washer tub through this flexible tub-to-pump drain hose before reaching the drain pump housing. Its corrugated bellows section bends with tub movement, helping maintain the connection during washing and spinning. Cracks, punctures, or worn folds may allow water to leak beneath the appliance, while a collapsed section can ...Read morerestrict drainage. Replacing a damaged hose restores the enclosed path between the tub and pump, helping water drain properly while accommodating movement between the suspended tub and the pump assembly. This is an OEM part sourced directly from the manufacturer.
Read less

$25.83
In Stock
Detergent Dispenser
Part #3891ER2003A
Liquid detergent stays contained in this removable dispenser cup until water flushes it into the washer during the wash cycle. The blue plastic insert sits inside the main detergent drawer and can be lifted out for cleaning. Cracks, damaged edges, or a missing cup may prevent liquid detergent from being held properly before dispensing. Re...Read moreplacing a damaged insert restores the container used for liquid detergent in the dispenser drawer. Its removable design also makes it easier to rinse away residue that collects with regular use. This is an OEM part sourced directly from the manufacturer.
Read less

$133.63
In Stock
Inlet Valve Assembly
Part #5221ER1003A
Cold water reaches the washer tub and dispenser through this triple-solenoid inlet valve assembly. Its three controlled outlets open during selected cycle stages, directing water where needed before closing to stop the flow. A damaged housing or failed valve mechanism may cause slow filling, no cold water, leaks, or water entering the dru...Read morem while the washer is off. Replacing a faulty assembly helps restore controlled filling and reliable shutoff, supporting normal washing, rinsing, and delivery of laundry products from the dispenser. This is an OEM part sourced directly from the manufacturer.
Read less

$43.95
In Stock
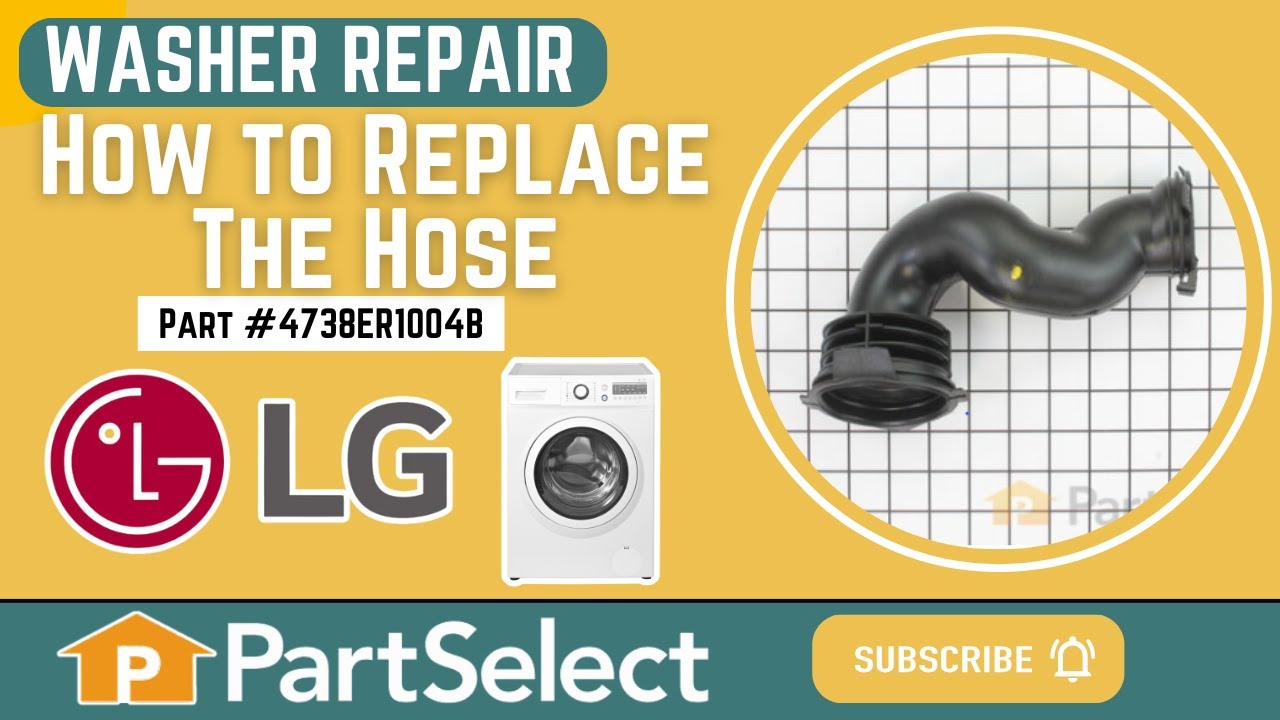
Washer Hose with Bellows
Part #4738ER1004B
Water and detergent travel from the dispenser into the washer tub through this flexible rubber dispenser hose. Its bellows folds allow the hose to flex as the tub moves during operation, helping maintain the connection between the dispenser and tub. Cracks, tears, or worn sections may allow water to drip inside the cabinet, especially dur...Read moreing filling. Replacing a damaged hose restores the enclosed path that carries the detergent mixture into the wash tub and helps prevent leaks from the hose body. This is an OEM part sourced directly from the manufacturer.
Read less

$110.96
In Stock
Door Boot Seal
Part #MDS47123602
Made from high-quality rubber, this washer door boot gasket creates a watertight seal between the door and tub to prevent leaks. It’s compatible with many LG and Kenmore front-load washers and replaces several older part numbers. A reliable fix for water leakage and odor issues.

$72.00
In Stock
Washer Tub Bearing, Rear
Part #4280EN4001F

$46.29
In Stock
Drain Hose Assembly
Part #5215ER2002G
The drain hose assembly is a genuine OEM assembly supplied directly by LG for use in washing machines. The assembly includes the hose, connector, elbow fitting, and metal clamp. It is responsible for directing wastewater from the washing machine tub to the household drain or plumbing system. It allows the water to exit the washer efficien...Read moretly and prevents it from pooling inside the machine at the end of the cycle. If the hose can no longer stay attached to the washer or drainpipe, water is leaking from the hose, or the hose has visible damage such as cracks and splits then you will need to replace it before you can resume using your washer.
Read less

$48.35
In Stock
Pump Casing
Part #3108ER1001B
Containing and directing water through the pump area, this plastic washer drain pump casing connects the tub drain hose, pump motor, and debris filter. It forms the outer chamber of the pump assembly and holds connected components in place during draining. A cracked shell, stripped filter threads, or broken mounting tabs may allow water t...Read moreo leak or leave the assembly insecure. Replacing a damaged casing restores the water chamber and attachment points, allowing serviceable pump components to be transferred to the new housing. This is an OEM part sourced directly from the manufacturer.
Read less

$32.95
In Stock
Clamp Assembly
Part #ACA56078801
This is an outer seal clamp designed for use within LG washing machines. This clamp tightens and secures the gasket that seals the washer tub from the door. If your gasket is loose fitting and is not damaged or warped, this clamp is likely worn out and in need of replacing. This clamp is an OEM part and is made entirely of metal, with a s...Read moretrong tension spring in the middle. This outer seal clamp is sold individually and will require a set of pliers to replace.
Read less

$48.35
In Stock
LOCKER,HOOK
Part #MFG63099101
This hook locker, commonly referred to as a door lock strike is specially designed for LG washers. It is a small, metal plate that is attached to the washer door. When the door is closed it engages with the door lock mechanism to keep the door securely shut while the washer is running. If it is damaged, worn down, or corroded, it will be ...Read moreunable to engage with the locking mechanism and prevent your washer from closing or staying shut. You may notice that your washer will not start or stops running mid-cycle. You will need to replace the door strike to fix the washer.
Read less
Common Symptoms of the 79641262611
How this model fails, and the parts that fix it.
Will not drain
Fixed by
these parts
these parts


Show All
Leaking
Fixed by
these parts
these parts


Show All
Draining Issues
Fixed by
these parts
these parts
Show All
Lid or door won’t close
Fixed by
these parts
these parts


Show All
Water Filling Issues
Fixed by
these parts
these parts

Show All
Locking Issues
Fixed by
these parts
these parts
Show All
Does not dispense fabric softener or detergent
Fixed by
these parts
these parts

Show All
Engine runs but does not pump water
Fixed by
these parts
these parts
Show All
No hot or cold water
Fixed by
these parts
these parts
Show All
Will Not Start
Fixed by
these parts
these parts
Show All
Noisy
Fixed by
these parts
these parts
Show All
Not draining
Fixed by
these parts
these parts
Show All
Marks left on clothes
Fixed by
these parts
these parts

Show All
Spinning Issues
Fixed by
these parts
these parts

Show All
Watch our pros, then fix it yourself.
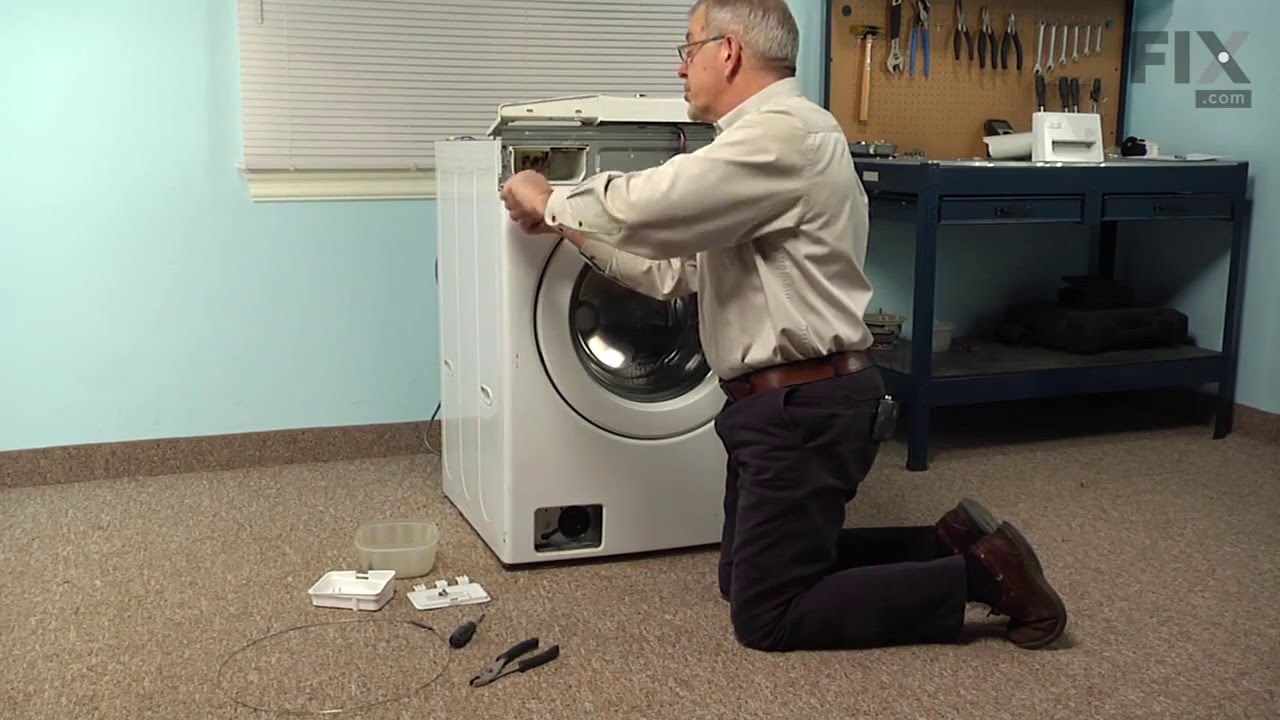
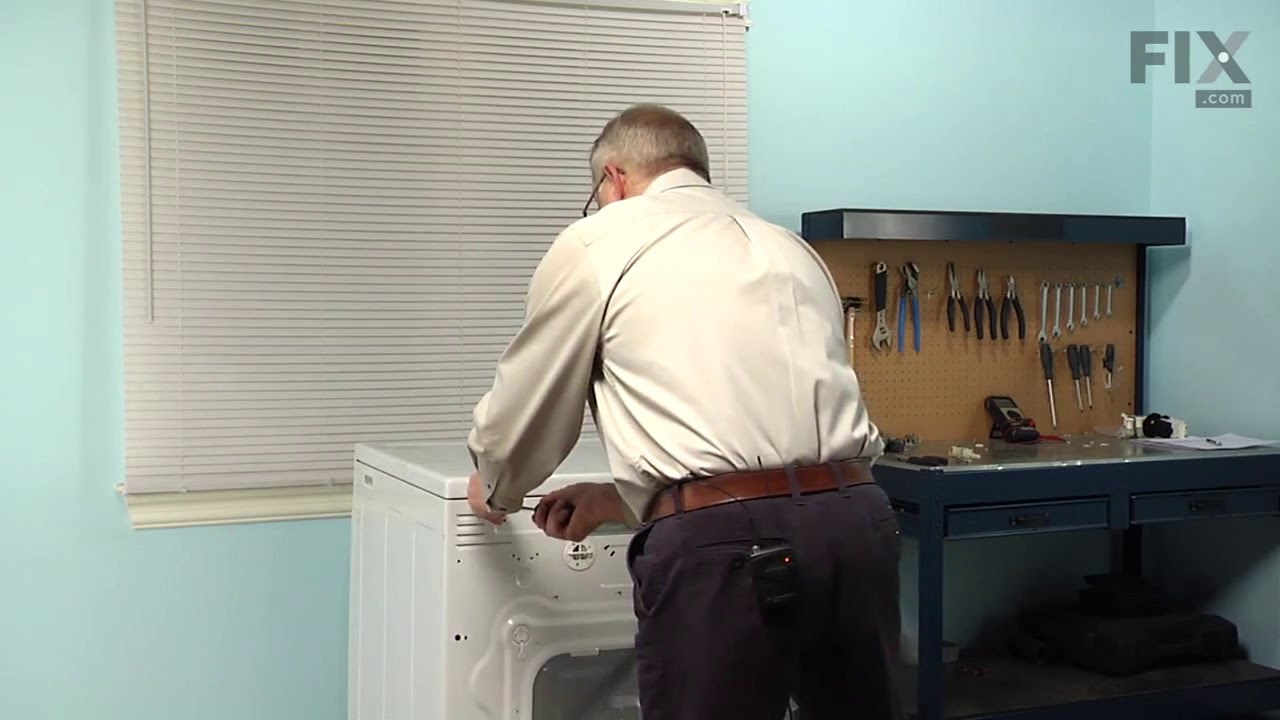
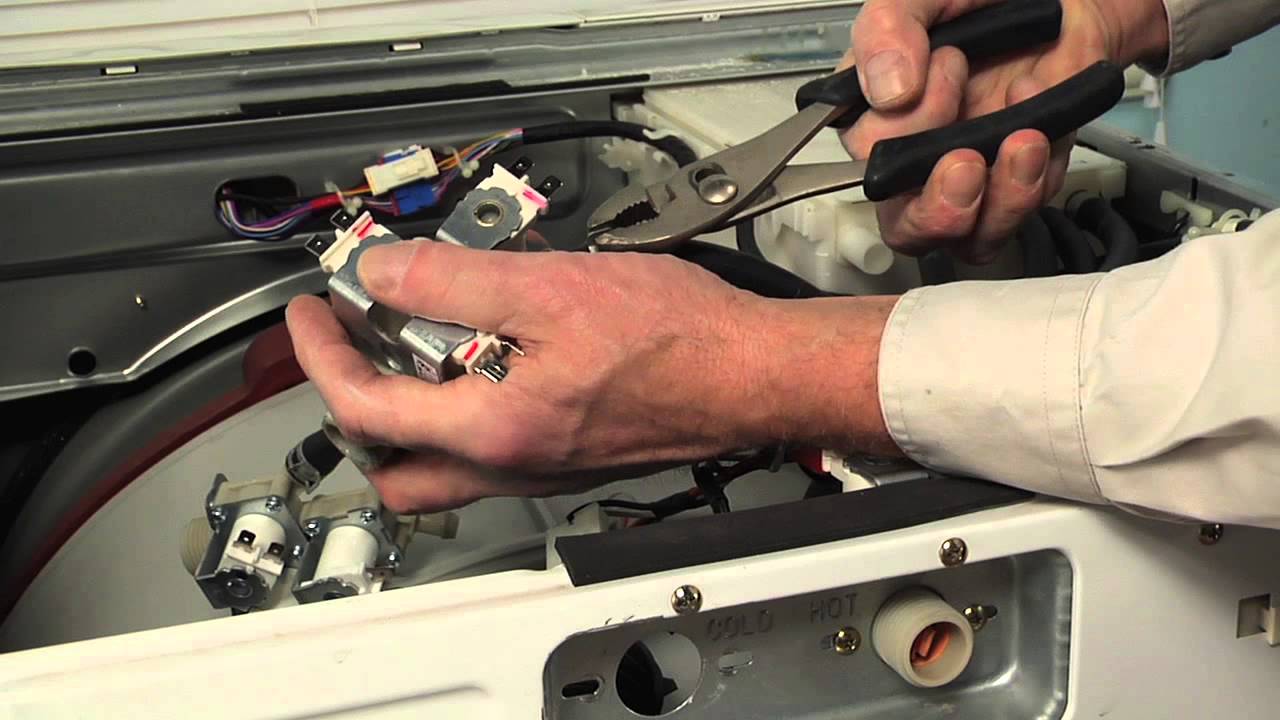
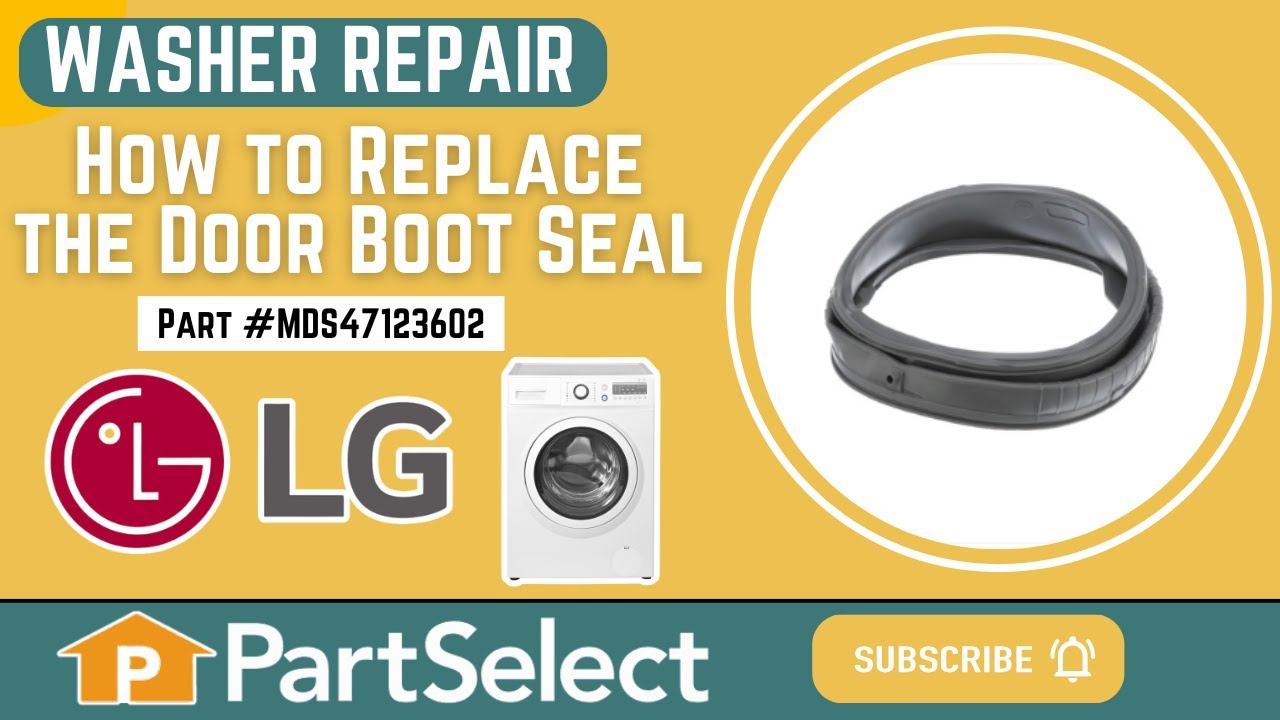
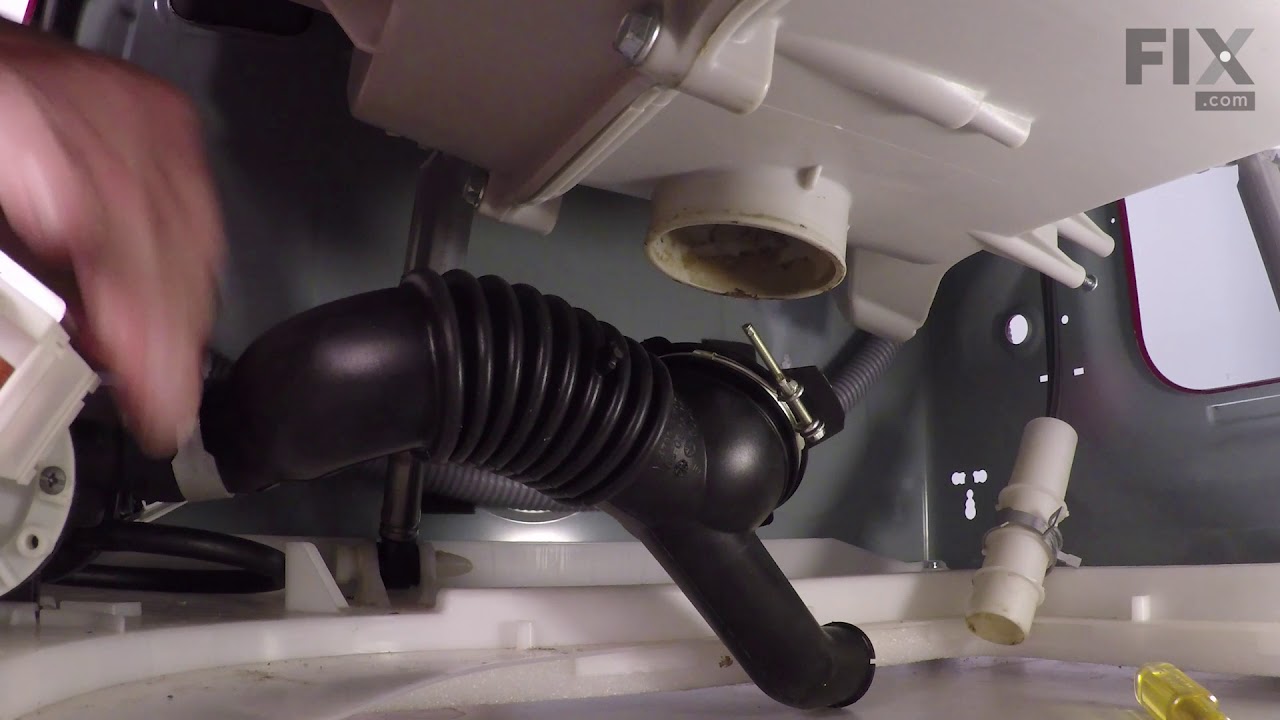
See how others fixed this model. Time, tools, difficulty, and steps that lead to victory!
View More