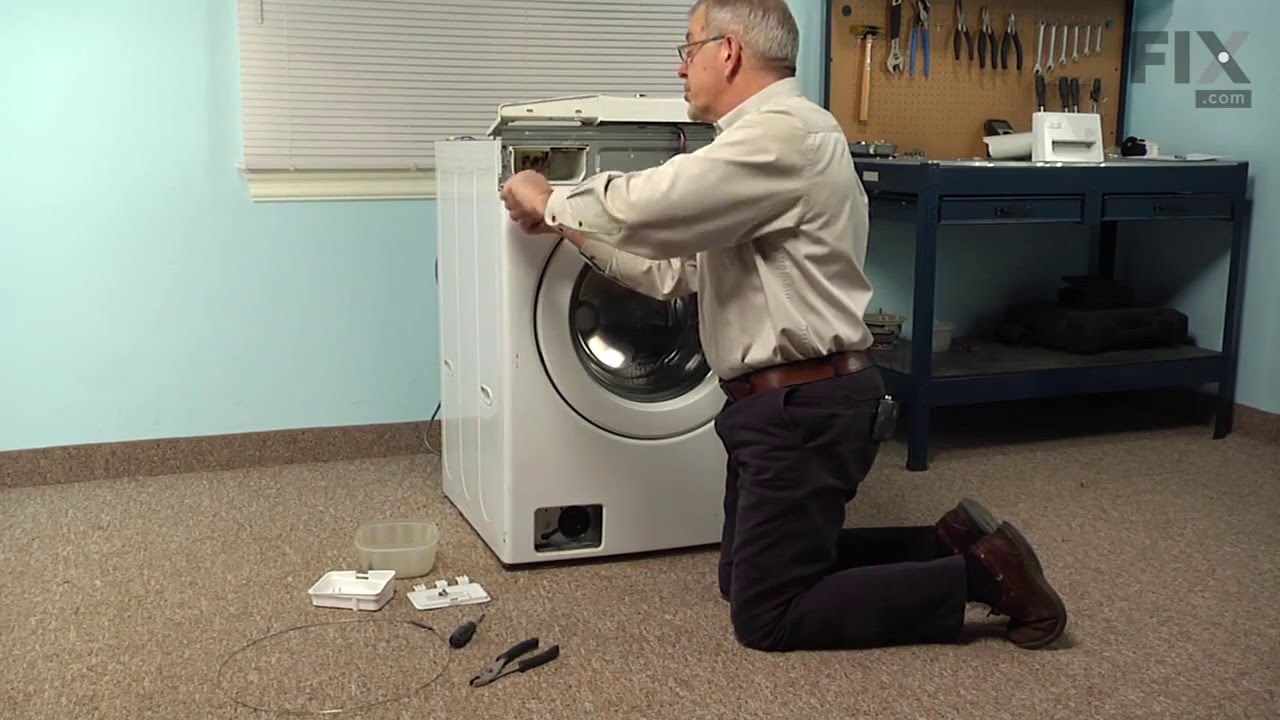
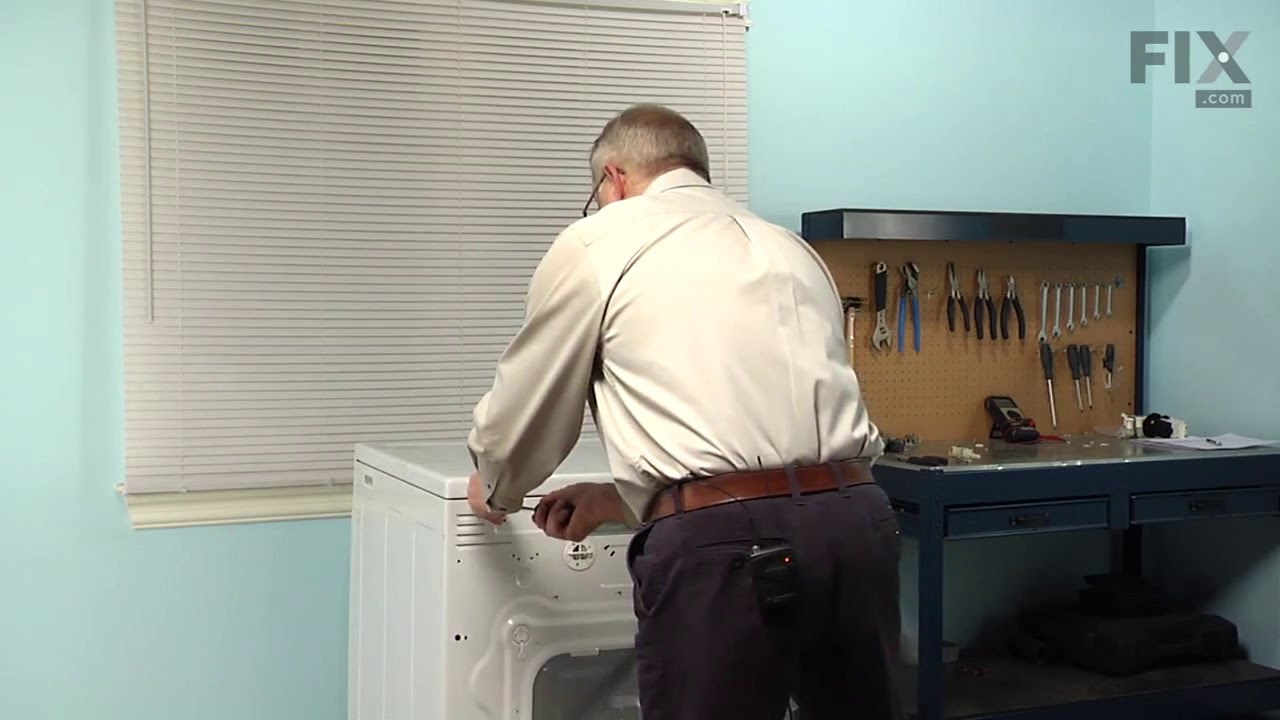
The drain pump and motor assembly may also be known as the washer drain pump and is a part for your washer. The drain pump helps expel water from the washing machine. The drain pump is activated after the spin cycle speed is maintained for a specific period of time. To make this installation you will need a Phillips screwdriver, a small f...Read morelat-blade screwdriver, a pair of needle-nose pliers, and a pair of slip-joint pliers. Note that the pump casing is not included. This medium-difficulty repair may vary, but can generally be started by disconnecting power, then removing the top of the washer by taking out the four back screws and two small brackets. Then, remove the front panel by taking out the two screws and eight tabs that should be taken from the top. Moving down the front of the washer, remove the door, latch, tub gasket, and drain cover. Disconnect the drain hoses and clip from under the drain assembly, and install new assembly from there. Reassemble parts in direct reverse order -- taking photos during disassembly and keeping parts clearly organized can help here. Despite the number of steps, you will only need a standard Phillips screwdriver to complete this repair.
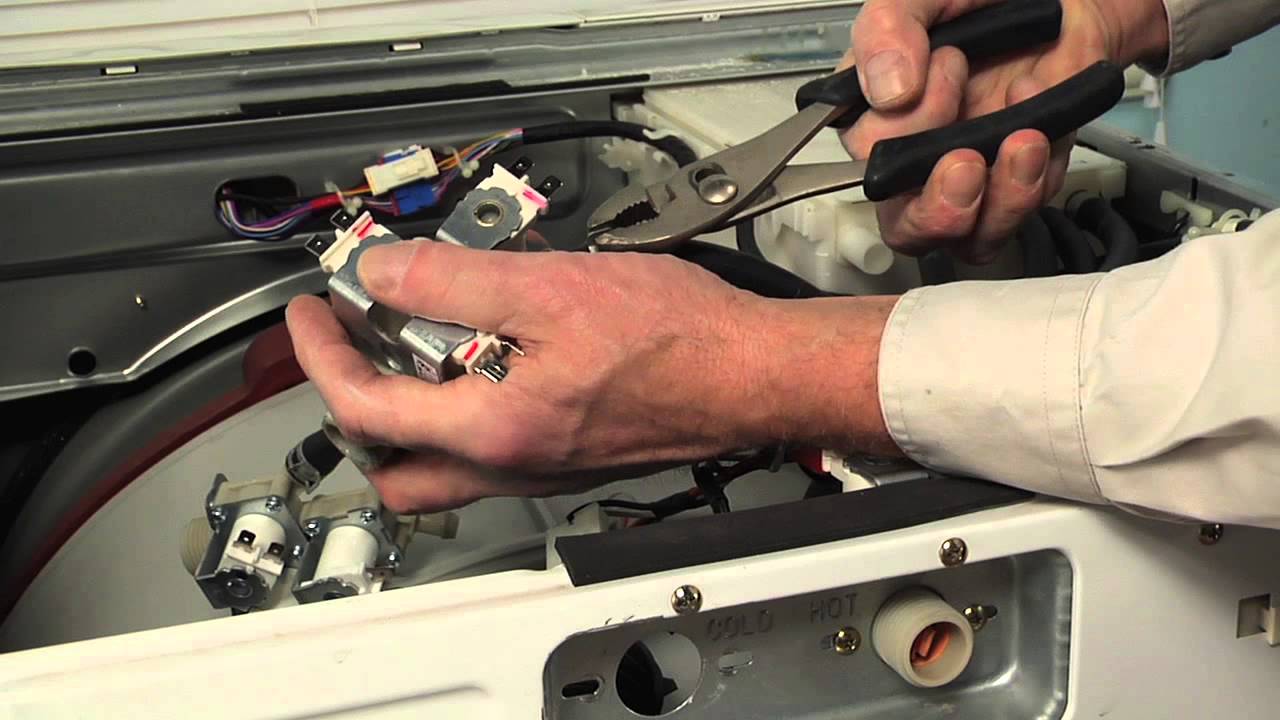
Hot water enters the washer through this single solenoid inlet valve, which opens when the control calls for hot water and closes when filling stops. It connects the household hot water supply to the internal fill system, regulating flow during selected wash cycles. A faulty valve may prevent hot water from entering, cause slow filling, o...Read morer allow water to seep into the tub while the washer is off. Replacing a damaged valve helps restore controlled filling and proper shutoff of the hot water supply. This is an OEM part sourced directly from the manufacturer.
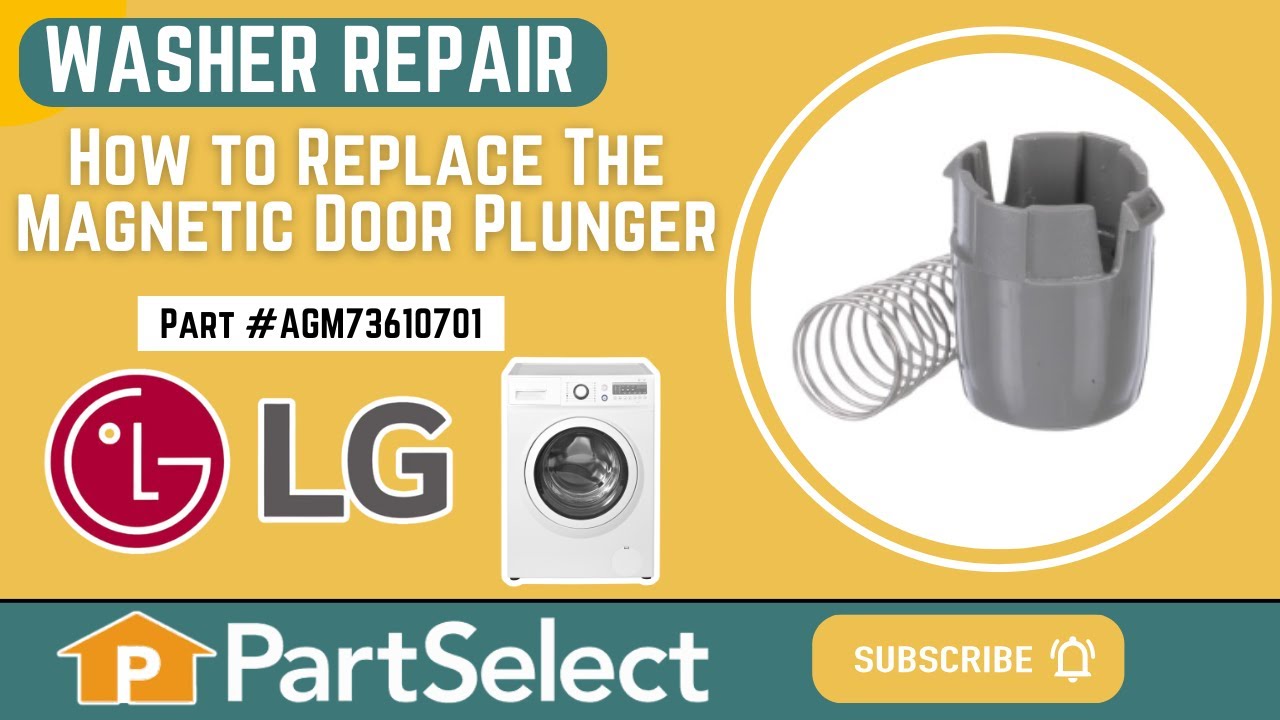
This washer magnetic door plunger holds the door slightly open between loads, allowing air to circulate through the drum and around the door seal. This helps trapped moisture dry and reduces musty odours. The spring lets the plunger press inward when you close the door for a wash cycle. Broken tabs, a damaged spring, or a missing magnet m...Read moreay keep it from holding the door in the vented position. Replacing a damaged plunger restores this handy way to air out the washer after use. This is an OEM part sourced directly from the manufacturer.
Protecting the tub bearings from wash water, this rear tub shaft seal forms a barrier around the rotating drum shaft. The rubber seal fits into the rear outer tub and helps keep water and detergent away from the bearing area while the drum turns. A worn, torn, or hardened seal may allow leaks near the rear of the tub and expose the bearin...Read moregs to moisture. Replacing a damaged seal restores the barrier needed to contain wash water and protect the drive shaft bearing area. This is an OEM part sourced directly from the manufacturer.
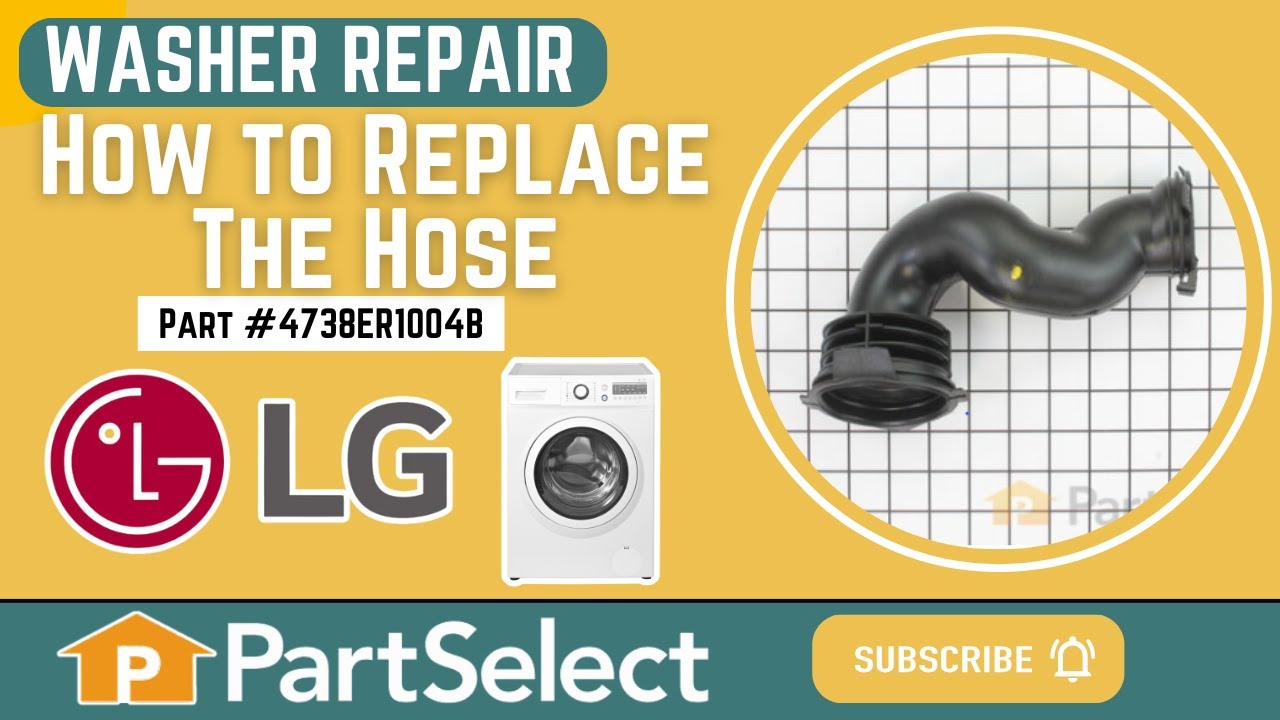
Water leaves the washer tub through this flexible tub-to-pump drain hose before reaching the drain pump housing. Its corrugated bellows section bends with tub movement, helping maintain the connection during washing and spinning. Cracks, punctures, or worn folds may allow water to leak beneath the appliance, while a collapsed section can ...Read morerestrict drainage. Replacing a damaged hose restores the enclosed path between the tub and pump, helping water drain properly while accommodating movement between the suspended tub and the pump assembly. This is an OEM part sourced directly from the manufacturer.
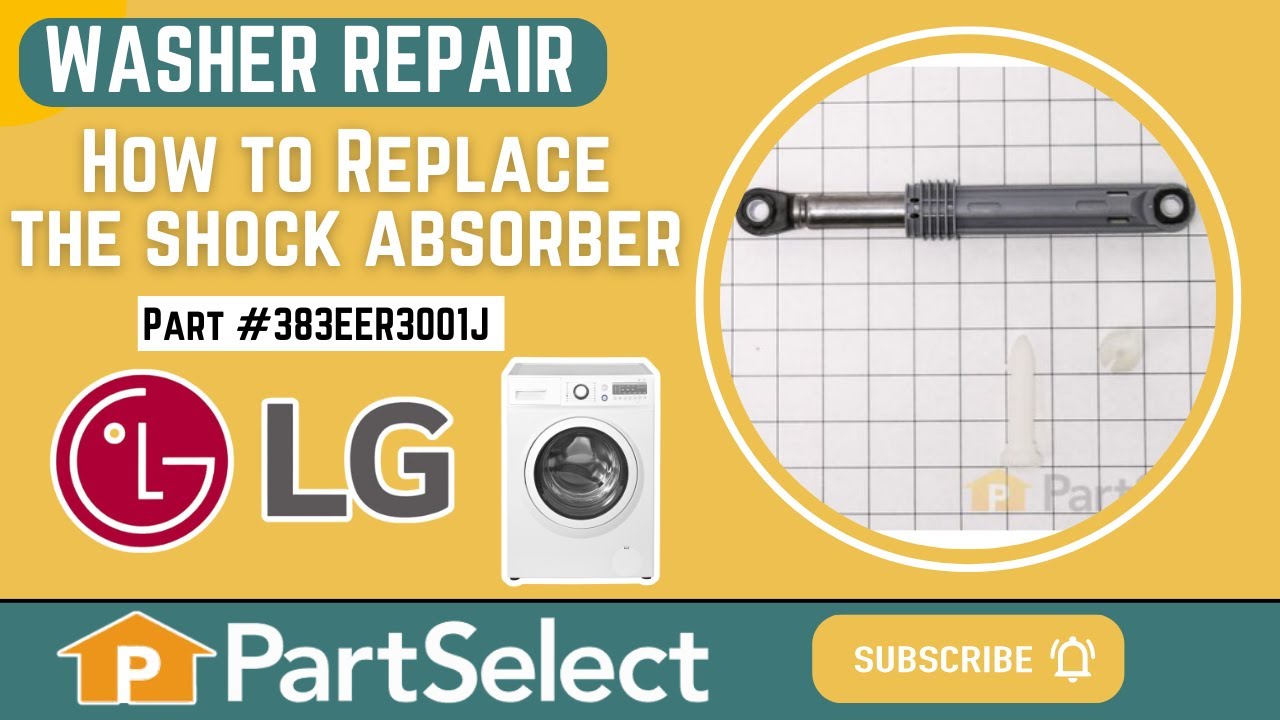
The suspension shock absorber connects the tub to the cabinet base and resists sudden movement as the load turns. A worn or damaged absorber may allow excessive shaking, thumping, or repeated unbalanced cycle interruptions. Replacing a faulty absorber helps restore controlled tub movement and steadier operation. By limiting tub travel, it...Read more also reduces repeated impacts and movement transferred to the washer cabinet. This is an OEM part sourced directly from the manufacturer.
This is a replacement sensor assembly for your washer. It may also be known as a motor rotor position sensor. The sensor assembly monitors the direction and speed of the spinning rotor and communicates this information to the electronic control board. If your washer pumps but will not spin or agitate, you may have a damaged sensor assembl...Read morey. This part is sold individually, and is an OEM part sourced directly from the manufacturer. Be sure to shut off the power to your washer before you begin this repair.
This is a seal for a washer tub. It creates a seal between the front and rear halves of the washer tub to prevent the appliance from leaking. If you notice leakage between the two sections of the tub, you may need to replace this part. Seals can get dry and brittle over time which compromises the integrity of the part and may cause your a...Read moreppliance to leak. This is a genuine replacement part sourced from the original manufacturer. You will need to disassemble the outer panels of the washer to access the tub seal.
Liquid detergent stays contained in this removable dispenser cup until water flushes it into the washer during the wash cycle. The blue plastic insert sits inside the main detergent drawer and can be lifted out for cleaning. Cracks, damaged edges, or a missing cup may prevent liquid detergent from being held properly before dispensing. Re...Read moreplacing a damaged insert restores the container used for liquid detergent in the dispenser drawer. Its removable design also makes it easier to rinse away residue that collects with regular use. This is an OEM part sourced directly from the manufacturer.
Cold water reaches the washer tub and dispenser through this triple-solenoid inlet valve assembly. Its three controlled outlets open during selected cycle stages, directing water where needed before closing to stop the flow. A damaged housing or failed valve mechanism may cause slow filling, no cold water, leaks, or water entering the dru...Read morem while the washer is off. Replacing a faulty assembly helps restore controlled filling and reliable shutoff, supporting normal washing, rinsing, and delivery of laundry products from the dispenser. This is an OEM part sourced directly from the manufacturer.
Water and detergent travel from the dispenser into the washer tub through this flexible rubber dispenser hose. Its bellows folds allow the hose to flex as the tub moves during operation, helping maintain the connection between the dispenser and tub. Cracks, tears, or worn sections may allow water to drip inside the cabinet, especially dur...Read moreing filling. Replacing a damaged hose restores the enclosed path that carries the detergent mixture into the wash tub and helps prevent leaks from the hose body. This is an OEM part sourced directly from the manufacturer.
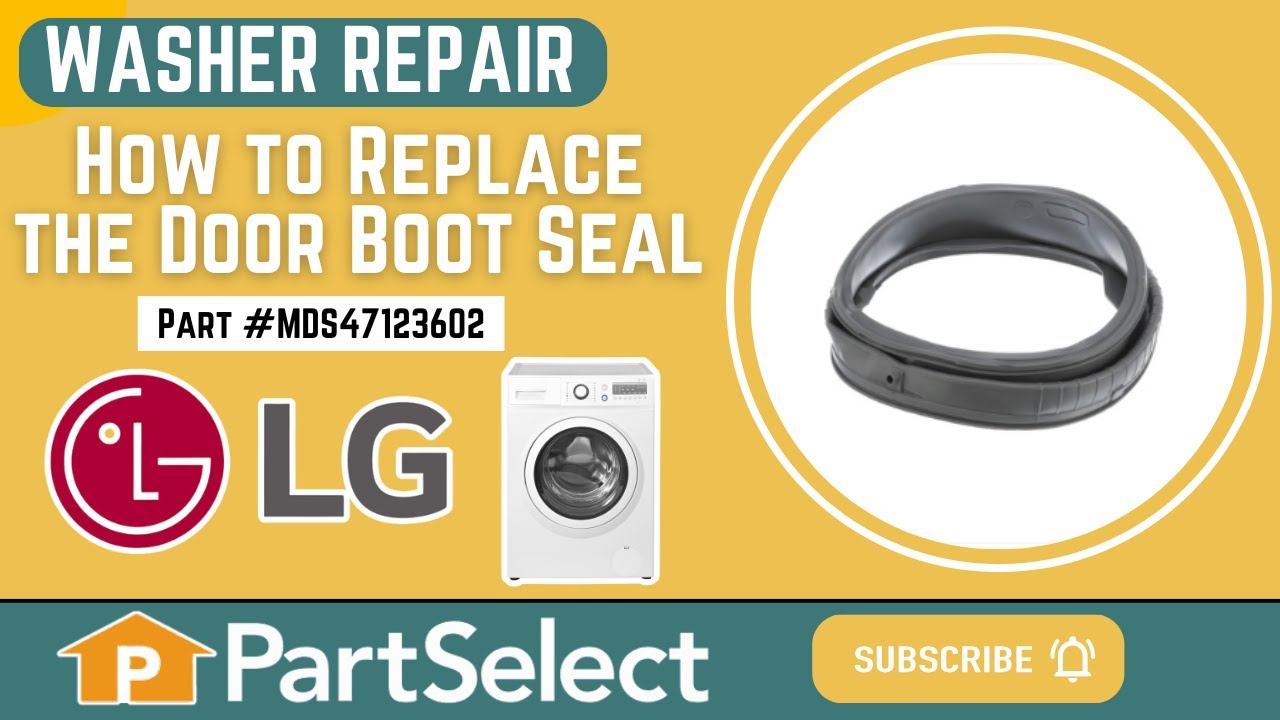
Made from high-quality rubber, this washer door boot gasket creates a watertight seal between the door and tub to prevent leaks. It’s compatible with many LG and Kenmore front-load washers and replaces several older part numbers. A reliable fix for water leakage and odor issues.
Ask our experts a question about this model and we'll get back to you as soon as possible!
We may have answered a similar question already! Search questions and answers left by others using simple keywords like "fit", "broken", "easy", or "quality" to find questions that match.
Search filter:
Clear Filter
Your search term must have 3 or more characters.
Sort by:
Prev
1
Next
Sorry, we couldn't find any existing answers that matched.Try using some different or simpler keywords, or submit your new question by using the "Ask a Question" button above!
Jay - For model number 79641182311
April 16, 2023
drum seems to tilt back not sure but spins free gave load clunk then went off balance
Hi Jay, thank you for reaching out. You may need the shock absorber kit, part number PS3522313. We hope this helps!
The door lock frame is bent in just a little. I need to know how to move the rubber gasket between the door and tub?
Hello Tim, Thank you for writing. We were able to locate one of our How to Videos. The part and appliance might be slightly different; however, they will have the same basic steps for instillation. We hope this helps with the repair!
Was this helpful?
Thank you for voting!
Prev
1
Next
✖
Ask a Question
Ask our experts a question on this model and we'll respond as soon as we can.
See how others fixed this model. Time, tools, difficulty, and steps that lead to victory!View More
Search repair tips from other customers using simple keywords like "replace", "fit", "remove", "inspect". DIY doesn't mean you have to do it alone!
Search filter:
Clear Filter
Your search term must have 3 or more characters.
Washing maching wouldn't drain
592 of 761 peoplefound this instruction helpful.
Jorge from Apple Valley, CA
Easy
1- 2 hours
Screw drivers
Removed the top of the washer by removing the 4 back screws and 2 small brackets. Then I removed the front panel, this was actually the hardest part, 2 screws and 8 tabs that you pop out carefully from the top of the panel. I only disconnected the power button and was able to rest the panel on top of the washer. The rest of the washer cam
... Read moree apart quickly just moving down the front of the washer and removing the door, latch, tub gasket, drain cover. Removing the pump was just a mater of disconnecting the drain hoses, and one clip under the drain assembly. 3 screws attach the drain to assembly to the pump and only 2 wires that are clearly marked. Reassembly is just going back through in reverse order of disassenbly. The best thing about this is that it all comes apart with a standard phillips screwdriver.
Read less
Was this helpful?
Thank you for voting!
LE Error Message and won't spin drum properly
255 of 339 peoplefound this instruction helpful.
Mark from Harrisburg, PA
Easy
30 - 60 mins
Screw drivers, Socket set
I first tested the motor per the service manual. I checked the resistance between the terminals of the 3 pin connector. It's supposed to be 5-15 ohms. The motor checked out so I replaced the main electrical board. It turns out that wasn't the problem. After a brief web search I found out that the hall sensor (which is attached to the
... Read more motor stator) was the likely cause of the failure. I replaced that and everything works great now. And now I have a spare main board in case that ever fails. I also want to mention that I took the time to remove the dispenser box (where the water comes in and is directed to the different cleaning products) and cleaned it with a very strong bleach solution. It got rid of the mildew and funky smell. It seems that the fabric softener caused a lot of mildew to form inside the dispenser directly above the fabric softener tray. The bleach took care of that. This is probably something that should be done routinely to keep the mildew from forming.
Read less
Was this helpful?
Thank you for voting!
Door would not close
157 of 181 peoplefound this instruction helpful.
Omnitech from Warrenville, IL
Really Easy
Less than 15 mins
There is a magnet at the bottom of the door which allows the door to be held ajar when the washer is not in use to allow the tub and gaskets to dry. A tab on the plastic housing which retains the magnet broke which allowed the housing to pull free of the door and stick itself to the machine preventing the door to close. Easy fix to replac
... Read moree the magnet was $18. Instructions were included in the box. Part number on the drawing was A165. PS3618292 Magnetic Door Plunger


 My Orders