


 My Orders




79579752901 Kenmore Refrigerator - Overview

Enter a part description. DIY Heroes keep it simple, eg. "belt" or "pump".
Search filter:
Clear Filter
Your search term must have 3 or more characters.

$24.67
In Stock
Refrigerator Door Switch
Part #6600JB1010A
Opening the refrigerator door releases this push-button switch to turn on the interior light, making stored food easier to see. When the door closes, it presses the button and turns the light off. A stuck, worn, or broken switch may leave the light off when the door is open or keep it on after closing. Replacing a faulty switch helps rest...Read moreore normal lighting control and reliable response to door movement. Disconnect the refrigerator from power before removing or installing the switch. This is an OEM part sourced directly from the manufacturer.
Read less

$28.55
In Stock
Plastic Tube - 5/16 Inch
Part #MJU62070602
Water travels between refrigerator plumbing components through this plastic water line tubing. The tube provides an enclosed path for water supplied to the dispenser and ice maker, helping maintain delivery through the internal system. Cracks, punctures, or brittle sections may cause leaks, while kinks can restrict flow and reduce dispens...Read moreer output or ice maker filling. Replacing damaged tubing helps restore a contained water path and steady flow. Shut off the refrigerator water supply before disconnecting the line, and inspect the completed connections for leaks after installation. This is an OEM part sourced directly from the manufacturer.
Read less

$25.25
In Stock
Handle Screw
Part #MJB63190001
This handle screw, also known as a mounting bolt, is a mounting screw to help secure the door handle to your refrigerator door. If your handle is loose, you may just need to tighten the screw. If your screw is missing or broken, it may need to be replaced. There are multiple handle screws on your fridge, please consider ordering extra as ...Read morethey commonly wear at the same rate. This is about 1 inch long and metallic in color.
Read less

$25.25
In Stock
Door Stopper
Part #4620JJ2009A
Controlled door travel helps prevent a refrigerator door from swinging beyond its intended opening range. This white plastic door stopper mounts near the bottom of the door and provides a stopping point as it opens. A cracked, worn, or broken stopper may allow excessive movement or fail to stop the door normally. Replacing a damaged stopp...Read moreer helps restore the intended swing limit and reduces strain caused by overextension. The stopper works with the hinge assembly to provide a mechanical limit during everyday opening and closing. This is an OEM part sourced directly from the manufacturer.
Read less

$77.22
Special Order
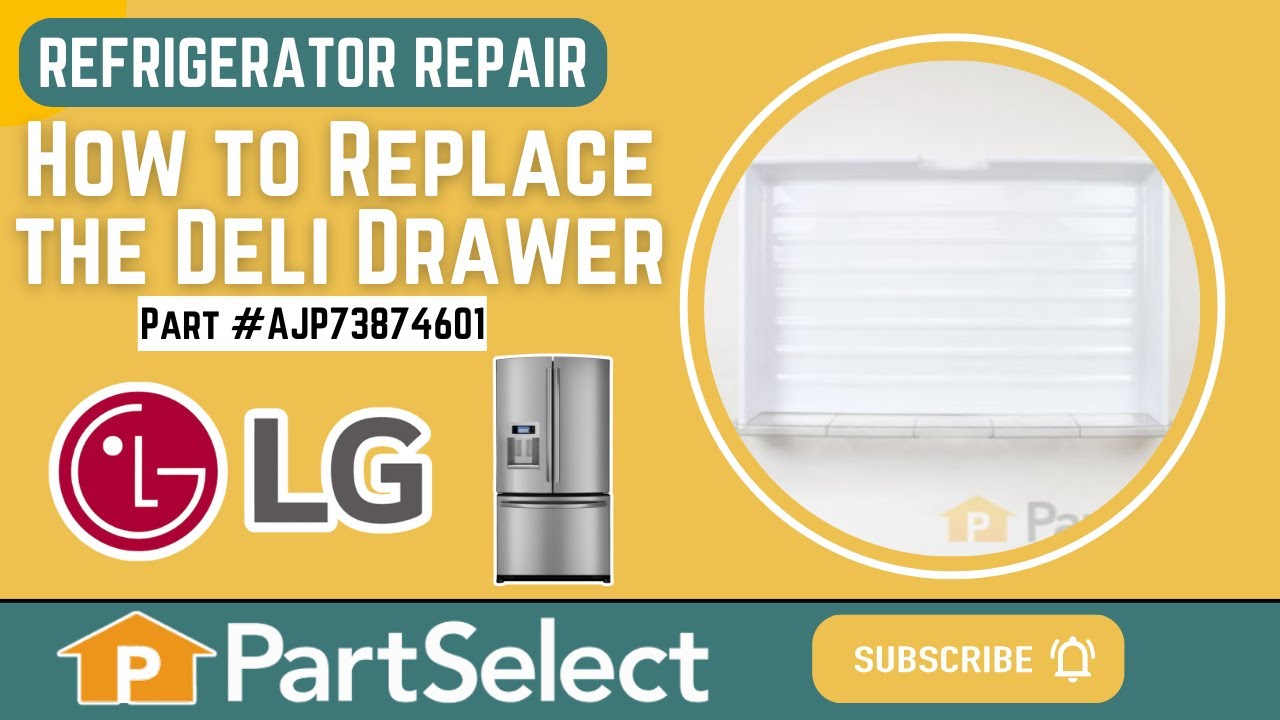
Deli Drawer
Part #AJP73874601
This deli drawer is for refrigerators. Deli drawer holds meats, vegetables and snacks in the fresh food compartment of the refrigerator. Follow the instructions in the owner's manual when installing this part.

$44.23
In Stock
Door Shelf Bin
Part #AAP73871501
Everyday drinks and condiments stay organized in this refrigerator door shelf bin. Its white plastic frame supports jars and bottles, while the clear front makes contents easy to see. The bin attaches to slots inside the door, adding storage without taking up room on the main shelves. A cracked base, broken mounting tabs, or damaged front...Read more panel may leave containers poorly supported. Replacing a worn or broken bin restores useful storage and helps keep items secure as the door opens and closes. This is an OEM part sourced directly from the manufacturer.
Read less

$83.04
In Stock
Freezer Door Gasket
Part #MDS38201426
Keep frozen food protected from warm air leaks with this freezer door gasket. Its flexible sealing edge fits around the door perimeter and rests against the cabinet when closed, helping retain cold air and limit incoming moisture. Tears, cracks, or warped sections may cause frost buildup, condensation, or longer running times. Replacing a...Read more damaged gasket helps restore a snug seal. Before installation, smooth shipping creases with warm water and clean the retaining groove, then seat the corners first and check for even contact along every edge. This is an OEM part sourced directly from the manufacturer.
Read less

$37.35
In Stock

$78.53
In Stock
Primary Water Valve - Single Coil
Part #MJX41178908
An electrically operated solenoid controls incoming water through this refrigerator water inlet valve. It opens when the appliance requests water and closes when delivery ends, supplying the internal system used by the dispenser and ice maker. A failed valve may stop water flow, reduce ice maker filling, or allow leaks around the valve bo...Read moredy. Replacing a faulty unit helps restore controlled water delivery and shutoff between requests. The single-coil design operates the valve mechanism in response to signals from the refrigerator controls. This is an OEM part sourced directly from the manufacturer.
Read less

No Longer Available
Ice Maker Assembly
Part #AEQ36756901
This refrigerator ice maker assembly kit is a complete unit designed to provide a consistent and reliable supply of ice. It includes the ice maker, housing, and integrated control mechanism, ensuring full functionality and seamless integration into compatible refrigerator models. The unit receives water, freezes it, and automatically ejec...Read morets ice into the storage bin, supporting continuous ice production. Constructed from durable materials and engineered for long-term performance, this replacement part helps restore efficient ice-making capabilities. Ideal for resolving issues such as inconsistent ice supply or a non-functioning ice maker, it offers a dependable solution for maintaining convenience in daily use.
Read less

$125.75
In Stock
Evaporator Fan Motor
Part #4681JB1027C
This is a genuine OEM evaporator motor that directly powers the evaporator mechanism within your refrigerator. This mechanism is responsible for pulling air over the evaporator coils, which are cold, and circulating that cold air back throughout the appliance. Without this motor, the interior of your refrigerator would build up frost, str...Read moreain the compressor, and simply not cool your fridge enough. A warm fridge, frost buildup or unusual noises are all signs that this fan needs replacing, and over time or through excessive dust building up, motor issues will arise and can cause it to fail. This fan motor is sold as an individual part, so it does not come with any securing screws or the fan blade itself. Replacing the evaporator fan motor will require your user manual and Philips-head and flathead screwdrivers. You need to gain access to the evaporator cover, which you will need to locate using your user manual schematics. Once the cover is removed and you disconnect the wire harnesses within it, you can disassemble the fan mechanism on its inside portion. With the fan mechanism disassembled, remove the old mechanism and install the new one, with the securing screws and wire harnesses.
Read less

No Longer Available
Cam,Shaft
Part #4430JJ2004B
The purpose of the door latch cam is to keep the door latched when you shut it. If your door is not staying shut, you may need to replace the door latch cam. This part is made of white plastic and is about 2 inches in length. The door latch cam is located at the top of the door, and you will need to remove the trim that covers the gasket ...Read morein order to access the door latch cam. To complete this repair, you will need a flat blade screwdriver to pop out the plastic tabs holding the gasket in place. This part is sold individually.
Read less
Common Symptoms of the 79579752901
How this model fails, and the parts that fix it.
Leaking
Fixed by
these parts
these parts


Show All
Light not working
Fixed by
these parts
these parts


Show All
Door won’t open or close
Fixed by
these parts
these parts


Show All
Ice maker not making ice
Fixed by
these parts
these parts

Show All
Not dispensing water
Fixed by
these parts
these parts
Show All
Fridge too warm
Fixed by
these parts
these parts


Show All
Noisy
Fixed by
these parts
these parts

Show All
Ice maker won’t dispense ice
Fixed by
these parts
these parts

Show All
Frost buildup
Fixed by
these parts
these parts

Show All
Will Not Start
Fixed by
these parts
these parts
Show All
Fridge and Freezer are too warm
Fixed by
these parts
these parts
Show All
Clicking sound
Fixed by
these parts
these parts
Show All
Freezer section too warm
Fixed by
these parts
these parts
Show All
Watch our pros, then fix it yourself.
See how others fixed this model. Time, tools, difficulty, and steps that lead to victory!
View More