


 My Orders




79573133412 Kenmore Refrigerator - Overview

Enter a part description. DIY Heroes keep it simple, eg. "belt" or "pump".
Search filter:
Clear Filter
Your search term must have 3 or more characters.

$164.47
In Stock
Refrigerator Front Plate Assembly
Part #AGU75188619
This front plate assembly, also known as a mullion or flipper, is a genuine replacement part designed for select LG and Kenmore French-door refrigerators. It serves a critical function by sealing the gap between the doors, preventing cold air from escaping and helping maintain consistent internal temperatures. Constructed from durable pla...Read morestic, it supports both the performance and appearance of the appliance. A failing mullion may result in poor sealing, visible gaps, increased energy consumption, and potential food spoilage. Replacing this component can restore proper door alignment and improve overall efficiency. Compatibility should be confirmed using your refrigerator’s model number prior to installation.
Read less

$122.57
In Stock
Water Inlet Valve Assembly
Part #AJU72992601
This includes the primary and secondary valves along with the wire harness.

$23.60
In Stock
Door Holder
Part #MEG61899901
This is a manufacturer-approved refrigerator door closure for your refrigerator. It is made of white plastic and measures approximately 3 inches by 2 inches. If your old closure is damaged, your refrigerator door may not open and shut properly, and therefore it should be replaced.

$57.38
In Stock

$15.00
In Stock

$492.75
Special Order
Compressor
Part #TCA38151706
This part must be installed by a licensed and trained LG technician that is able to perform a software update, which is required for the installation of this compressor. Part number CJT30000002 is needed to perform the update.
Also, the three pins on the side of the new compressor may be oriented differently than the original. If diff...Read moreerent, when installing the new compressor the compressor electrical connector must be rotated 45 degrees counter-clockwise.
Read less

$85.94
In Stock
Refrigerator Water Filter
Part #AGF80300801
This refrigerator water filter and filter assembly is designed to improve the quality of drinking water and ice by reducing contaminants such as chlorine, lead, and sediment. Certified to NSF standards 42 and 53, it enhances taste and clarity while allowing beneficial minerals to pass through. Compatible with select bottom-freezer refrige...Read morerator models, this genuine replacement part should be installed using a simple twist-in method and replaced every six months or when water flow slows. After installation, flushing approximately four gallons of water ensures optimal performance and removes any residual carbon particles. Regular replacement supports consistent filtration and helps maintain the appliance’s performance.
Read less

$128.66
Special Order
GASKET ASSEMBLY,DOOR
Part #ADX73350633
This refrigerator door gasket is a durable, flexible rubber seal designed to create a tight closure around the door, helping maintain proper temperatures and overall cooling efficiency. It replaces worn or damaged gaskets that can cause cold air leaks, excess moisture, or door sweating. The gasket is shaped for a precise fit along the doo...Read morer frame, restoring an even, reliable seal once installed. Installation is typically straightforward—warming the gasket slightly can help it seat properly, and then it can be pressed into the existing groove around the door to ensure a smooth, secure fit.
Read less

$101.29
In Stock
Refrigerator Door Bin
Part #AAP73051302
This door bin is for refrigerators. Door bin attaches to the inside of the refrigerator door and mostly holds jars and bottles.

$34.74
In Stock
ROLLER ASSEMBLY
Part #AHJ73130001
This roller assembly supports smooth movement of drawers or internal components, reducing friction and strain. Quiet, easy motion improves usability and helps prevent wear. Replacing a worn roller restores smooth, reliable operation.

$34.74
On Order
Temperature Sensor
Part #6500JB2002X
This is a temperature sensor for various models of LG refrigerators. Temperature sensors are used to adjust the level of cooling depending on the internal temperature of the refrigerator. If your refrigerator is warm or not cooling consistently, ensure your evaporator fan is not blocked, before replacing this sensor. To replace this senso...Read morer, you will need a screwdriver and a set of pliers, and simply need to unplug the old sensor, and plug in the new one. This temperature sensor is a genuine OEM part that is sold individually and does not come with any other parts or accessories.
Read less

No Longer Available
Screw
Part #FAB30138101
This handle screw, also known as a mounting screw is designed for LG fridge door handles. It Is responsible for securing the handle to the fridge door and ensuring that it remains firmly attached. A secure door handle allows you to easily open and close the refrigerator as needed. Over time the screw may break, become corroded, or the thr...Read moreeads may wear down. If this happens, the handle may become loose or wobbly, or detach completely from the door. It is recommended to replace the handle screw if it is no longer in good working condition in order to avoid potential damage to the door panel. Each handle screw is sold individually.
Read less
Common Symptoms of the 79573133412
How this model fails, and the parts that fix it.
Door won’t open or close
Fixed by
these parts
these parts


Show All
Leaking
Fixed by
these parts
these parts


Show All
Not dispensing water
Fixed by
these parts
these parts
Show All
Door Sweating
Fixed by
these parts
these parts

Show All
Ice maker not making ice
Fixed by
these parts
these parts
Show All
Fridge and Freezer are too warm
Fixed by
these parts
these parts

Show All
Fridge too warm
Fixed by
these parts
these parts
Show All
Watch our pros, then fix it yourself.
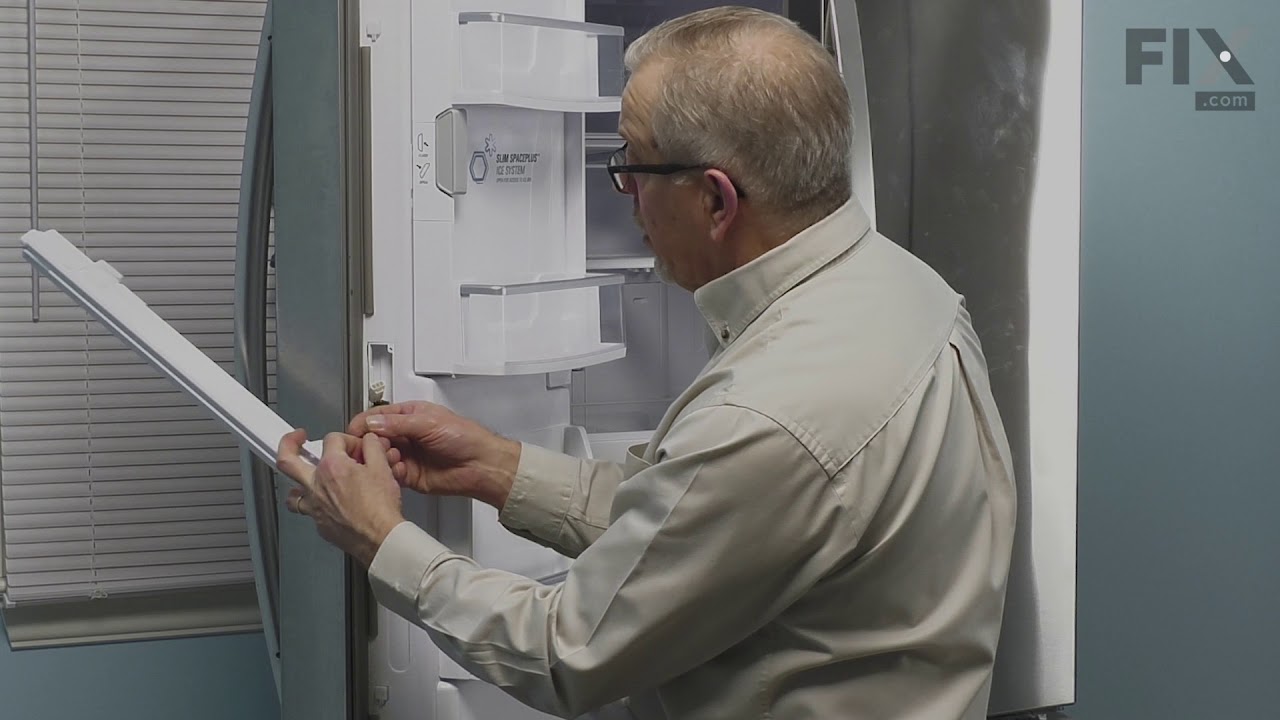
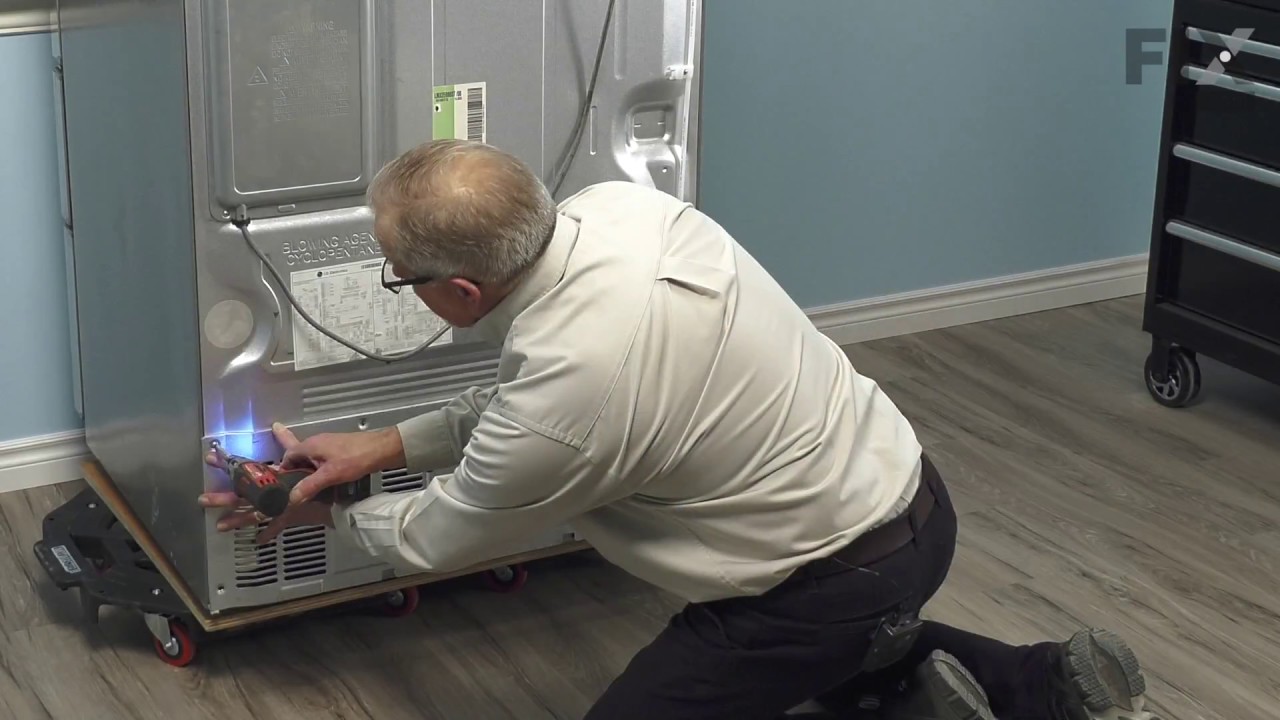
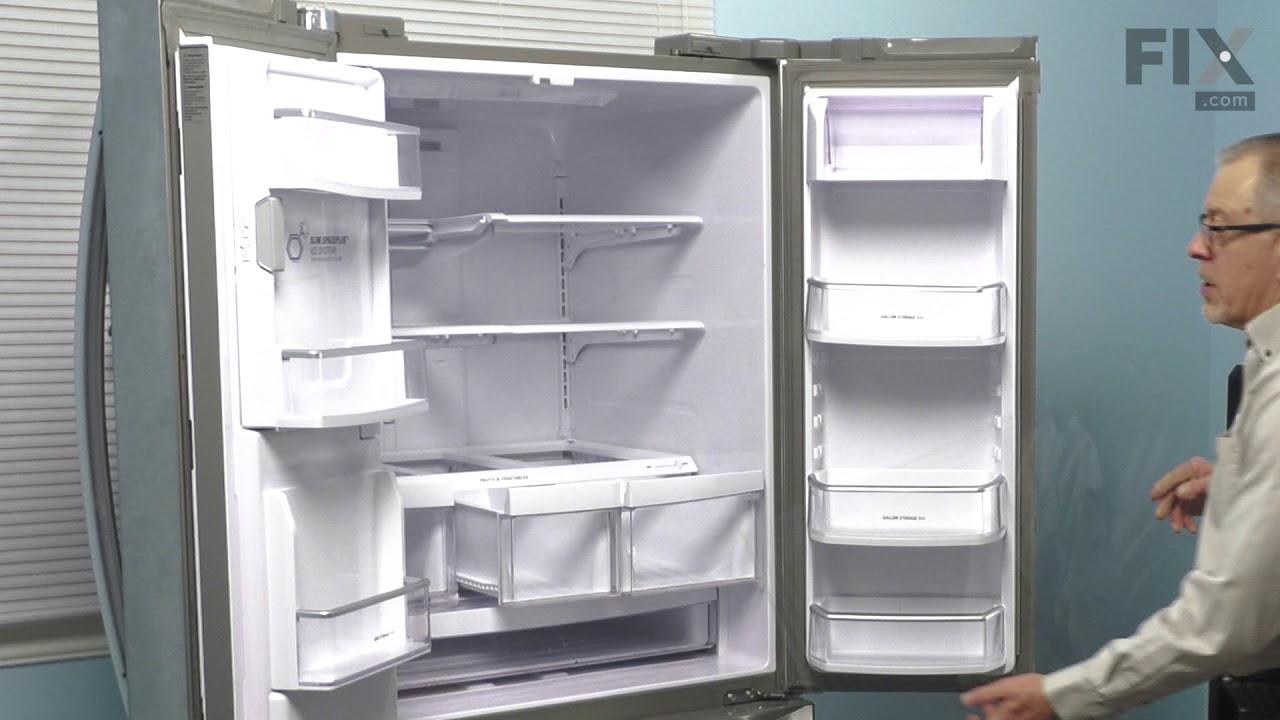
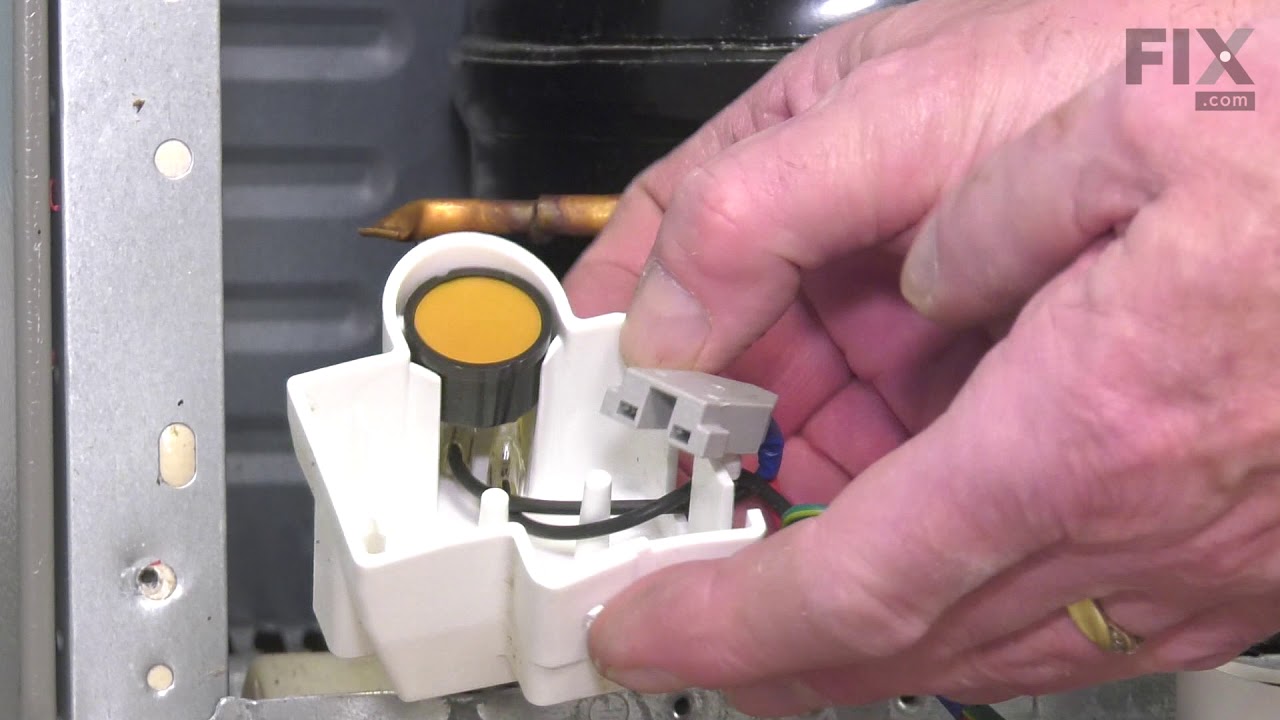
See how others fixed this model. Time, tools, difficulty, and steps that lead to victory!
View More