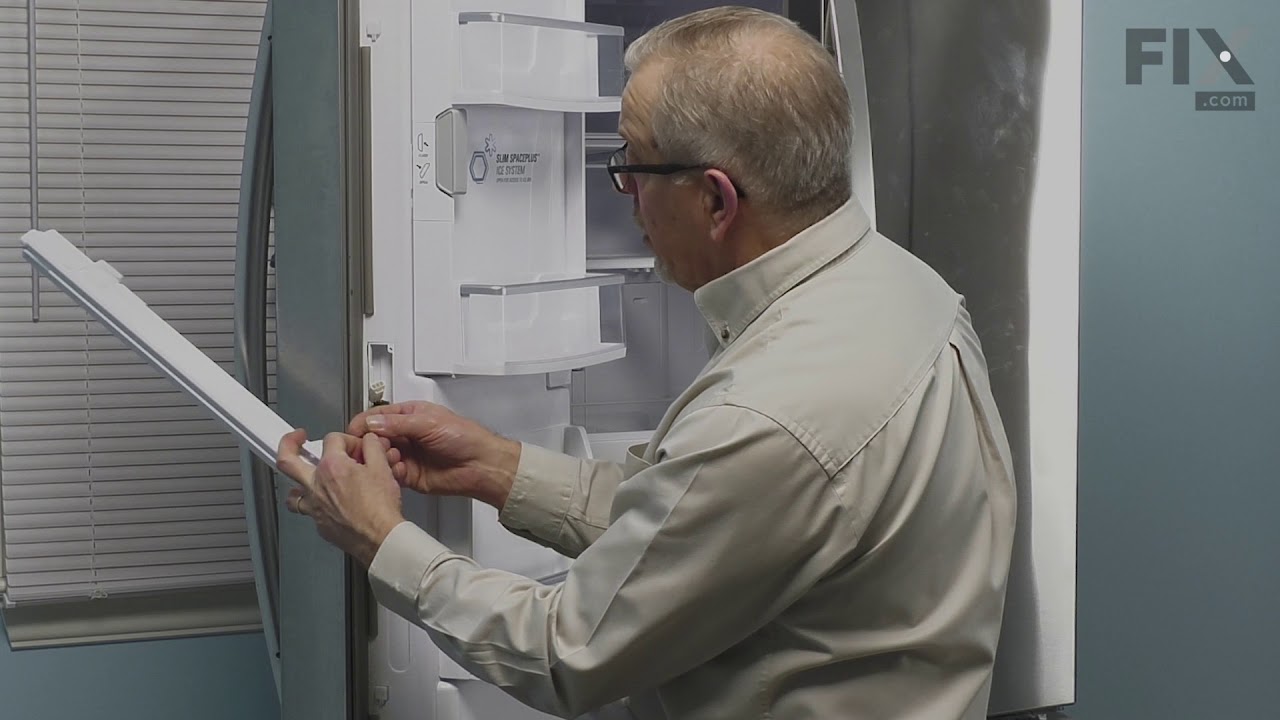
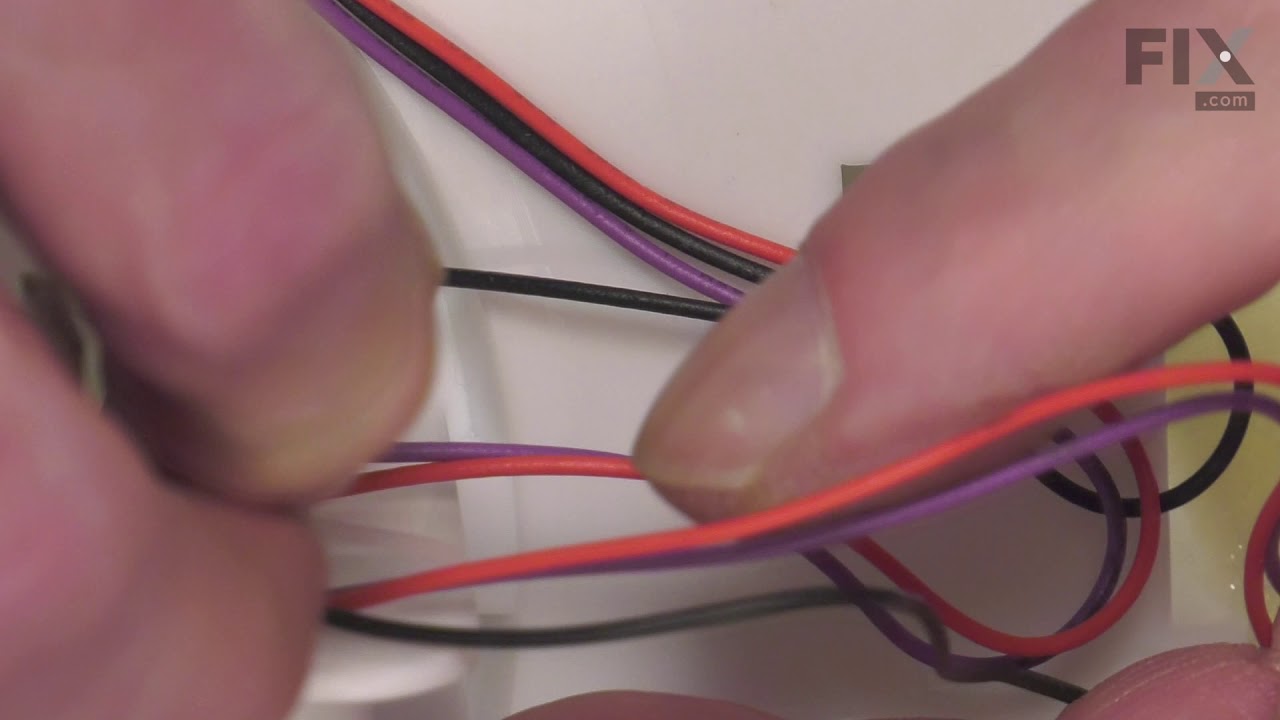
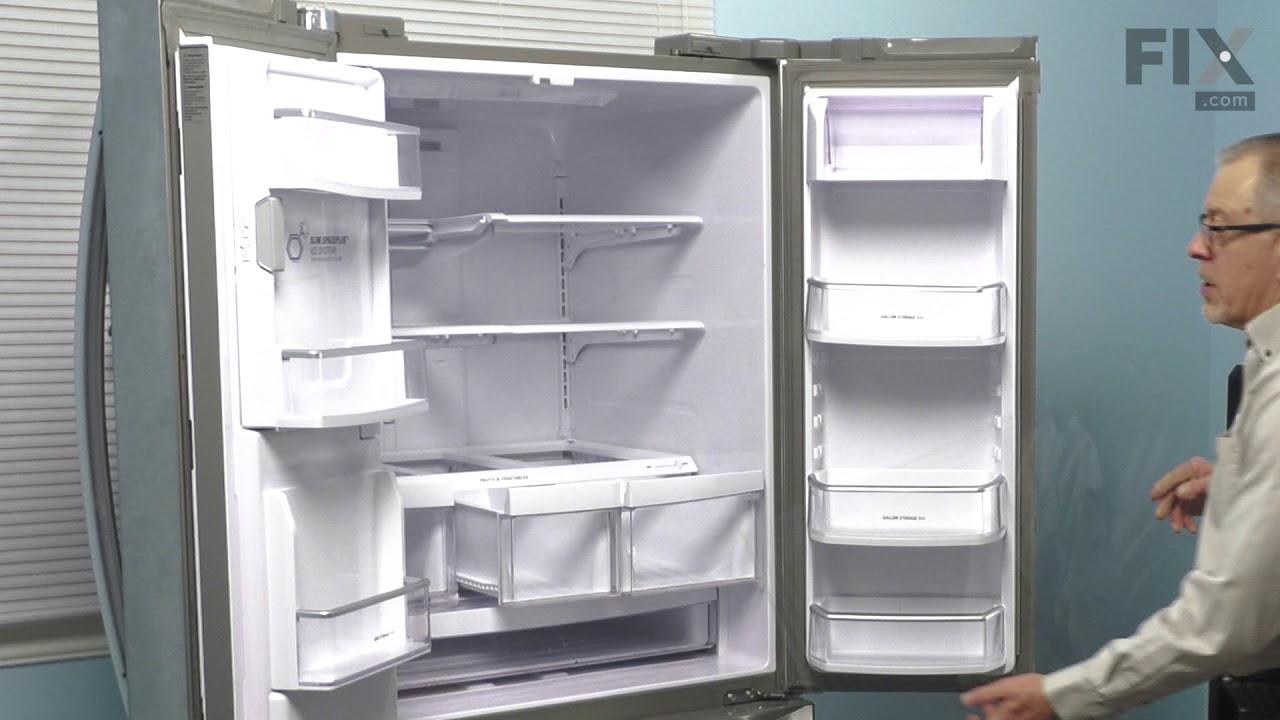
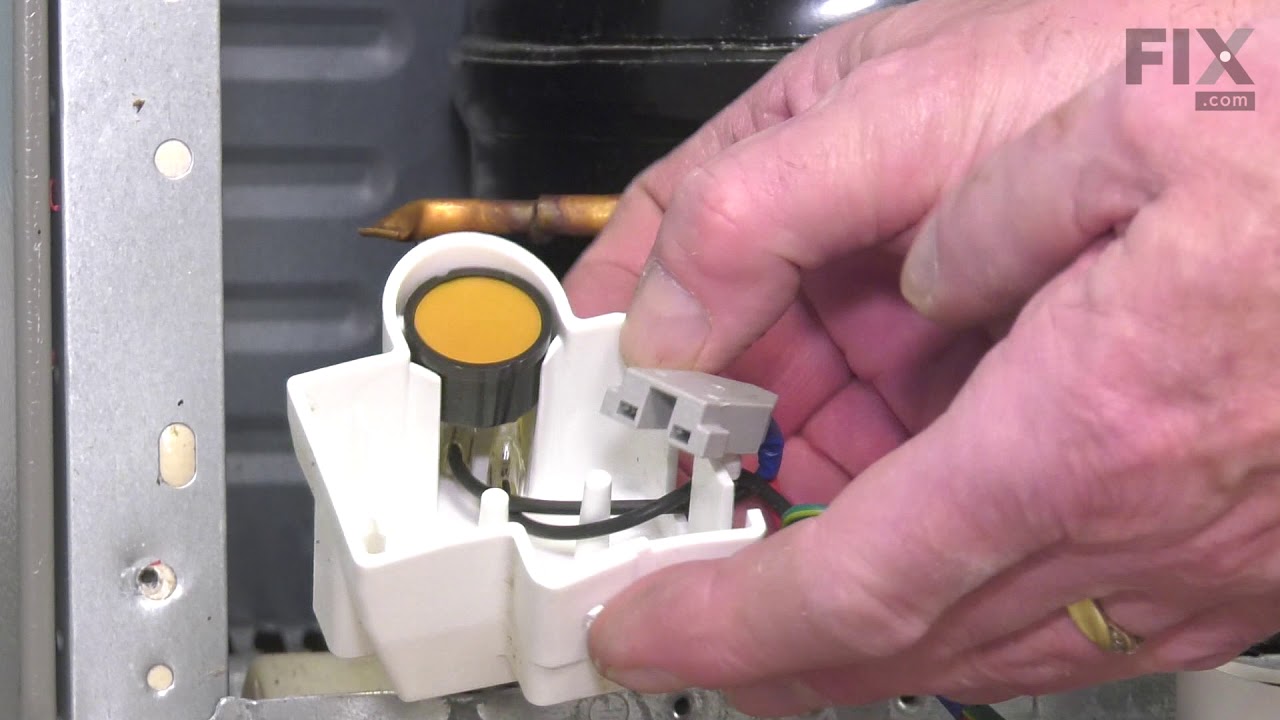
The interior light in your refrigerator is controlled by a switch that is activated when the door is opened and closed. If your refrigerator light will not turn on, or stays on when the door is closed, you could have a faulty switch. The switch is spring-loaded and is a generally closed type of switch meaning there should be no continuity...Read more when the button is pushed, and continuity through the switch when it is no longer engaged. This plastic, white, OEM switch is sourced directly from the manufacturer, is sold individually and is easy to replace. The repair usually takes less than 15 minutes and requires a flat-blade screwdriver and needle-nose pliers.
This front plate assembly, also known as a mullion or flipper, is a genuine replacement part designed for select LG and Kenmore French-door refrigerators. It serves a critical function by sealing the gap between the doors, preventing cold air from escaping and helping maintain consistent internal temperatures. Constructed from durable pla...Read morestic, it supports both the performance and appearance of the appliance. A failing mullion may result in poor sealing, visible gaps, increased energy consumption, and potential food spoilage. Replacing this component can restore proper door alignment and improve overall efficiency. Compatibility should be confirmed using your refrigerator’s model number prior to installation.
This handle screw, also known as a mounting bolt, is a mounting screw to help secure the door handle to your refrigerator door. If your handle is loose, you may just need to tighten the screw. If your screw is missing or broken, it may need to be replaced. There are multiple handle screws on your fridge, please consider ordering extra as ...Read morethey commonly wear at the same rate. This is about 1 inch long and metallic in color.
This ice maker assembly is for refrigerators. This Ice maker assembly contains the complete ice maker and housing. The assembly may include multiple parts; refer to your parts diagram for a complete list of parts included.
This freezer handle support is a 2.5-inch by 1-inch white plastic bracket designed to provide support and stability to the right side of the freezer door handle. It is an authentic manufacturer replacement part that distributes the force placed on the handle during use to prevent excessive stress on one area of the handle. The handle supp...Read moreort also secures the handle to the freezer door. You can find it on the inner right side of the freezer door handle. Over time the screw that secures the handle support may wear down or become stripped, or the plastic bracket may crack, causing the handle support to become unstable and unable to support the door handle. To access the faulty handle support bracket, first unthread the screws that secure it to the freezer door handle. Detach the handle and remove the screws that secure the handle support to the freezer door. Align the new handle support with the attachment points on the freezer door and secure it with the appropriate screws. Attach the handle to the new support and ensure it is securely fastened. Be careful not to not to overtighten the screws, to avoid stripping the mounting holes and damaging the handle support. Screws are sold separately. Please note that this support is for the right side of the handle. The left-side support is sold separately.
This is a genuine OEM evaporator motor that directly powers the evaporator mechanism within your refrigerator. This mechanism is responsible for pulling air over the evaporator coils, which are cold, and circulating that cold air back throughout the appliance. Without this motor, the interior of your refrigerator would build up frost, str...Read moreain the compressor, and simply not cool your fridge enough. A warm fridge, frost buildup or unusual noises are all signs that this fan needs replacing, and over time or through excessive dust building up, motor issues will arise and can cause it to fail. This fan motor is sold as an individual part, so it does not come with any securing screws or the fan blade itself. Replacing the evaporator fan motor will require your user manual and Philips-head and flathead screwdrivers. You need to gain access to the evaporator cover, which you will need to locate using your user manual schematics. Once the cover is removed and you disconnect the wire harnesses within it, you can disassemble the fan mechanism on its inside portion. With the fan mechanism disassembled, remove the old mechanism and install the new one, with the securing screws and wire harnesses.
This fan assembly circulates air through the appliance to support proper temperature control and ventilation. Designed for quiet and efficient airflow, it is replaced when airflow weakens, noise increases, or cooling performance declines.
This refrigerator door gasket is a durable, flexible rubber seal designed to create a tight closure around the door, helping maintain proper temperatures and overall cooling efficiency. It replaces worn or damaged gaskets that can cause cold air leaks, excess moisture, or door sweating. The gasket is shaped for a precise fit along the doo...Read morer frame, restoring an even, reliable seal once installed. Installation is typically straightforward—warming the gasket slightly can help it seat properly, and then it can be pressed into the existing groove around the door to ensure a smooth, secure fit.
This roller assembly supports smooth movement of drawers or internal components, reducing friction and strain. Quiet, easy motion improves usability and helps prevent wear. Replacing a worn roller restores smooth, reliable operation.
Ask our experts a question about this model and we'll get back to you as soon as possible!
We may have answered a similar question already! Search questions and answers left by others using simple keywords like "fit", "broken", "easy", or "quality" to find questions that match.
Search filter:
Clear Filter
Your search term must have 3 or more characters.
Sort by:
Prev
1
Next
Sorry, we couldn't find any existing answers that matched.Try using some different or simpler keywords, or submit your new question by using the "Ask a Question" button above!
Beverly - For model number 79572303210
August 31, 2022
I need to replace the water inlet valve for this model but can’t find part. Can you help. Thanks
Hello Beverly, Thank you for contacting us. We have researched the model you have provided and have found the part you are looking for is PartSelect Number PS3533114. We hope this helps, good luck with this repair!
Left door has a 2 inch panel that flips open and closed when the door opens and closes. It looks like the spring on the bottom is broken so we have to push the panel closed before closing the door. Can we purchase a new spring
Hello Maria, Thank you for your inquiry. Checking your model, we show that the spring is only available as part of the door flipper/front plate assembly part# PS12374439. Good luck with your repair.
Kenmore French door gasket. Are the dimensions of the gaskets for both doors 39 1/2 x 16 inches. I am seeing different sizes for this part number on web sites???
Hi Mike, thank you for your inquiry. No, both the door gaskets are not the same. The gasket for the right side door is part number ADX73350633, and the left side door gasket is part number ADX73350636. Glad to be of help!
See how others fixed this model. Time, tools, difficulty, and steps that lead to victory!View More
Search repair tips from other customers using simple keywords like "replace", "fit", "remove", "inspect". DIY doesn't mean you have to do it alone!
Search filter:
Clear Filter
Your search term must have 3 or more characters.
Remove and replace light switch
45 of 90 peoplefound this instruction helpful.
Debbie from Waltham, MA
A Bit Difficult
30 - 60 mins
Pliers, Screw drivers
Video makes it look easy. Kenmore refrigerator does not have "groove" along the right hand side of switch that allows for pushing down on release. Used a thin screwdriver to get under to push while holding switch edge with pliers. Kept slipping. Tape sides to avoid scratching inside of refrigerator.
Was this helpful?
Thank you for voting!
My nephew accidentally forced the door closed last year, which resulted in the door having to be re closed manually folding back the flap. Ugh!
25 of 46 peoplefound this instruction helpful.
Tiziana from WARWICK, NY
Really Easy
Less than 15 mins
Nutdriver
Unscered 2 screws, unplug electrical connection under the screws, slide her flap into grooves, realign screw holes , and rescrew in. Done.
Was this helpful?
Thank you for voting!
Very bad noise which stopped when the door was opened
15 of 20 peoplefound this instruction helpful.
Rick from CLEVELAND, TN
Easy
30 - 60 mins
Screw drivers
The Refrigerator now runs very quite. After watching several videos I started on mine and found that it was a bit different than any in the videos. However all but the back panel was shown and that was helpful. The back panel was a bit difficult but a hair dryer seemed to help . All in all it was a good choice to do it myse
... Read morelf as it was done quicker than waiting on a repair man.



 My Orders