


 My Orders




79572039111 Kenmore Refrigerator - Overview
Diagrams for 79572039111
See every part. Know exactly what you need.


Enter a part description. DIY Heroes keep it simple, eg. "belt" or "pump".
Search filter:
Clear Filter
Your search term must have 3 or more characters.

$24.67
In Stock
Refrigerator Door Switch
Part #6600JB1010A
Opening the refrigerator door releases this push-button switch to turn on the interior light, making stored food easier to see. When the door closes, it presses the button and turns the light off. A stuck, worn, or broken switch may leave the light off when the door is open or keep it on after closing. Replacing a faulty switch helps rest...Read moreore normal lighting control and reliable response to door movement. Disconnect the refrigerator from power before removing or installing the switch. This is an OEM part sourced directly from the manufacturer.
Read less

$72.73
In Stock
Refrigerator Water Filter LT700P
Part #AGF80300702
This refrigerator water filter replacement is for 2010 LG refrigerators that have either forward French doors or are the four-door dispensing models. This filter is designed to minimize impurities that can cause ill-tasting water or an unpleasant smell. It reduces sediment, dirt, rust, limescale, sand, and many other contaminants that can...Read more be harmful to your health and the life of your appliance. This filter should be replaced every 6 months or 200 gallons to ensure top quality performance.
To remove your unwanted filter, press the push button to open the filter cover (water may spill from the hole), pull out the old cartridge in a downward motion. To install the new filter, make it so the ears are in the horizontal position and push the new cartridge into the housing until it stops. Push the filter upward until it is secure. Click the cover to lock it in place. Run water for approximately 5 minutes to prep the filter for use, and discard water. Reset the “filter reset” button if applicable.
Read less

$17.55
Special Order
Mullion Spring
Part #MHY62044103
This spring is located on the mullion, or door flap, of your fridge. This spring is sourced from the genuine OEM manufacturer for various refrigerator models. It measures about 1.5 inches in total length, and is made entirely out of metal.

$28.55
In Stock
Plastic Tube - 5/16 Inch
Part #MJU62070602
Water travels between refrigerator plumbing components through this plastic water line tubing. The tube provides an enclosed path for water supplied to the dispenser and ice maker, helping maintain delivery through the internal system. Cracks, punctures, or brittle sections may cause leaks, while kinks can restrict flow and reduce dispens...Read moreer output or ice maker filling. Replacing damaged tubing helps restore a contained water path and steady flow. Shut off the refrigerator water supply before disconnecting the line, and inspect the completed connections for leaks after installation. This is an OEM part sourced directly from the manufacturer.
Read less

$25.25
In Stock
Handle Screw
Part #MJB63190001
This handle screw, also known as a mounting bolt, is a mounting screw to help secure the door handle to your refrigerator door. If your handle is loose, you may just need to tighten the screw. If your screw is missing or broken, it may need to be replaced. There are multiple handle screws on your fridge, please consider ordering extra as ...Read morethey commonly wear at the same rate. This is about 1 inch long and metallic in color.
Read less

$77.22
Special Order
Deli Drawer
Part #AJP73874601
This deli drawer is for refrigerators. Deli drawer holds meats, vegetables and snacks in the fresh food compartment of the refrigerator. Follow the instructions in the owner's manual when installing this part.

$122.57
Special Order
Water Inlet Valve Assembly
Part #AJU72992601
This refrigerator water inlet valve assembly controls the water supplied to the dispenser and automatic ice maker. It opens when the appliance requests water and closes when dispensing or filling ends. A cracked housing or faulty valve may cause leaks, weak dispenser flow, or prevent the ice maker mold from filling. Replacing a failed ass...Read moreembly helps restore controlled water delivery and proper shutoff between uses. The valve connects the incoming supply to the internal water system, supporting everyday dispensing and ice production. This is an OEM part sourced directly from the manufacturer.
Read less

$44.23
In Stock
Door Shelf Bin
Part #AAP73871501
Everyday drinks and condiments stay organized in this refrigerator door shelf bin. Its white plastic frame supports jars and bottles, while the clear front makes contents easy to see. The bin attaches to slots inside the door, adding storage without taking up room on the main shelves. A cracked base, broken mounting tabs, or damaged front...Read more panel may leave containers poorly supported. Replacing a worn or broken bin restores useful storage and helps keep items secure as the door opens and closes. This is an OEM part sourced directly from the manufacturer.
Read less

$25.25
In Stock
Refrigerator Spring
Part #MHY62044106
Proper movement of the center door flap helps a French door refrigerator seal the gap between its doors. This mullion spring applies tension to the hinged flap, guiding it as the door opens and closes. A broken, stretched, or missing spring may leave the flap loose or prevent it from moving into place, making door closure difficult. Repla...Read morecing a damaged spring helps restore controlled flap movement and proper sealing. Its coiled design stores and releases force as the mullion pivots during everyday use. This is an OEM part sourced directly from the manufacturer.
Read less

$42.06
In Stock
Freezer Handle Support
Part #DA61-08247A
This freezer handle support is a 2.5-inch by 1-inch white plastic bracket designed to provide support and stability to the right side of the freezer door handle. It is an authentic manufacturer replacement part that distributes the force placed on the handle during use to prevent excessive stress on one area of the handle. The handle supp...Read moreort also secures the handle to the freezer door. You can find it on the inner right side of the freezer door handle. Over time the screw that secures the handle support may wear down or become stripped, or the plastic bracket may crack, causing the handle support to become unstable and unable to support the door handle. To access the faulty handle support bracket, first unthread the screws that secure it to the freezer door handle. Detach the handle and remove the screws that secure the handle support to the freezer door. Align the new handle support with the attachment points on the freezer door and secure it with the appropriate screws. Attach the handle to the new support and ensure it is securely fastened. Be careful not to not to overtighten the screws, to avoid stripping the mounting holes and damaging the handle support. Screws are sold separately. Please note that this support is for the right side of the handle. The left-side support is sold separately.
Read less

$28.26
In Stock
Door Holder
Part #MEG61899901
This is a manufacturer-approved refrigerator door closure for your refrigerator. It is made of white plastic and measures approximately 3 inches by 2 inches. If your old closure is damaged, your refrigerator door may not open and shut properly, and therefore it should be replaced.

$37.35
In Stock
Common Symptoms of the 79572039111
How this model fails, and the parts that fix it.
Leaking
Fixed by
these parts
these parts


Show All
Light not working
Fixed by
these parts
these parts

Show All
Door won’t open or close
Fixed by
these parts
these parts


Show All
Not dispensing water
Fixed by
these parts
these parts

Show All
Ice maker not making ice
Fixed by
these parts
these parts

Show All
Noisy
Fixed by
these parts
these parts


Show All
Ice maker won’t dispense ice
Fixed by
these parts
these parts

Show All
Fridge too warm
Fixed by
these parts
these parts
Show All
Fridge and Freezer are too warm
Fixed by
these parts
these parts

Show All
Ice maker dispenses too much ice
Fixed by
these parts
these parts
Show All
Watch our pros, then fix it yourself.
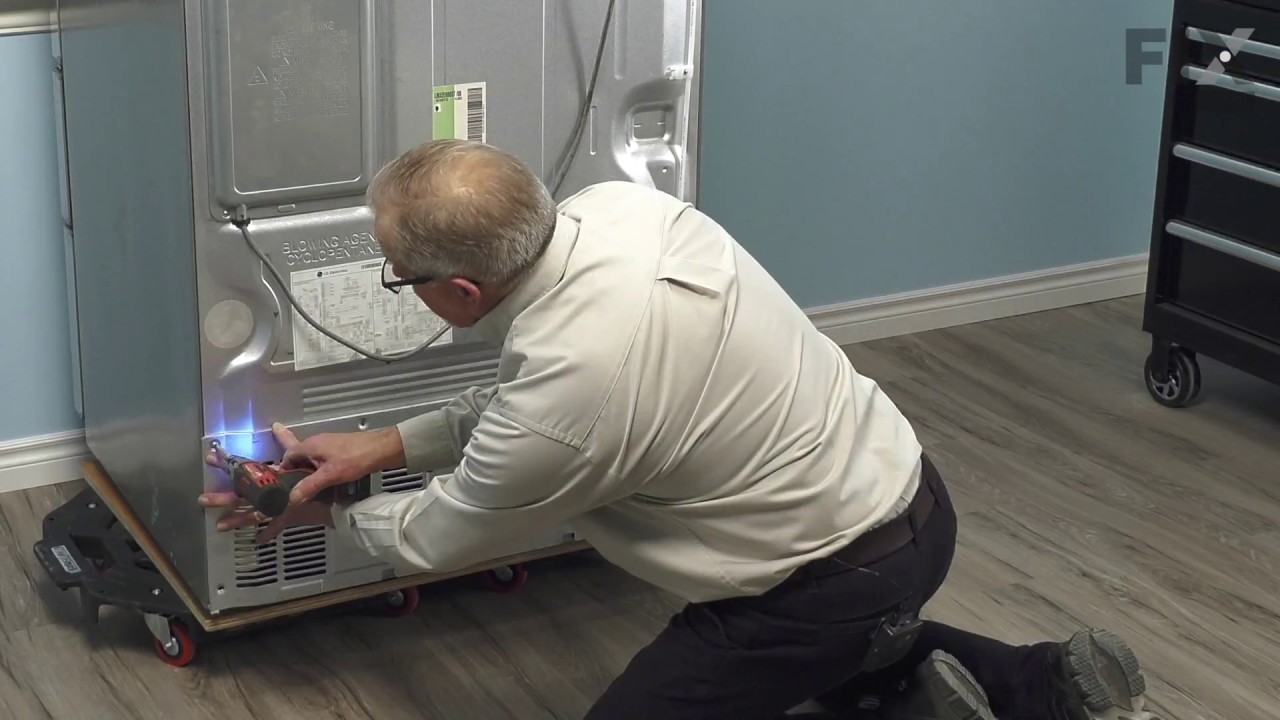
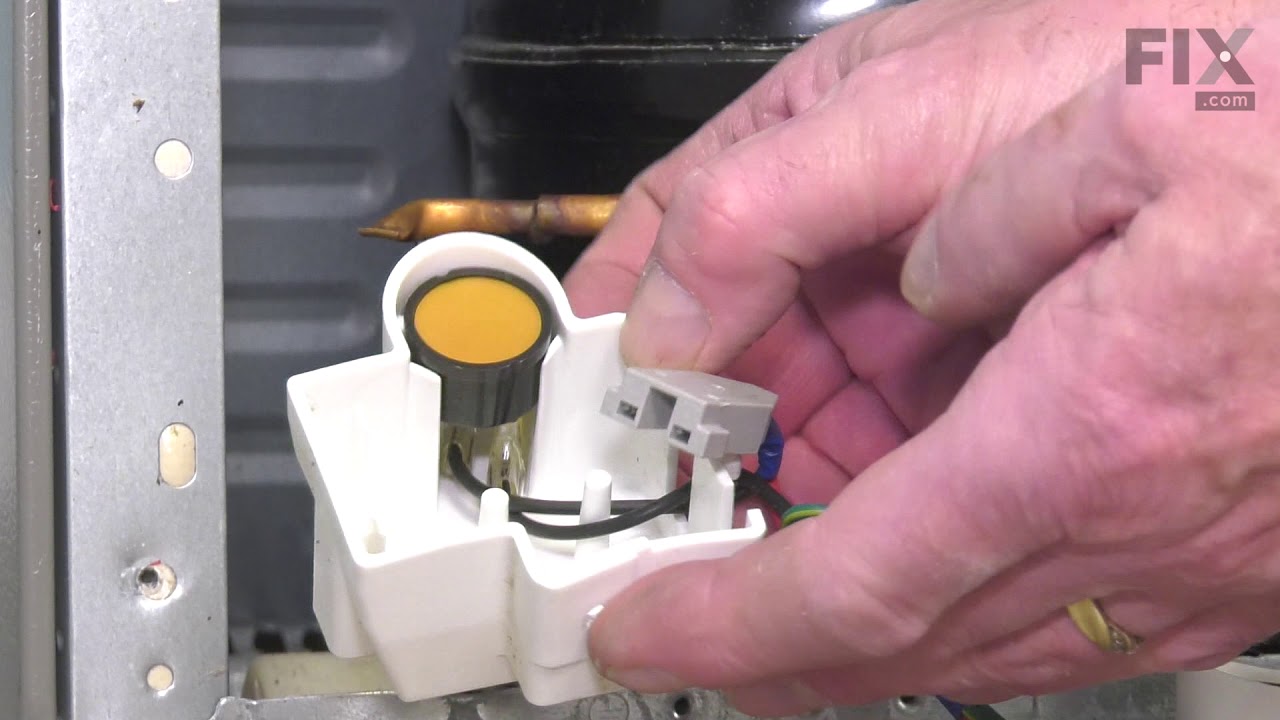
See how others fixed this model. Time, tools, difficulty, and steps that lead to victory!
View More
Search repair tips from other customers using simple keywords like "replace", "fit", "remove", "inspect". DIY doesn't mean you have to do it alone!
Search filter:
Clear Filter
Your search term must have 3 or more characters.
Very bad noise which stopped when the door was opened
15 of 20 people
found this instruction helpful.
The Refrigerator now runs very quite.
After watching several videos I started on mine and found that it was a bit different than any in the videos. However all but the back panel was shown and that was helpful.
The back panel was a bit difficult but a hair dryer seemed to help .
All in all it was a good choice to do it myse ... Read more lf as it was done quicker than waiting on a repair man.
After watching several videos I started on mine and found that it was a bit different than any in the videos. However all but the back panel was shown and that was helpful.
The back panel was a bit difficult but a hair dryer seemed to help .
All in all it was a good choice to do it myse ... Read more lf as it was done quicker than waiting on a repair man.
Read less
Other Parts Used:


Was this helpful?
Thank you for voting!