


 My Orders




79571323410 Kenmore Refrigerator - Overview
Diagrams for 79571323410
See every part. Know exactly what you need.

Enter a part description. DIY Heroes keep it simple, eg. "belt" or "pump".
Search filter:
Clear Filter
Your search term must have 3 or more characters.

$24.67
In Stock
Refrigerator Door Switch
Part #6600JB1010A
Opening the refrigerator door releases this push-button switch to turn on the interior light, making stored food easier to see. When the door closes, it presses the button and turns the light off. A stuck, worn, or broken switch may leave the light off when the door is open or keep it on after closing. Replacing a faulty switch helps rest...Read moreore normal lighting control and reliable response to door movement. Disconnect the refrigerator from power before removing or installing the switch. This is an OEM part sourced directly from the manufacturer.
Read less

$72.73
In Stock
Refrigerator Water Filter LT700P
Part #AGF80300702
This refrigerator water filter replacement is for 2010 LG refrigerators that have either forward French doors or are the four-door dispensing models. This filter is designed to minimize impurities that can cause ill-tasting water or an unpleasant smell. It reduces sediment, dirt, rust, limescale, sand, and many other contaminants that can...Read more be harmful to your health and the life of your appliance. This filter should be replaced every 6 months or 200 gallons to ensure top quality performance.
To remove your unwanted filter, press the push button to open the filter cover (water may spill from the hole), pull out the old cartridge in a downward motion. To install the new filter, make it so the ears are in the horizontal position and push the new cartridge into the housing until it stops. Push the filter upward until it is secure. Click the cover to lock it in place. Run water for approximately 5 minutes to prep the filter for use, and discard water. Reset the “filter reset” button if applicable.
Read less

$63.68
In Stock
Refrigerator Door Bin
Part #AAP73051305
Keep small groceries easy to find with this refrigerator door shelf bin. It attaches inside the door to hold bottles, jars, and condiments, leaving more room on the main shelves. The white rim gives the basket a finished look, while the clear front keeps contents visible. Cracks, broken mounting hooks, or a sagging base may leave stored i...Read moretems poorly supported. Replacing a damaged bin restores handy storage and helps keep containers secure when the door moves. The slide-in design makes replacement simple. This is an OEM part sourced directly from the manufacturer.
Read less

$57.38
On Order
Pantry Door Front Cover
Part #MCR65017001
Refresh the pantry storage area with this refrigerator drawer front cover and trim. The clear plastic panel gives the drawer a finished appearance while keeping meats, cheeses, and snacks easy to see. Cracks, broken mounting points, or damaged hinge pins may leave the cover loose or interfere with drawer access. Replacing a damaged cover ...Read morerestores the front panel and helps it move as intended. Wipe it with a soft cloth and mild soapy water to remove spills without scratching the surface. This is an OEM part sourced directly from the manufacturer.
Read less

$25.25
In Stock
Bushing
Part #4984JJ3003A
Smooth refrigerator door movement depends on a stable pivot around the hinge pin. This white plastic door hinge bushing fits inside the door and provides a low friction surface for the metal pin as the door opens and closes. Wear, cracks, or a broken bushing may allow the door to sag, move unevenly, or make squeaking and grinding noises. ...Read moreReplacing a damaged bushing helps restore hinge support and smoother movement, allowing the door to settle more evenly against the cabinet for proper gasket contact. This is an OEM part sourced directly from the manufacturer.
Read less

$286.20
In Stock
Refrigerator Ice Maker Assembly
Part #AEQ72909603
This ice maker assembly is for refrigerators. This Ice maker assembly contains the complete ice maker and housing. The assembly may include multiple parts; refer to your parts diagram for a complete list of parts included.

$42.06
In Stock
Freezer Handle Support
Part #DA61-08247A
This freezer handle support is a 2.5-inch by 1-inch white plastic bracket designed to provide support and stability to the right side of the freezer door handle. It is an authentic manufacturer replacement part that distributes the force placed on the handle during use to prevent excessive stress on one area of the handle. The handle supp...Read moreort also secures the handle to the freezer door. You can find it on the inner right side of the freezer door handle. Over time the screw that secures the handle support may wear down or become stripped, or the plastic bracket may crack, causing the handle support to become unstable and unable to support the door handle. To access the faulty handle support bracket, first unthread the screws that secure it to the freezer door handle. Detach the handle and remove the screws that secure the handle support to the freezer door. Align the new handle support with the attachment points on the freezer door and secure it with the appropriate screws. Attach the handle to the new support and ensure it is securely fastened. Be careful not to not to overtighten the screws, to avoid stripping the mounting holes and damaging the handle support. Screws are sold separately. Please note that this support is for the right side of the handle. The left-side support is sold separately.
Read less

$28.26
In Stock
Door Holder
Part #MEG61899901
This is a manufacturer-approved refrigerator door closure for your refrigerator. It is made of white plastic and measures approximately 3 inches by 2 inches. If your old closure is damaged, your refrigerator door may not open and shut properly, and therefore it should be replaced.

$125.75
In Stock
Evaporator Fan Motor
Part #4681JB1027C
This is a genuine OEM evaporator motor that directly powers the evaporator mechanism within your refrigerator. This mechanism is responsible for pulling air over the evaporator coils, which are cold, and circulating that cold air back throughout the appliance. Without this motor, the interior of your refrigerator would build up frost, str...Read moreain the compressor, and simply not cool your fridge enough. A warm fridge, frost buildup or unusual noises are all signs that this fan needs replacing, and over time or through excessive dust building up, motor issues will arise and can cause it to fail. This fan motor is sold as an individual part, so it does not come with any securing screws or the fan blade itself. Replacing the evaporator fan motor will require your user manual and Philips-head and flathead screwdrivers. You need to gain access to the evaporator cover, which you will need to locate using your user manual schematics. Once the cover is removed and you disconnect the wire harnesses within it, you can disassemble the fan mechanism on its inside portion. With the fan mechanism disassembled, remove the old mechanism and install the new one, with the securing screws and wire harnesses.
Read less

$47.25
In Stock
Micro Switch
Part #6600JB3001C
This is a micro switch for various models of LG refrigerators. This switch is responsible for turning the ice dispenser on and off within the freezer compartment of the fridge. If this switch is damaged or shorted, it will cause the ice maker to work inconsistently, or not at all. This switch is different from the water dispenser switch, ...Read morewhich has an entirely different shape all together. Replacing this switch is simple and only requires a Philips-head screwdriver to disconnect the old switch and install the new one. This switch is a genuine OEM LG part and does not come with any other parts or accessories.
Read less

$497.15
Special Order
Compressor
Part #TCA38151706
This part must be installed by a licensed and trained LG technician that is able to perform a software update, which is required for the installation of this compressor. Part number CJT30000002 is needed to perform the update.
Also, the three pins on the side of the new compressor may be oriented differently than the original. If diff...Read moreerent, when installing the new compressor the compressor electrical connector must be rotated 45 degrees counter-clockwise.
Read less

$41.64
Special Order
Refrigerator Push Button Switch
Part #6600JB3007A
Common Symptoms of the 79571323410
How this model fails, and the parts that fix it.
Light not working
Fixed by
these parts
these parts


Show All
Door won’t open or close
Fixed by
these parts
these parts


Show All
Ice maker not making ice
Fixed by
these parts
these parts

Show All
Ice maker won’t dispense ice
Fixed by
these parts
these parts

Show All
Noisy
Fixed by
these parts
these parts


Show All
Fridge too warm
Fixed by
these parts
these parts

Show All
Fridge and Freezer are too warm
Fixed by
these parts
these parts

Show All
Leaking
Fixed by
these parts
these parts

Show All
Not dispensing water
Fixed by
these parts
these parts

Show All
Ice maker dispenses too much ice
Fixed by
these parts
these parts
Show All
Watch our pros, then fix it yourself.
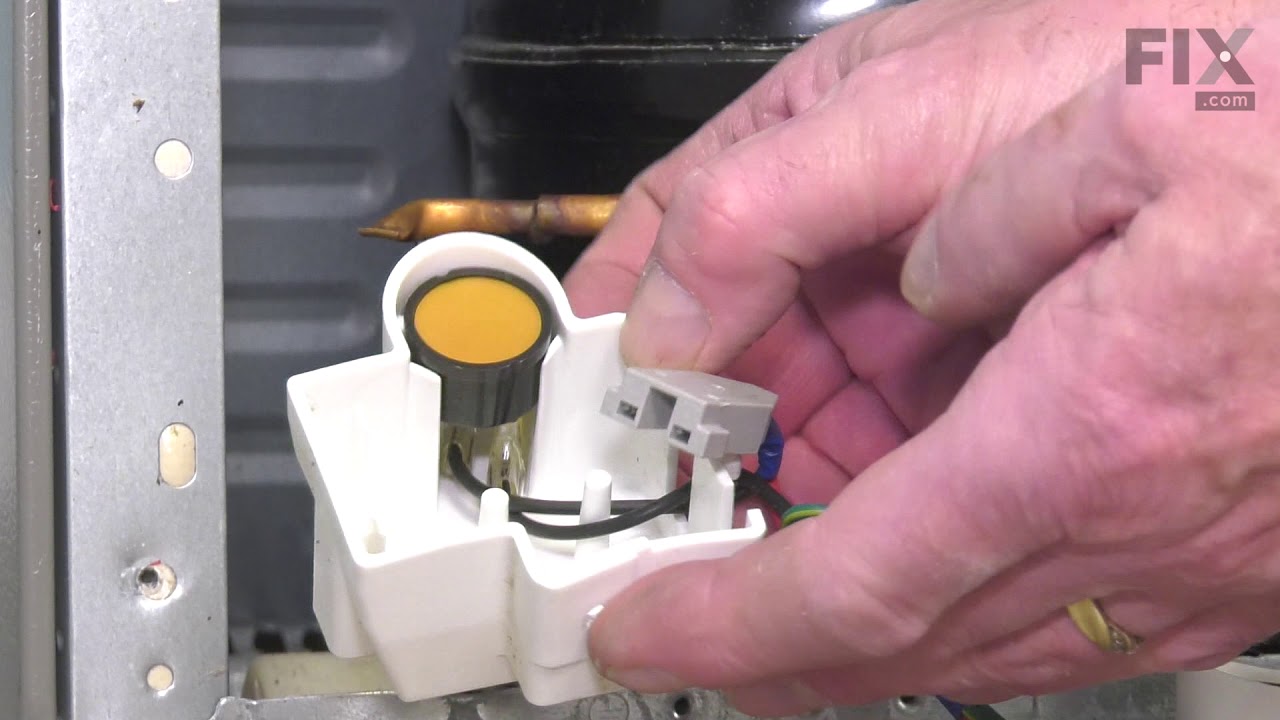
See how others fixed this model. Time, tools, difficulty, and steps that lead to victory!
View More