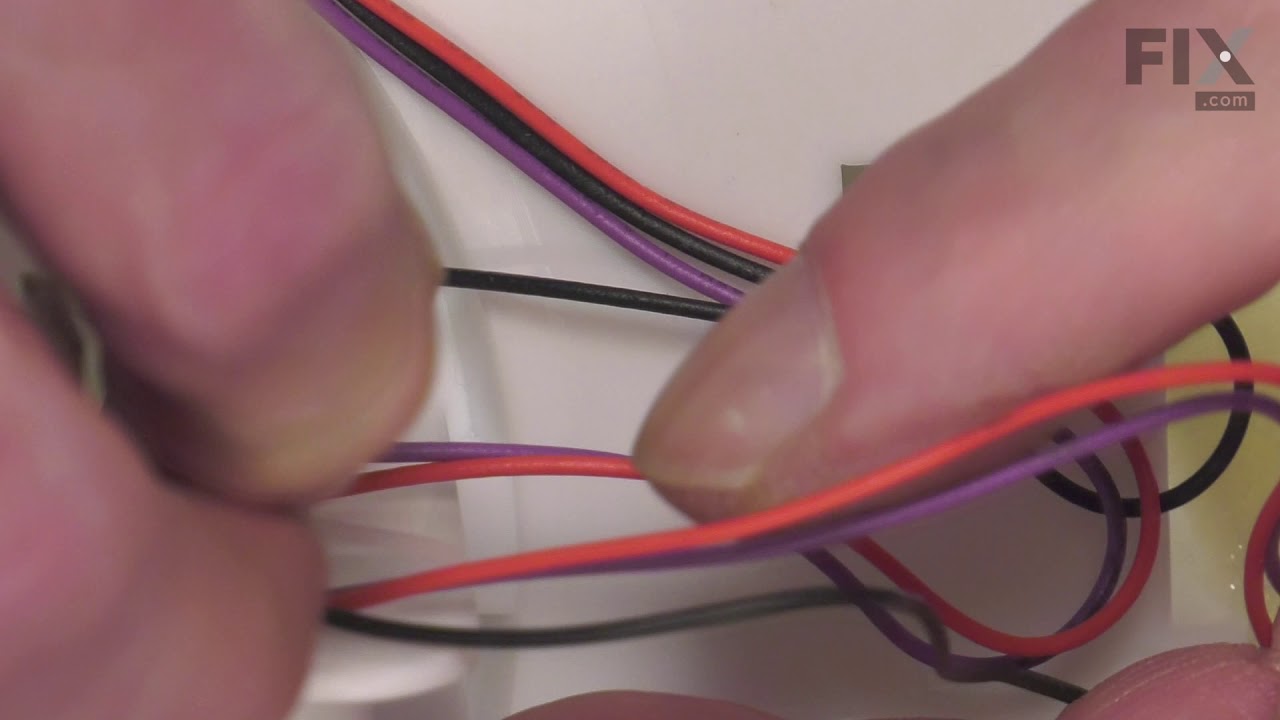
The interior light in your refrigerator is controlled by a switch that is activated when the door is opened and closed. If your refrigerator light will not turn on, or stays on when the door is closed, you could have a faulty switch. The switch is spring-loaded and is a generally closed type of switch meaning there should be no continuity...Read more when the button is pushed, and continuity through the switch when it is no longer engaged. This plastic, white, OEM switch is sourced directly from the manufacturer, is sold individually and is easy to replace. The repair usually takes less than 15 minutes and requires a flat-blade screwdriver and needle-nose pliers.
This handle screw, also known as a mounting bolt, is a mounting screw to help secure the door handle to your refrigerator door. If your handle is loose, you may just need to tighten the screw. If your screw is missing or broken, it may need to be replaced. There are multiple handle screws on your fridge, please consider ordering extra as ...Read morethey commonly wear at the same rate. This is about 1 inch long and metallic in color.
This is a drawer roller for the freezer compartment of your LG refrigerator. This roller is made of white plastic, and acts as a wheel to allow the drawer to glide smoothly back and forth when you open and close the freezer compartment. Over time and with further frequent use, this roller can crack, break, or stop rolling smoothly, at whi...Read morech point it will need replacing. Your refrigerator comes with two rollers, and this roller is sold individually, so consider how many rollers you require before ordering.
This is the replacement shelf glass for your refrigerator. It is made of glass and is approximately 31 inches wide and 16 inches long. The shelf glass for your refrigerator slides over the crisper cover and acts as a sort of lid. It also creates a shelf that you can place food and beverages on. If your current shelf insert glass is broken...Read more, this part is the appropriate replacement. Many of our customers have described this repair as easy. To complete the repair, carefully remove the old glass from the frame and replace it with the new pane of glass. This part is sold individually and is an authentic OEM part.
This ice maker assembly is for refrigerators. This Ice maker assembly contains the complete ice maker and housing. The assembly may include multiple parts; refer to your parts diagram for a complete list of parts included.
This is a manufacturer-approved refrigerator door closure for your refrigerator. It is made of white plastic and measures approximately 3 inches by 2 inches. If your old closure is damaged, your refrigerator door may not open and shut properly, and therefore it should be replaced.
This genuine freezer door gasket helps create an airtight seal around the freezer compartment, preventing warm air and moisture from entering while keeping cold air inside for efficient cooling performance. Replacing a worn, torn, or damaged gasket can help reduce frost buildup, improve temperature consistency, minimize energy loss, and k...Read moreeep frozen foods properly preserved. Made from durable, flexible rubber, this replacement gasket is designed to provide a secure seal and reliable long-term performance. Installation is simple using the existing door channel. If the gasket has folds or creases from shipping, soak it in warm water for 5–10 minutes or gently warm it with a hair dryer on a low setting to help restore its shape before installation. Once installed, smooth out any remaining wrinkles and keep the freezer door closed for several hours to allow the gasket to conform properly to the door frame and create a complete seal. The gasket measures approximately 35 inches wide by 24-1/2 inches high.
This is a genuine OEM evaporator motor that directly powers the evaporator mechanism within your refrigerator. This mechanism is responsible for pulling air over the evaporator coils, which are cold, and circulating that cold air back throughout the appliance. Without this motor, the interior of your refrigerator would build up frost, str...Read moreain the compressor, and simply not cool your fridge enough. A warm fridge, frost buildup or unusual noises are all signs that this fan needs replacing, and over time or through excessive dust building up, motor issues will arise and can cause it to fail. This fan motor is sold as an individual part, so it does not come with any securing screws or the fan blade itself. Replacing the evaporator fan motor will require your user manual and Philips-head and flathead screwdrivers. You need to gain access to the evaporator cover, which you will need to locate using your user manual schematics. Once the cover is removed and you disconnect the wire harnesses within it, you can disassemble the fan mechanism on its inside portion. With the fan mechanism disassembled, remove the old mechanism and install the new one, with the securing screws and wire harnesses.
Ask our experts a question about this model and we'll get back to you as soon as possible!
We may have answered a similar question already! Search questions and answers left by others using simple keywords like "fit", "broken", "easy", or "quality" to find questions that match.
Search filter:
Clear Filter
Your search term must have 3 or more characters.
Sort by:
Prev
1
Next
Sorry, we couldn't find any existing answers that matched.Try using some different or simpler keywords, or submit your new question by using the "Ask a Question" button above!
Bev - For model number 79571042011
July 19, 2021
We have a Kenmore elite bottom freezer refrigerator (with two doors for the refrigerator) on the left side (when you look at the fridge) there are 4 module door bins. The top 3 are cracked and need to be replaced. I have checked you site and I am not able to find replacements. I know a few years ago I got a replacement bin from your company but I can not find the receipt. I wrote down 241d and 241e as door bins but I do not think these are correct. Thank you for any help you can provide Bev
Hello Bev, Thank you for contacting us. We have researched the model you have provided and have found the part you are looking for is PartSelect Number PS3613437 for the top three Bins on the Left Side Door. We looked up the part and it is listed as No Longer Available/Discontinued sorry. There are no part substitutions listed. Our suggestion here would be to call the manufacturer and see if they can provide you with a substitution for these part numbers and contact us back with he updated substitution number. We hope this helps!
See how others fixed this model. Time, tools, difficulty, and steps that lead to victory!View More
Search repair tips from other customers using simple keywords like "replace", "fit", "remove", "inspect". DIY doesn't mean you have to do it alone!
Search filter:
Clear Filter
Your search term must have 3 or more characters.
Remove and replace light switch
45 of 89 peoplefound this instruction helpful.
Debbie from Waltham, MA
A Bit Difficult
30 - 60 mins
Pliers, Screw drivers
Video makes it look easy. Kenmore refrigerator does not have "groove" along the right hand side of switch that allows for pushing down on release. Used a thin screwdriver to get under to push while holding switch edge with pliers. Kept slipping. Tape sides to avoid scratching inside of refrigerator.
Was this helpful?
Thank you for voting!
Replace Thermistor in back of freezer
18 of 25 peoplefound this instruction helpful.
Scott from JUPITER, FL
Easy
1- 2 hours
Pliers, Screw drivers
Turn off power, remove upper and lower drawers (may need to open upper refrigerator doors to remove large freezer bin,) remove drawer supports (upper and lower), remove rear freezer panel (trick is to loosen 4 screws on fan bumpout to get the panel to come free from the freezer side wall), test thermistor with multimeter (should have cont
... Read moreinuity or near zero resistance across 2 orange fuse wires) before cutting zip ties, cut zip ties holding Thermistor in place, remove old Thermistor, install new Thermistor, install new zip ties, replace rear freezer panel, install upper and lower drawer supports, install drawers, turn on power, should be fixed if error code doesn't return after 6 hours.
Read less
Was this helpful?
Thank you for voting!
Icemaker quit releasing ice from tray and water was pouring and freezing in ice storage bin
13 of 24 peoplefound this instruction helpful.
Amber from PEORIA, IL
Really Easy
15 - 30 mins
Screw drivers
This couldn't have been easier. Two tiny screws in the front needed unscrewed, and then two plastic clips in the middle just had to be popped lose. Finally, you unplugged the power cord. Then, you just needed to reverse the process by plugging the new ice maker in, popping the clips in place, and screwing the two holes back in and turning
... Read more the whole thing on. Voila! Perfect ice cubes again. And for only a little over $100.



 My Orders