


 My Orders




79571033110 Kenmore Freezer - Overview
Diagrams for 79571033110
See every part. Know exactly what you need.

Enter a part description. DIY Heroes keep it simple, eg. "belt" or "pump".
Search filter:
Clear Filter
Your search term must have 3 or more characters.

$24.67
In Stock
Refrigerator Door Switch
Part #6600JB1010A
Opening the refrigerator door releases this push-button switch to turn on the interior light, making stored food easier to see. When the door closes, it presses the button and turns the light off. A stuck, worn, or broken switch may leave the light off when the door is open or keep it on after closing. Replacing a faulty switch helps rest...Read moreore normal lighting control and reliable response to door movement. Disconnect the refrigerator from power before removing or installing the switch. This is an OEM part sourced directly from the manufacturer.
Read less

$25.25
In Stock
Handle Screw
Part #MJB63190001
This handle screw, also known as a mounting bolt, is a mounting screw to help secure the door handle to your refrigerator door. If your handle is loose, you may just need to tighten the screw. If your screw is missing or broken, it may need to be replaced. There are multiple handle screws on your fridge, please consider ordering extra as ...Read morethey commonly wear at the same rate. This is about 1 inch long and metallic in color.
Read less

$122.57
Special Order
Water Inlet Valve Assembly
Part #AJU72992601
This refrigerator water inlet valve assembly controls the water supplied to the dispenser and automatic ice maker. It opens when the appliance requests water and closes when dispensing or filling ends. A cracked housing or faulty valve may cause leaks, weak dispenser flow, or prevent the ice maker mold from filling. Replacing a failed ass...Read moreembly helps restore controlled water delivery and proper shutoff between uses. The valve connects the incoming supply to the internal water system, supporting everyday dispensing and ice production. This is an OEM part sourced directly from the manufacturer.
Read less

$28.26
In Stock
Door Holder
Part #MEG61899901
This is a manufacturer-approved refrigerator door closure for your refrigerator. It is made of white plastic and measures approximately 3 inches by 2 inches. If your old closure is damaged, your refrigerator door may not open and shut properly, and therefore it should be replaced.

$125.75
In Stock
Evaporator Fan Motor
Part #4681JB1027C
This is a genuine OEM evaporator motor that directly powers the evaporator mechanism within your refrigerator. This mechanism is responsible for pulling air over the evaporator coils, which are cold, and circulating that cold air back throughout the appliance. Without this motor, the interior of your refrigerator would build up frost, str...Read moreain the compressor, and simply not cool your fridge enough. A warm fridge, frost buildup or unusual noises are all signs that this fan needs replacing, and over time or through excessive dust building up, motor issues will arise and can cause it to fail. This fan motor is sold as an individual part, so it does not come with any securing screws or the fan blade itself. Replacing the evaporator fan motor will require your user manual and Philips-head and flathead screwdrivers. You need to gain access to the evaporator cover, which you will need to locate using your user manual schematics. Once the cover is removed and you disconnect the wire harnesses within it, you can disassemble the fan mechanism on its inside portion. With the fan mechanism disassembled, remove the old mechanism and install the new one, with the securing screws and wire harnesses.
Read less

$62.80
In Stock

$17.55
In Stock

$77.22
In Stock
Refrigerator Flipper Assembly
Part #AGU74110902
The main top guide pin guides the main top onto the body of the range and helps hold the top in position.

$36.25
Special Order

$36.25
Special Order
Clip
Part #4004JA3002A
This water tubing clip holds the water fill tube in place in your refrigerator. The water fill tube attaches and supplies water to the ice maker/water dispenser in your fridge-freezer. If the tubing is in working order, but is hanging loose inside the unit, the issue could be that the clip meant to hold it in place is broken. If this is t...Read morehe case, you should look to replace the clip. This clip is made of black plastic, and is just over half an inch long. This is a genuine OEM replacement part, and is sold separately.
Read less

$321.06
In Stock
Ice maker Assembly Kit
Part #AEQ72910409
This refrigerator ice maker assembly automatically fills its mold with water and releases frozen cubes into the storage bin. It repeats the process as needed to replenish the ice supply and includes an on/off switch for controlling ice production. A damaged or failed assembly may stop cycling, leave cubes stuck in the mold, leak water, or...Read more make unusual clicking during harvesting. Replacing a faulty unit helps restore automatic ice production. The assembly contains the ice-making mechanism; the storage bucket and dispenser chute are not included. This is an OEM part sourced directly from the manufacturer.
Read less

$50.55
In Stock
Defrost Sensor Assembly
Part #6500JB2001B
Manuals & Care Guides for 79571033110
Click to downloadCommon Symptoms of the 79571033110
How this model fails, and the parts that fix it.
Light not working
Fixed by
these parts
these parts

Show All
Leaking
Fixed by
these parts
these parts


Show All
Door won’t open or close
Fixed by
these parts
these parts


Show All
Not dispensing water
Fixed by
these parts
these parts
Show All
Ice maker not making ice
Fixed by
these parts
these parts

Show All
Noisy
Fixed by
these parts
these parts

Show All
Fridge too warm
Fixed by
these parts
these parts
Show All
Ice maker won’t dispense ice
Fixed by
these parts
these parts
Show All
Door Sweating
Fixed by
these parts
these parts

Show All
Fridge and Freezer are too warm
Fixed by
these parts
these parts
Show All
Watch our pros, then fix it yourself.
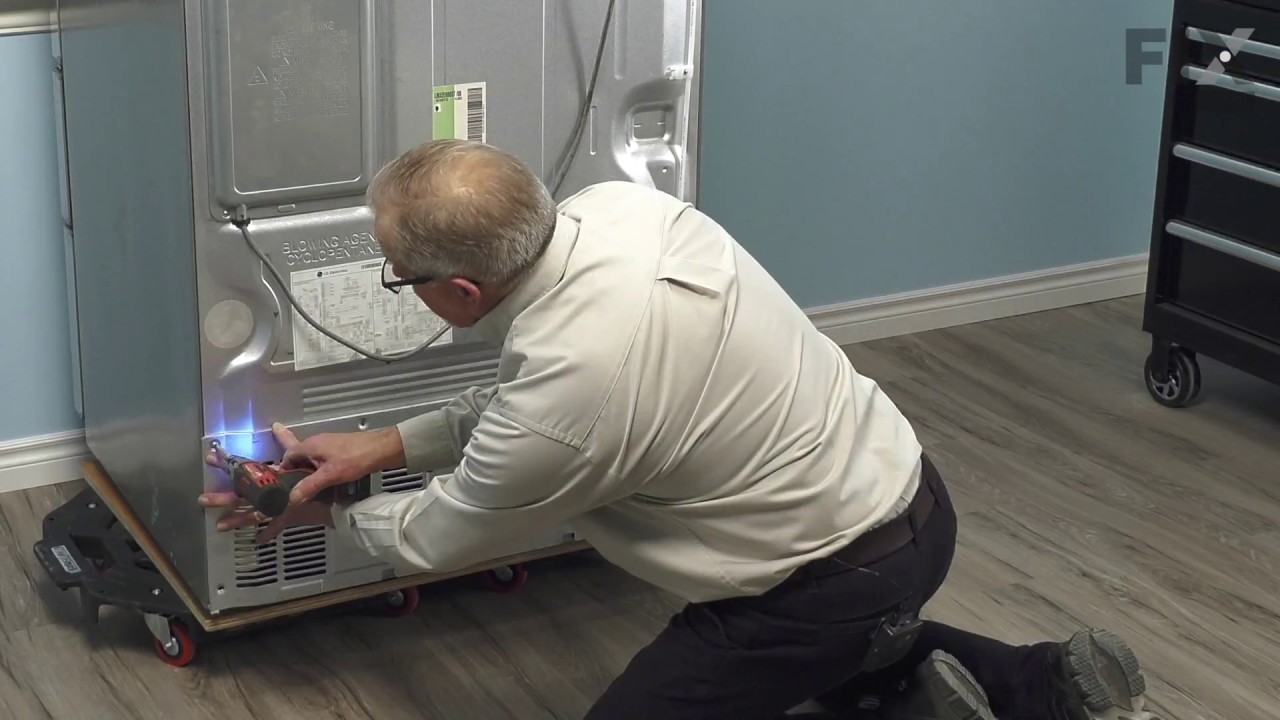
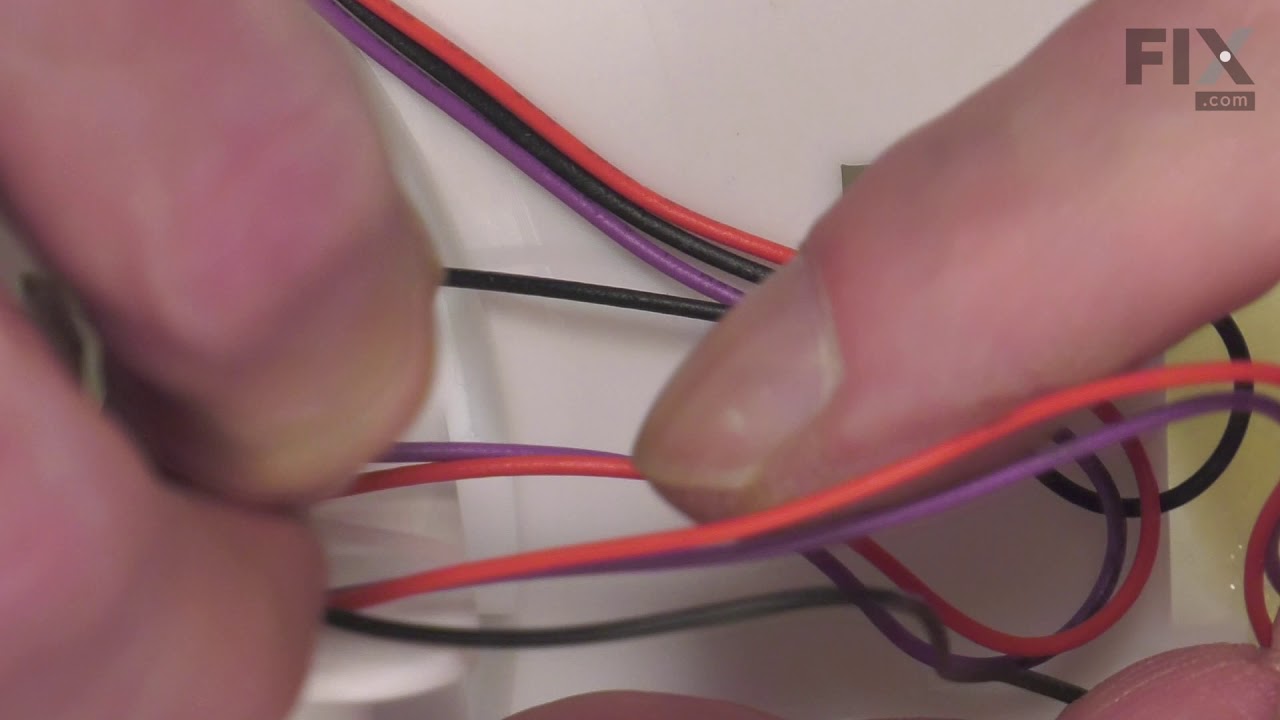
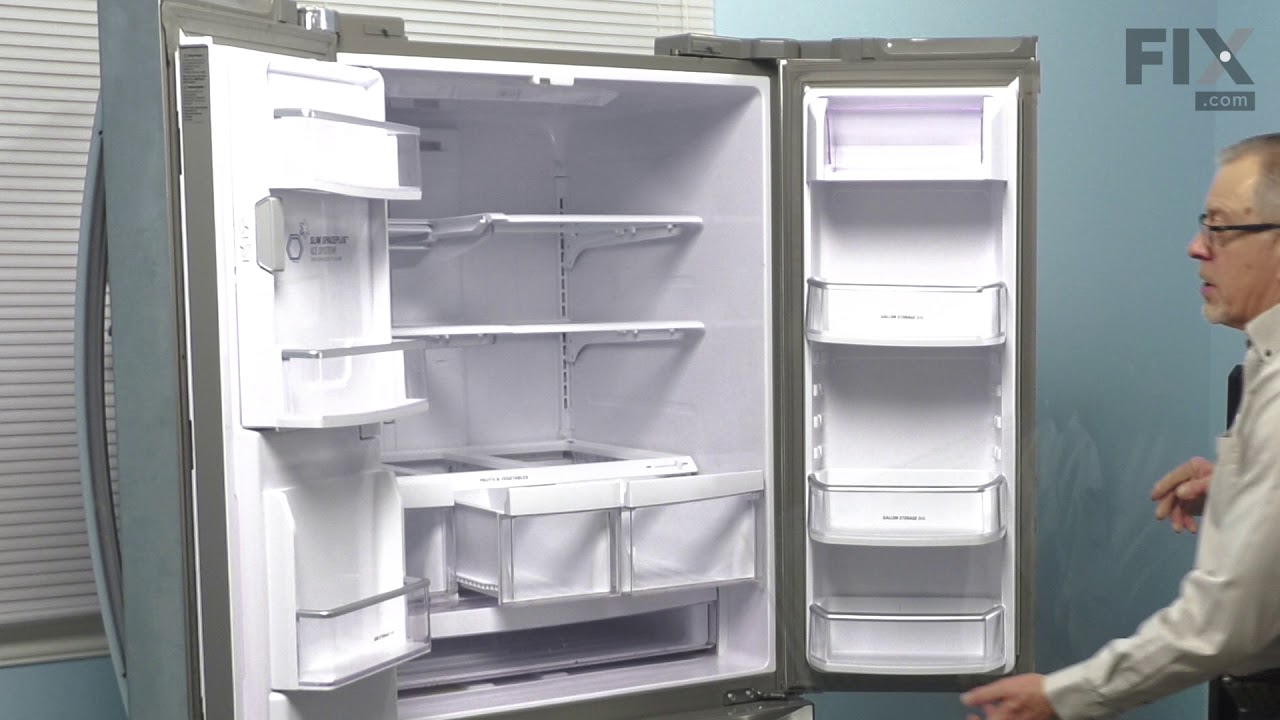

See how others fixed this model. Time, tools, difficulty, and steps that lead to victory!
View More