


 My Orders




79571016011 Kenmore Freezer - Overview
Diagrams for 79571016011
See every part. Know exactly what you need.

Enter a part description. DIY Heroes keep it simple, eg. "belt" or "pump".
Search filter:
Clear Filter
Your search term must have 3 or more characters.

$24.67
In Stock
Refrigerator Door Switch
Part #6600JB1010A
The interior light in your refrigerator is controlled by a switch that is activated when the door is opened and closed. If your refrigerator light will not turn on, or stays on when the door is closed, you could have a faulty switch. The switch is spring-loaded and is a generally closed type of switch meaning there should be no continuity...Read more when the button is pushed, and continuity through the switch when it is no longer engaged. This plastic, white, OEM switch is sourced directly from the manufacturer, is sold individually and is easy to replace. The repair usually takes less than 15 minutes and requires a flat-blade screwdriver and needle-nose pliers.
Read less

$18.22
In Stock
Plastic Tube - 5/16 Inch
Part #MJU62070602
This water tube, or plastic tube, is used in refrigerators and freezers. The tube ensures water is directed to parts of the refrigerator that need it, such as the water dispenser and ice maker. If you find that your current one is leaking or broken in any way, replacing the tube can fix this problem. Make sure to unplug the appliance from...Read more the power source before you start this installation project. Refer to the diagram provided by the manufacturer for further instruction and accurate guidance.
Read less

$15.00
In Stock
Handle Screw
Part #MJB63190001
This handle screw, also known as a mounting bolt, is a mounting screw to help secure the door handle to your refrigerator door. If your handle is loose, you may just need to tighten the screw. If your screw is missing or broken, it may need to be replaced. There are multiple handle screws on your fridge, please consider ordering extra as ...Read morethey commonly wear at the same rate. This is about 1 inch long and metallic in color.
Read less

$68.18
In Stock
Refrigerator Water Filter LT600P
Part #5231JA2006F
This refrigerator water filter is designed to improve the taste and odor of both water and ice by reducing a wide range of contaminants. Utilizing an activated carbon block filtration method, it effectively captures impurities such as lead, chlorine, mercury, cysts, asbestos, and particulates, while allowing fluoride to pass through. The ...Read morefilter is certified to meet NSF/ANSI Standards 42 and 53 for water purification, ensuring reliable performance and safety. With a lifespan of approximately six months or 300 gallons—depending on water quality and usage—it provides consistent filtration and supports the overall efficiency of your refrigerator’s water system.
Read less

$15.00
In Stock
Door Stopper
Part #4620JJ2009A
The door stop, or door stopper, is used in refrigerators. This door stop helps keep the door in position and in balance. This part is attached to the bottom of the door and it keeps it from opening and hitting the side of the refrigerator cabinet. If you find your door hits and scratches your lower cabinet when you open your fridge door, ...Read moreinstalling this part can be a solution to this problem. Make sure to unplug your appliance from the power source before installing this part and safely store food to prevent it from deteriorating. Refer to the diagram provided by the manufacturer for further instruction.
Read less

$44.23
In Stock

$227.76
In Stock
Refrigerator Ice Maker Assembly
Part #AEQ72909603
This ice maker assembly is for refrigerators. This Ice maker assembly contains the complete ice maker and housing. The assembly may include multiple parts; refer to your parts diagram for a complete list of parts included.

$42.06
On Order
Freezer Handle Support
Part #DA61-08247A
This freezer handle support is a 2.5-inch by 1-inch white plastic bracket designed to provide support and stability to the right side of the freezer door handle. It is an authentic manufacturer replacement part that distributes the force placed on the handle during use to prevent excessive stress on one area of the handle. The handle supp...Read moreort also secures the handle to the freezer door. You can find it on the inner right side of the freezer door handle. Over time the screw that secures the handle support may wear down or become stripped, or the plastic bracket may crack, causing the handle support to become unstable and unable to support the door handle. To access the faulty handle support bracket, first unthread the screws that secure it to the freezer door handle. Detach the handle and remove the screws that secure the handle support to the freezer door. Align the new handle support with the attachment points on the freezer door and secure it with the appropriate screws. Attach the handle to the new support and ensure it is securely fastened. Be careful not to not to overtighten the screws, to avoid stripping the mounting holes and damaging the handle support. Screws are sold separately. Please note that this support is for the right side of the handle. The left-side support is sold separately.
Read less

$23.60
In Stock

No Longer Available
Lamp Cover
Part #3550JJ1070B
This lamp cover is also commonly referred to as a light lens. This is a genuine replacement part. It is used in a refrigerator to cover the light bulb. It is made of clear plastic. It measures 14 inches by 5 1/2 inches. This does not include the white plastic housing that the light is in, this is just the cover. To install your replacement part you simply snap it into place, no tools are required.

$109.40
In Stock
Evaporator Fan Motor
Part #4681JB1027C
This is a genuine OEM evaporator motor that directly powers the evaporator mechanism within your refrigerator. This mechanism is responsible for pulling air over the evaporator coils, which are cold, and circulating that cold air back throughout the appliance. Without this motor, the interior of your refrigerator would build up frost, str...Read moreain the compressor, and simply not cool your fridge enough. A warm fridge, frost buildup or unusual noises are all signs that this fan needs replacing, and over time or through excessive dust building up, motor issues will arise and can cause it to fail. This fan motor is sold as an individual part, so it does not come with any securing screws or the fan blade itself. Replacing the evaporator fan motor will require your user manual and Philips-head and flathead screwdrivers. You need to gain access to the evaporator cover, which you will need to locate using your user manual schematics. Once the cover is removed and you disconnect the wire harnesses within it, you can disassemble the fan mechanism on its inside portion. With the fan mechanism disassembled, remove the old mechanism and install the new one, with the securing screws and wire harnesses.
Read less

No Longer Available
Cam,Shaft
Part #4430JJ2004B
The purpose of the door latch cam is to keep the door latched when you shut it. If your door is not staying shut, you may need to replace the door latch cam. This part is made of white plastic and is about 2 inches in length. The door latch cam is located at the top of the door, and you will need to remove the trim that covers the gasket ...Read morein order to access the door latch cam. To complete this repair, you will need a flat blade screwdriver to pop out the plastic tabs holding the gasket in place. This part is sold individually.
Read less
Manuals & Care Guides for 79571016011
Click to downloadCommon Symptoms of the 79571016011
How this model fails, and the parts that fix it.
Light not working
Fixed by
these parts
these parts


Show All
Leaking
Fixed by
these parts
these parts


Show All
Door won’t open or close
Fixed by
these parts
these parts


Show All
Ice maker not making ice
Fixed by
these parts
these parts

Show All
Noisy
Fixed by
these parts
these parts


Show All
Ice maker won’t dispense ice
Fixed by
these parts
these parts

Show All
Fridge too warm
Fixed by
these parts
these parts
Show All
Not dispensing water
Fixed by
these parts
these parts
Show All
Frost buildup
Fixed by
these parts
these parts

Show All
Fridge and Freezer are too warm
Fixed by
these parts
these parts

Show All
Ice maker dispenses too much ice
Fixed by
these parts
these parts
Show All
Watch our pros, then fix it yourself.
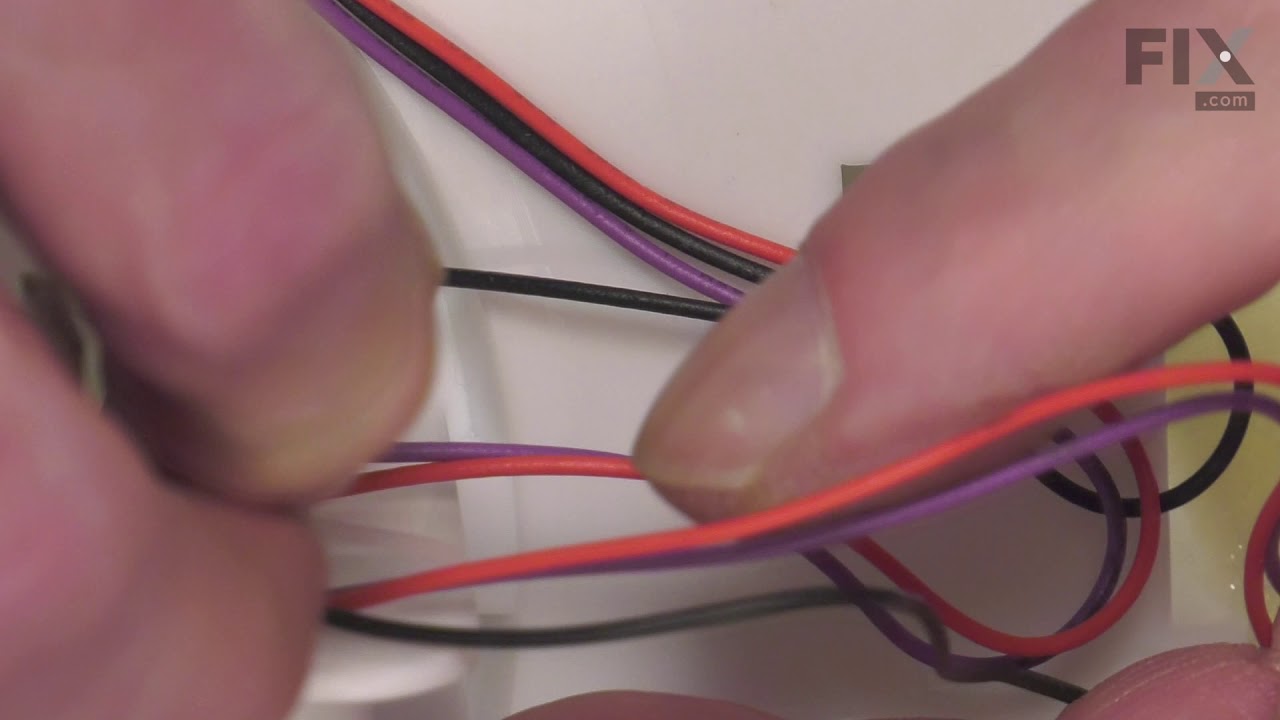
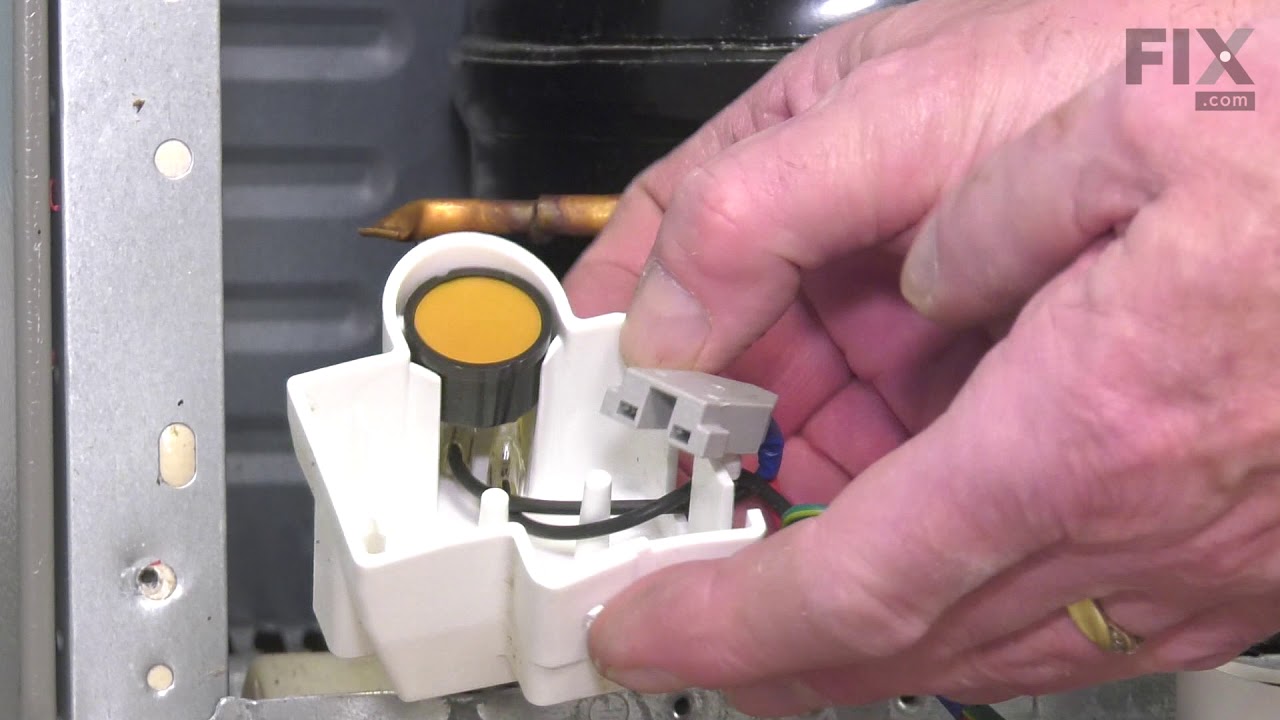
See how others fixed this model. Time, tools, difficulty, and steps that lead to victory!
View More
Search repair tips from other customers using simple keywords like "replace", "fit", "remove", "inspect". DIY doesn't mean you have to do it alone!
Search filter:
Clear Filter
Your search term must have 3 or more characters.
Very bad noise which stopped when the door was opened
14 of 19 people
found this instruction helpful.
The Refrigerator now runs very quite.
After watching several videos I started on mine and found that it was a bit different than any in the videos. However all but the back panel was shown and that was helpful.
The back panel was a bit difficult but a hair dryer seemed to help .
All in all it was a good choice to do it myse ... Read more lf as it was done quicker than waiting on a repair man.
After watching several videos I started on mine and found that it was a bit different than any in the videos. However all but the back panel was shown and that was helpful.
The back panel was a bit difficult but a hair dryer seemed to help .
All in all it was a good choice to do it myse ... Read more lf as it was done quicker than waiting on a repair man.
Read less
Other Parts Used:

Was this helpful?
Thank you for voting!