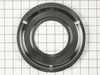
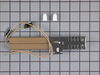
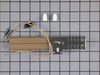
This drip pan is designed for gas cooktops and ranges. The pan has an approximate diameter of 8 inches, and the hole in the middle has a diameter of roughly 4 inches. The purpose of this part is to ca...
This OEM 40 watt appliance light bulb is used for some ranges, refrigerators, freezers, and microwaves. Simply locate the existing bulb, unscrew it from its socket, and replace with new light bulb. If...
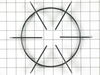
This is a burner grate for your surface burner, and it is compatible with your range stove top. The purpose of this part is to provide a balanced and stable surface for you to set your cookware on whi...
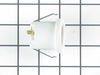
The oven light socket allows you to screw in a light bulb so that you can see the inside of your oven. The light socket is located in the back of your oven, so you will need to remove the back panel t...
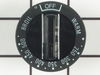
This is a clock knob for an electric range, oven, or stove. It allows you to adjust the clock and cooking timer. No tools are required for this repair, the knob simply pops on and off the turn shaft. ...
Turned power off at electrical panel. Pulled oven away from wall. Removed back cover (6 screws), then unplugged wires from old receptacle. I had to pull the squeeze clips backwards & break them to remove the old receptacle - couldn't squeeze them enough to remove them otherwise. The old receptacle came out through the inside of the oven,
... Read moreand the new one snapped in easily from inside the oven as well. Replaced wiring, installed new bulb, restored power & tested. Replaced back cover. Good time to vacuum under/behind where the oven usually lives before sliding it back to the wall.
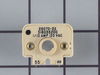
First I had to slide the stove out of its cubby and then I removed the two screws holding on the shield. I next removed the wires going to the spark module. I removed the top screw and loosened the bottom one. Installed the new spark module in reverse order. Less than 15 minutes for whole repair. Still have problems with spark module
... Read more not working if oven is on, but I think it is because there is no air circulation behind the stove.
I removed the broiler burner assembly held in by 5 screws across the inside top of the oven, as I removed the assembly the igniter slid out from the back of the oven and was attached to the assembly with a cannon plug, I disconnected the cannon plug and removed the whole assembly out of the oven and replaced the igniter which was attached
... Read more by two screws and reassembled in the oven. Where I live in remote Alaska calling a repair technician is not an option, either figure it out or have a new appliance barged in.