Your coupon for will be reflected when you check out!
✖
Your coupon for
✖
Hello!
You're visiting the PartSelect site in U.S.
Would you like to shop on the Canadian site?
Stay on this site
Go to Canadian site
✖
Model Number Locations
1Select Category Type
Select Category Type
2Select Product Type
Select Product Type
3Select {MODEL} Type
Select {MODEL} Type
Sample Model Number Tags
Model numbers can be made up of numbers (1005400, for example) or a combination of letters and numbers (LAT1000AAE). The model number will most likely appear on either a paper sticker or a metal plate. Your appliance's model number tag may look similar to the sample model number tags shown here (model number highlighted in yellow):
Model has been saved to My Models. If you're not signed in, your lists are available on this device and will expire within 30 days.
Model has been saved to My Models.
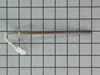
This genuine OEM oven probe is also known as an oven temperature sensor or range probe. This part is manufactured for a range, stove, or oven to detect the temperature within the oven cavity. The prob...
This OEM 40 watt appliance light bulb is used for some ranges, refrigerators, freezers, and microwaves. Simply locate the existing bulb, unscrew it from its socket, and replace with new light bulb. If...
The Frigidaire light bulb lens covers the interior light bulb in an oven. No tools are necessary to replace this item. After unplugging the appliance, slide off the wire bracket to remove the existing...
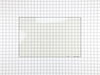
This tempered glass is supplied by the original manufacturer and measures 20 inches by 13 inches. It is an inner door glass, designed for use in ranges/ovens and has several purposes which include pro...
This rear drawer glide, also known as a storage drawer glide, is used in ranges. This helps hold the front side of the storage drawer and allows the drawer to easily slide in and out of the range. If ...
Introducing the Frigidaire Range Front Drawer Glide, an authentic OEM part that enhances the function of your stove, oven, or range! Compatible with certain models of Frigidaire, Electrolux, White Wes...
This is a six-inch radiant element with limiter. It works in conjunction with your stove top range. The purpose of this part is to heat up the cooking area that is located on top of the range, also kn...
This broil element is a genuine replacement part designed for electric ranges and ovens. Located at the top of the oven cavity, it delivers high-intensity heat for broiling functions. Compatible with ...
The Frigidaire Range Light Lens Indicator, compatible with selected Frigidaire, Electrolux, White Westinghouse and Tappan models, ensures optimal function of your stove, oven, or range. As a genuine O...
This steel washer is also known as the range washer and is used on your oven door. The measurements for the steel washer are a three quarter inch outer diameter, and a one quarter inch inner diameter....
I called a repair place. They charged $54 to diagnose, (said it needed a new latch motor) then wanted $220 to complete the repair. I checked online prices and did it myself for about 15 minutes work and the latch motor itself ($44?).
Was necessary to uplug the range, pull it away from the wall and remove the back panel sheet m
... Read moreetal, then 3 screws that mount the motor. Replace motor, reattach sheet metal. Plug in. Done. Ready to bake cookies.
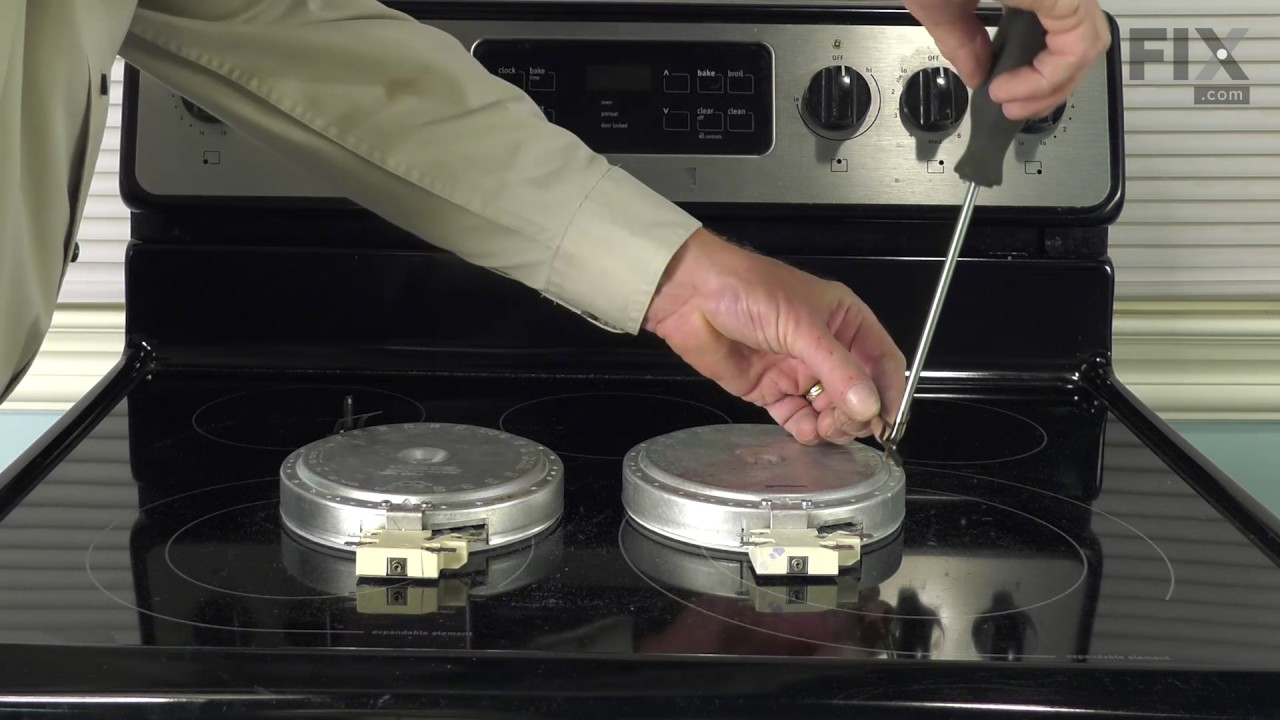
First we removed two screws under the rim of the range top to open the lid. Lifted the lid and removed the screws from the bracket that holds the elements, Be careful with the clips that hold the element in, if you break them or bend them there aren't any more! Also note which holes they were in, they are marked according to the differ
... Read moreent sizes of elements. Disconnected the wires, needed needlenose pliers to grip them...connected new element, popped it back in place, replaced bracket, closed top ...Easy peasy!!!
Turned power off at electrical panel. Pulled oven away from wall. Removed back cover (6 screws), then unplugged wires from old receptacle. I had to pull the squeeze clips backwards & break them to remove the old receptacle - couldn't squeeze them enough to remove them otherwise. The old receptacle came out through the inside of the oven,
... Read moreand the new one snapped in easily from inside the oven as well. Replaced wiring, installed new bulb, restored power & tested. Replaced back cover. Good time to vacuum under/behind where the oven usually lives before sliding it back to the wall.