


 My Orders




79097413410 Kenmore Range - Overview

Enter a part description. DIY Heroes keep it simple, eg. "belt" or "pump".
Search filter:
Clear Filter
Your search term must have 3 or more characters.

$20.85
In Stock
Light Lens Indicator
Part #316557300
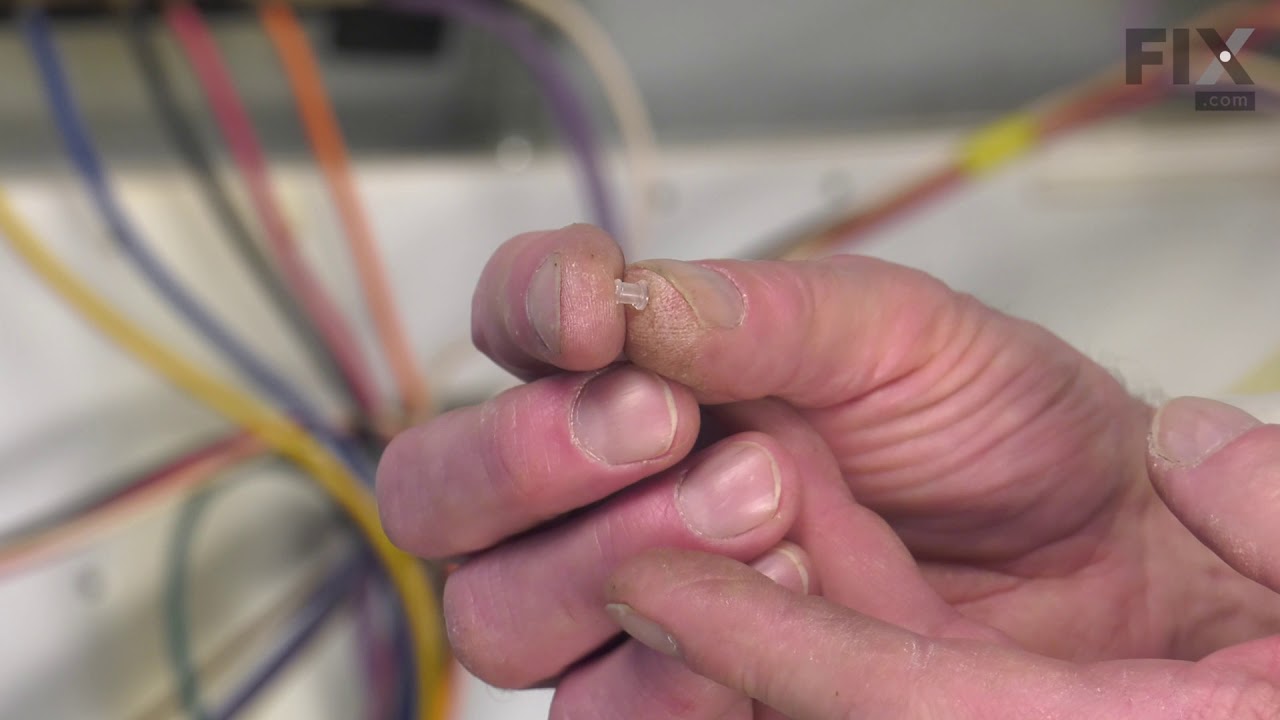
This range indicator light lens is designed to cover and protect the appliance’s indicator light, allowing you to easily see when a burner or oven is in use. Made from clear, heat-resistant plastic, it helps shield internal components from grease, moisture, and everyday wear. Replacement is ideal if the original lens is cracked, discolored, or missing, helping restore visibility and maintain safe, reliable operation.

$59.35
In Stock
Light Indicator - 125v
Part #316022500

$78.05
In Stock
Dual surface element switch
Part #316238201
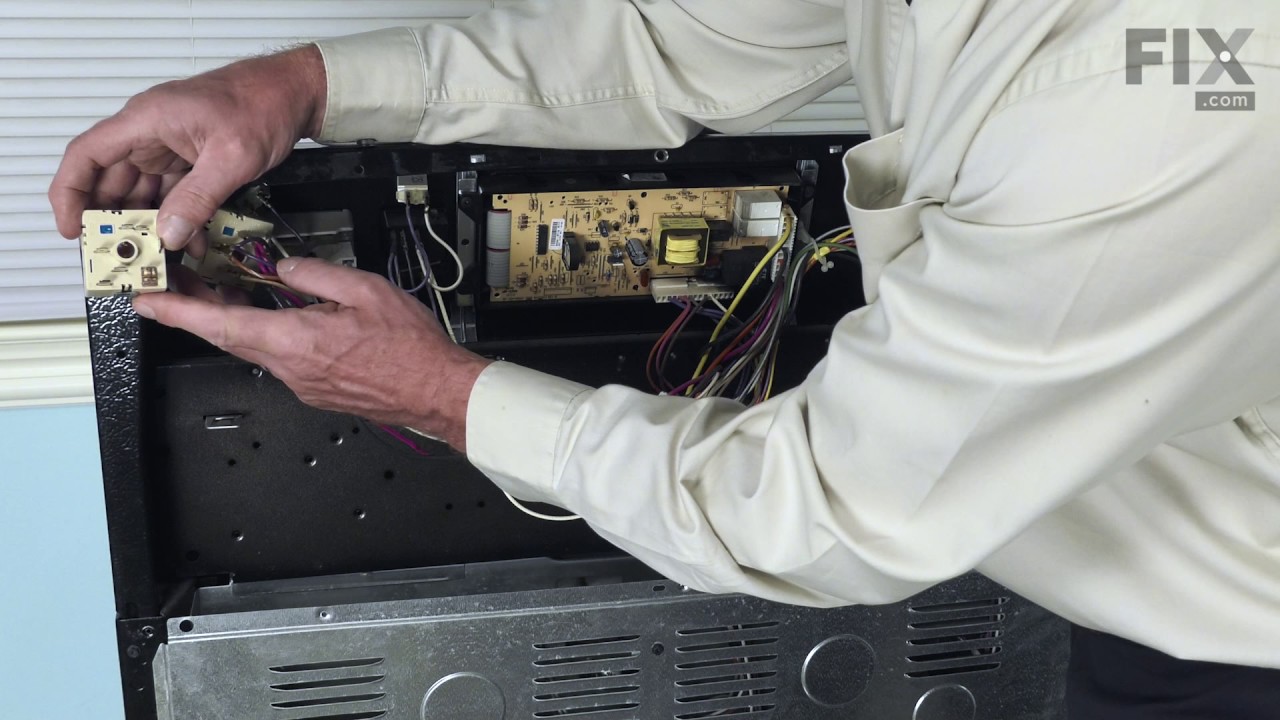
This switch controls the stove top surface burner. This surface element control switch is for ranges.
Surface element control switch turns the surface element on and off and controls how much heat the element produces.
Unplug the range or shut off the house circuit breaker for the range before installing this part.

$8.60
In Stock
Screw
Part #5303288565
This is an authentic mounting screw, which works with ranges, wall ovens, cooktops and warming drawers.

No Longer Available

$46.18
In Stock
PROBE
Part #5304525427
This OEM-manufactured metal temperature sensor, or oven probe, measures and regulates the temperature within the oven. If you find that your food is being overcooked, undercooked, or is not cooking evenly, the sensor may be faulty. You can verify this by testing it with a multimeter or looking out for an error code on the control board. I...Read moref you do not replace the broken sensor, your oven will run too hot or too cold. To replace the sensor, you first need to turn off the power to the oven and let it cool down. Access the probe inside the oven cavity, it is commonly attached to the rear wall. Using a screwdriver or pliers, remove any screws or clips that are securing the sensor in position. You may also need to unscrew or unclip the wire attached to the probe from the back of the oven. This sensor is sold as a single unit.
Read less

$6.55
In Stock

$71.44
In Stock
ELEMENT
Part #5304521498
This genuine OEM broiler heating element is designed to provide high-intensity heat from the top of the oven cavity, supporting the broiling function in compatible electric ranges. It delivers consistent performance for tasks such as searing, browning, and finishing dishes. The element is constructed from durable materials to withstand re...Read morepeated exposure to high temperatures and is shaped to fit securely within the designated mounting area. Replacing a damaged or worn broiler element can resolve issues such as uneven cooking, failure to heat, or visible damage to the heating surface. Installation should be performed with the power disconnected and may require basic tools. To ensure proper fit, verify your appliance’s model number before purchasing.
Read less

$33.90
In Stock
Fan Blade Retainer Nut
Part #316136600
This fan blade retainer nut in your oven secures the fan blade onto the motor shaft, preventing it from coming loose during operation. You can typically find it at the back of your oven behind a cover. If you notice that the fan blade becomes wobbly or does not rotate smoothly, or your oven starts to make rattling or scraping sounds, the ...Read morenut may be damaged. If the fan blade cannot spin properly, your food may cook unevenly. Your oven will also work harder and consume more energy to maintain the desired temperature. To access the nut, you will need to remove the back panel of your oven. Remove any screws or release any clips holding it using a screwdriver. To remove the nut itself, you will need either a wrench or a pair of pliers to loosen it from the motor shaft. The fan blade is sold separately from this genuine OEM nut.
Read less

No Longer Available
LAMP ASSEMBLY
Part #139001800
This halogen lamp assembly in your oven illuminates the cavity and is often located near the back wall or on the ceiling, so that you can easily monitor the cooking progress of your food. It consists of a bulb and a protective cover. To check if it is broken, look for a burned-out or broken bulb, a cracked or missing cover, or loose conne...Read morections. If the bulb does not light up despite being functional, there may be an issue with the assembly. Not replacing a damaged assembly can make it difficult to check your food or identify heating or spillage issues, so prompt replacement is essential. To remove your lamp assembly, first turn off the oven and allow it to cool down to avoid burns or electrical shock. If there is a separate power switch for the lamp assembly, turn it off. Alternatively, switch off the power at the circuit breaker for complete safety. Consult your user guide to find the wire connection point for the lamp assembly. You may need to remove a small cover or access panel to access it. Carefully unplug or detach the wire from the oven. Once the wire is disconnected, you can remove the entire lamp assembly from its mounting location. This OEM replacement part comes with a covered bulb and a wire connector.
Read less

$29.60
In Stock
Toe Panel Insulation
Part #318372017

$87.10
In Stock
SWITCH
Part #316305100
This infinite switch is a genuine OEM component designed to regulate surface burner temperature on electric ranges and cooktops. Known as a Turbo Flex infinite switch, it provides precise control over heat output by allowing continuous adjustment rather than fixed settings. This feature supports consistent cooking performance and even hea...Read moret distribution. The switch turns the burner on and off while maintaining the selected temperature level. It is compatible with a wide range of appliances from Frigidaire, Electrolux, White Westinghouse, Tappan, and other affiliated brands. Installation requires disconnecting power, accessing the control panel, and replacing the switch using existing wiring and mounting points. Always verify compatibility with your specific model, as similar switches may differ in size or configuration.
Read less
Common Symptoms of the 79097413410
How this model fails, and the parts that fix it.


Watch our pros, then fix it yourself.
See how others fixed this model. Time, tools, difficulty, and steps that lead to victory!
View More