Your coupon for will be reflected when you check out!
✖
Your coupon for
✖
Hello!
You're visiting the PartSelect site in U.S.
Would you like to shop on the Canadian site?
Stay on this site
Go to Canadian site
✖
Model Number Locations
1Select Category Type
Select Category Type
2Select Product Type
Select Product Type
3Select {MODEL} Type
Select {MODEL} Type
Sample Model Number Tags
Model numbers can be made up of numbers (1005400, for example) or a combination of letters and numbers (LAT1000AAE). The model number will most likely appear on either a paper sticker or a metal plate. Your appliance's model number tag may look similar to the sample model number tags shown here (model number highlighted in yellow):
Model has been saved to My Models. If you're not signed in, your lists are available on this device and will expire within 30 days.
Model has been saved to My Models.
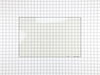
This tempered glass is supplied by the original manufacturer and measures 20 inches by 13 inches. It is an inner door glass, designed for use in ranges/ovens and has several purposes which include pro...
The Frigidaire Range Light Lens Indicator, compatible with selected Frigidaire, Electrolux, White Westinghouse and Tappan models, ensures optimal function of your stove, oven, or range. As a genuine O...
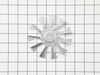
This convection fan blade is designed for use with various makes and models of range and oven and is sold as an individual part. Made of metal and measuring approximately 4.75-inches in diameter, this...
This part is a levelling leg and it is used in conjunction with your range. The function of this part is to supply stability and support to your appliance. This part is adjustable to allow you to tail...
This hidden bake element is an essential heating component located beneath the oven floor panel, providing consistent heat for baking, roasting, and warming. Designed with a durable ceramic sheath to ...
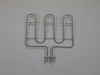
This genuine OEM broiler heating element is designed to provide high-intensity heat from the top of the oven cavity, supporting the broiling function in compatible electric ranges. It delivers consist...
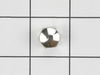
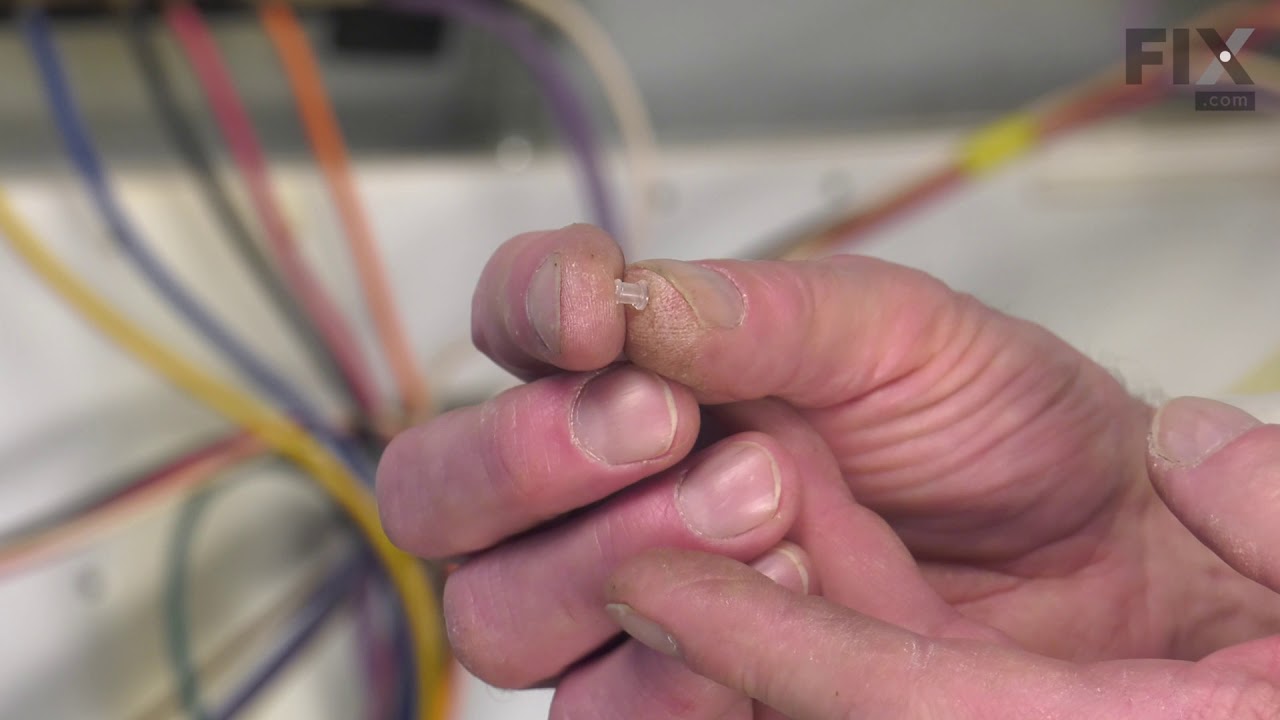
This fan blade retainer nut in your oven secures the fan blade onto the motor shaft, preventing it from coming loose during operation. You can typically find it at the back of your oven behind a cover...
This replacement light bulb provides clear illumination to improve visibility during appliance operation. It is commonly replaced when the original bulb burns out, flickers, or no longer produces adequate light.
This radiant burner element delivers powerful, even heat for your cooktop, ensuring fast and efficient cooking. Measuring 9 inches and rated at 3200 watts, it is ideal for replacing a worn or malfunct...
$42.95
In Stock
Order now and your part arrives by May 22
Questions And Answers for 79097323412
Be the first to ask our experts a question about this model!
✖
Ask a Question
Ask our experts a question on this model and we'll respond as soon as we can.
Repair was quite easy, as long as you have the instructions for removing the door. The screws that hold the bottom of the door to the fixed hinge are placed into the side of the hinge assembly after removal; this holds the door at a 45 degree angle for easy removal. After that, just place the door on a flat surface and dismantle the door
... Read morefrom the inside. The inner glass is contained in a metal frame with another piece of glass; this frame comes apart easily using the clips in each side. The door assembles easily after the glass is replaced; just take your time and give yourself enough room to lay out the parts as you go. Good luck!
Had to reference original owner's manual for instruction(s) on how to remove oven door. Used several "YouTube" videos to reference oven door design (Oven door glass is actually several layers of glass.) After completing about 30 mins of research and finding the right square drive bit, the repair went smoothly and without complications. Th
... Read moree biggest challenge was researching and understanding what part(s) were needed and how to replace them. It seemed liked a lot of work doing the research however it sure beat a $350 repair bill. It cost me $90 and about 1 1/2 hours of total time. Oven works better than ever, thanks parts select for the part(s) and diagram(s) ...
This was the first time replacing the fan. It is a lot easier to work in the oven compartment with the oven door removed, only two screws on the door and the hinges were released. I found that a couple of the screws were either rusted or stripped so I used a pair of pliers to remove the screws that were holding the diffuser in place. O
... Read morence there was access to the fan I found that the fan was warped and that the blades were scraping against the back wall of the oven. The next challenge was to remove the retaining nut. I used a sheet metal screw to secure the warped fan to keep it from spinning. once I figured out that you have to turn the retaining nut to the right to loosen, it came off easily. 1/2" socket with extension. When I replace the fan I used two washers for spacers to make sure that the fan would not scrape the wall of the oven. Its been tested many times and the oven does not make that horrible sound anymore.