EasyApplianceParts is now PartSelect! We've merged our sites to provide a better shopping experience for you.   Full Details

Find Parts

Parts Departments

Top Model Types

Top Brands

Repair Help

Expert Repair Videos

Keep typing for more specific results...

79095711894 Kenmore Range - Overview

Diagrams for 79095711894

See every part. Know exactly what you need.

Enter a part description. DIY Heroes keep it simple, eg. "belt" or "pump".

Search filter:
Clear Filter
Your search term must have 3 or more characters.
Terminal Block Kit – Part Number: 5303935058
$15.20
In Stock
Terminal Block Kit
★★★★★
★★★★★
(47)
Part #5303935058
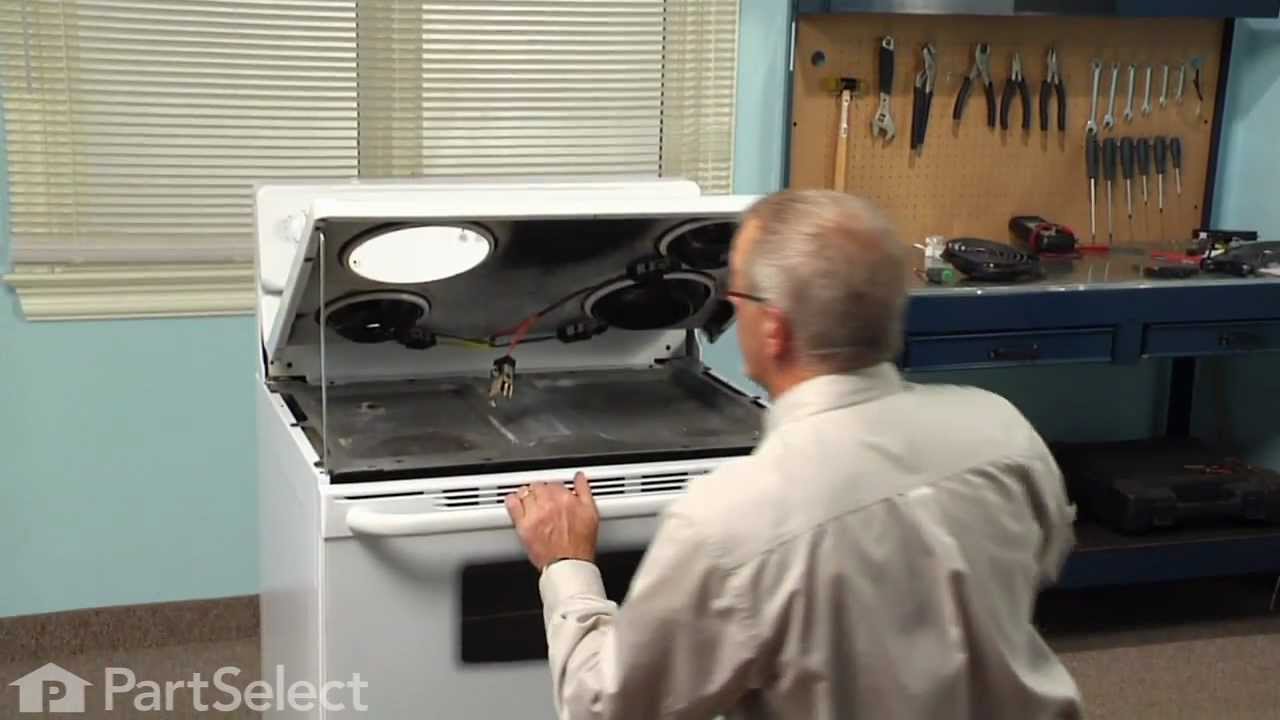
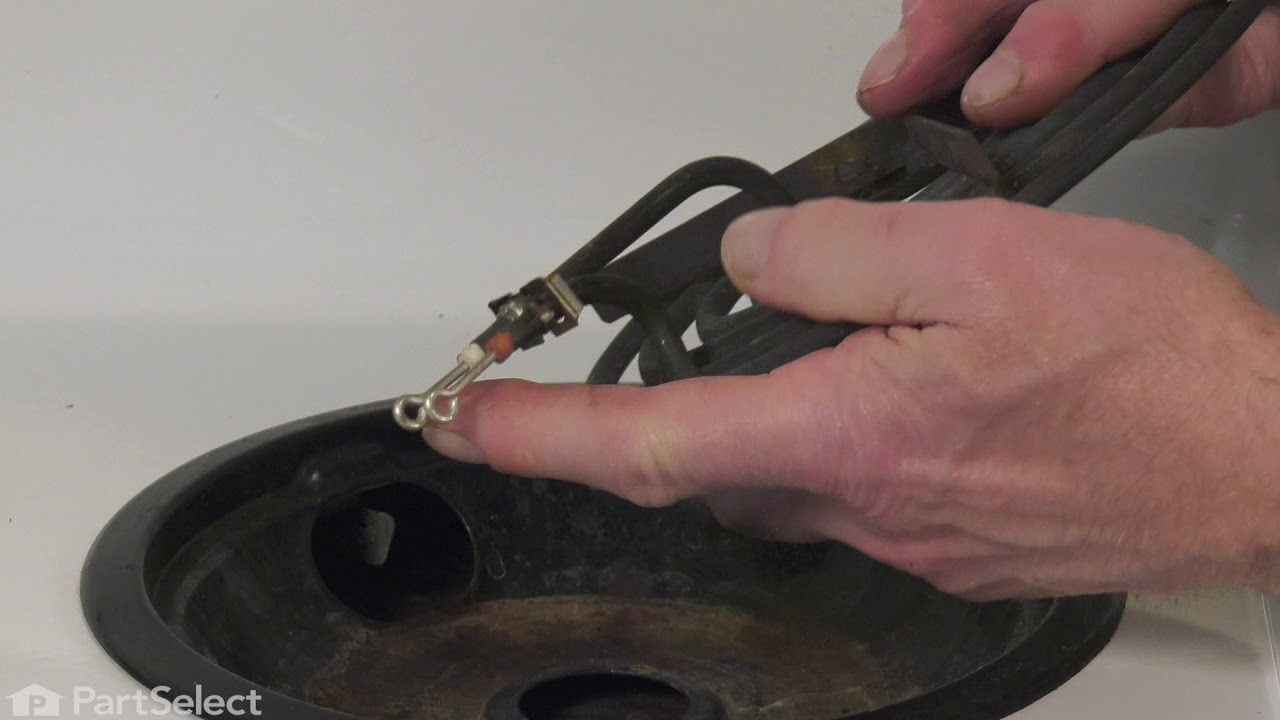
This part connects the wire harness to the surface element and is used for ranges. The kit includes interchangeable mounting brackets, ceramic wire nuts, heat shrink protective tubing, and wires. If your range/oven is having symptoms such as burner not heating, heating elements not working, burning smell, or if the oven is making a buzzing noise then this could be the solution. The tools needed to replace the kit are wire strippers, a heat gun or hair dryer, and #1 square heard screw driver. Refer to the installation/instructional video for further guidance to accurately replace the element.
6-Inch Coil Burner Element – Part Number: 318372211
$57.70
In Stock
6-Inch Coil Burner Element
★★★★★
★★★★★
(14)
Part #318372211
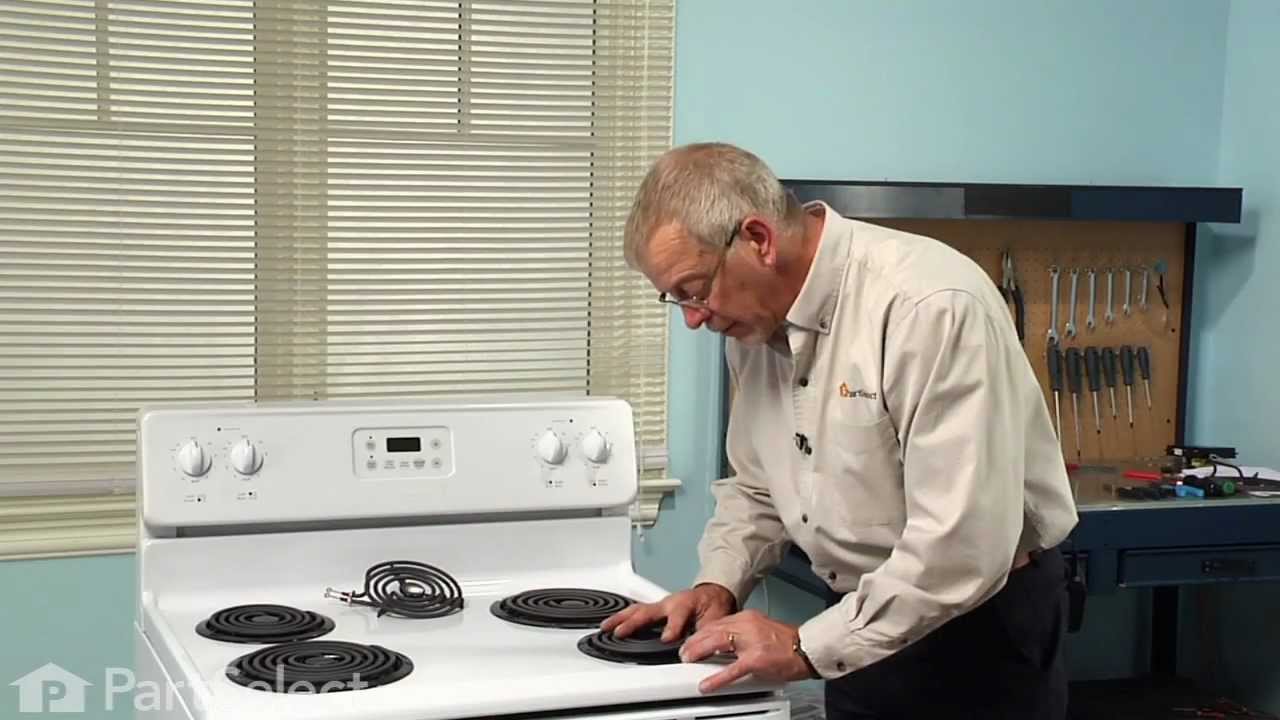
This element is a genuine OEM replacement part, has looped terminal ends, comes with a black medallion center, and fits most electric ranges. All burners are made of a heating wire that produces heat from electricity. Remove the non-functional burner element from the terminal block (or receptacle). Use a multi-meter to check for continuity. Check the end of the terminals for corrosion or heat damage. If there is corrosion or heat damage, replace the whole terminal block or receptacle at the same time you replace the damaged coil. Before you start this repair, make sure that the element is turned off and cool to the touch.
Light Bulb – Part Number: 316538904
$27.45
In Stock
Light Bulb
★★★★★
★★★★★
(13)
Part #316538904
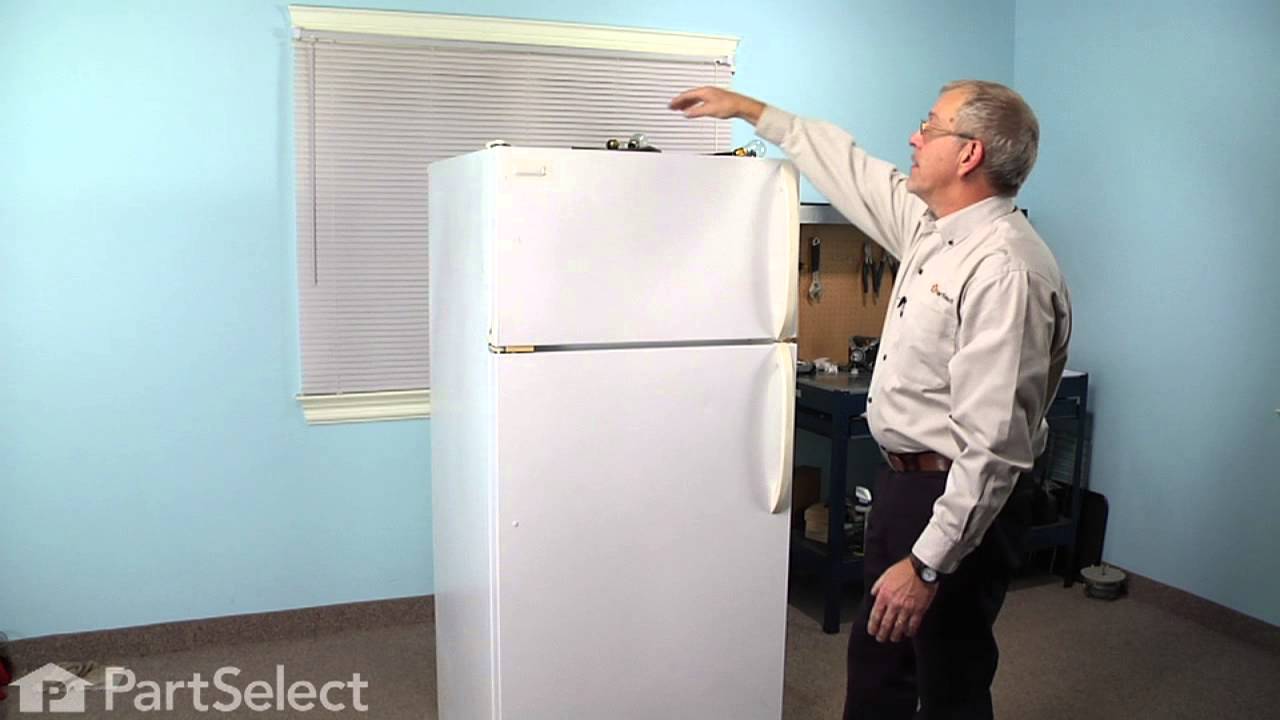
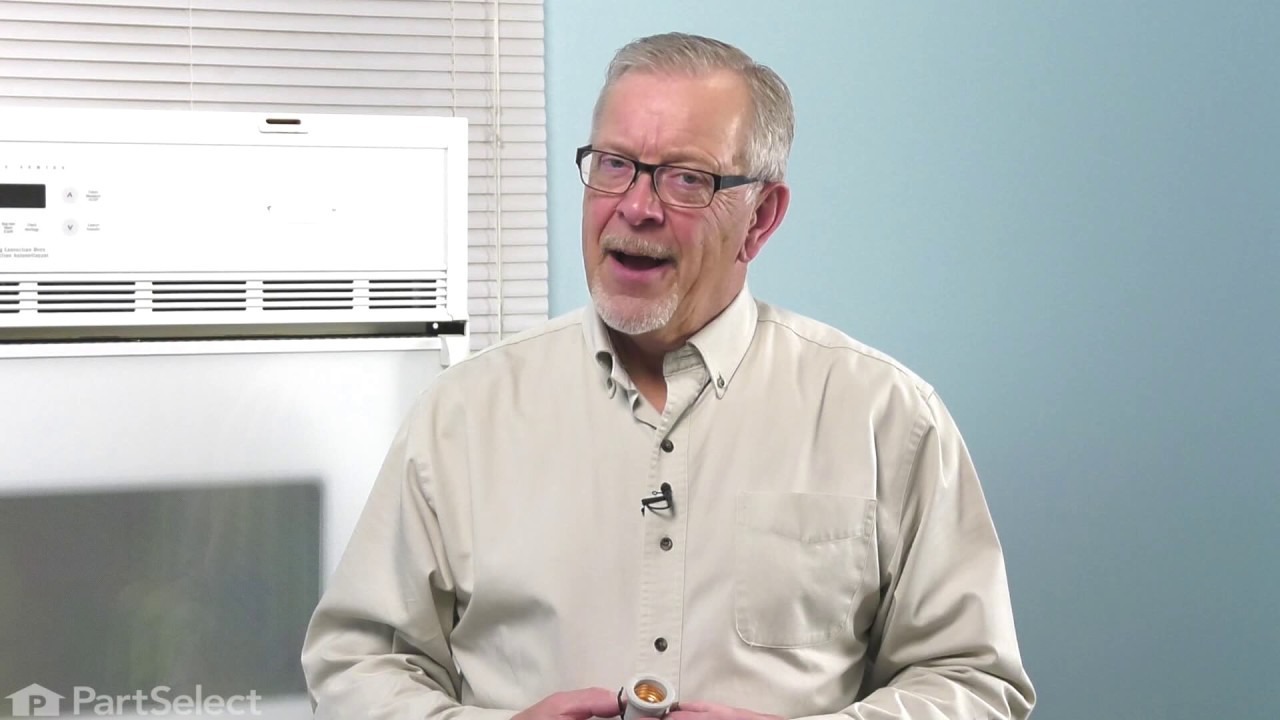
This OEM 40 watt appliance light bulb is used for some ranges, refrigerators, freezers, and microwaves. Simply locate the existing bulb, unscrew it from its socket, and replace with new light bulb. If the existing bulb is broken in the socket, disconnect the power to the refrigerator and use a pair of needle nose pliers to grip the internal fragments of the bulb to unscrew. Replace with the new bulb and reconnect the power to the refrigerator. These bulbs are sold individually and are a commonly replaced part; consider ordering a spare.
Drip Bowl - 8 Inch – Part Number: A316222301
$15.35
In Stock
Drip Bowl - 8 Inch
★★★★★
★★★★★
(17)
Part #A316222301
This is an 8-inch drip bowl for your range or cooktop. It is made of porcelain and is black in color. Place the drip pan under your burner to catch food that may drip or spill while you cook. It is 10 inches in total diameter. Be sure to wait until drip pan and burner are cool to the touch before completing this replacement.
LENS – Part Number: 5304524341
$26.37
In Stock
LENS
★★★★★
★★★★★
(15)
Part #5304524341
The Frigidaire light bulb lens covers the interior light bulb in an oven. No tools are necessary to replace this item. After unplugging the appliance, slide off the wire bracket to remove the existing light bulb lens. Be sure to remove all broken glass, if applicable, before installing the new lens. It is recommended to check the state of the light bulb while the lens is off. This part is made of glass. The lens is a genuine Frigidaire part, sourced directly from the manufacturer, and is sold individually.
Drip Bowl - 6 Inch – Part Number: A316222201
$12.58
In Stock
Drip Bowl - 6 Inch
Part #A316222201
This drip bowl is a genuine OEM replacement part for your stovetop. It is black in color, made of porcelain, and six inches in diameter. To replace the drip pan, you simply need to remove the burner element. It may be held in place by a spring-loaded mechanism. Pop out the burner, remove the old drip pan and clean up any cooking residue, and replace with the new drip pan.
GLASS – Part Number: 5304506004
No Longer Available
GLASS
★★★★★
★★★★★
(11)
Part #5304506004
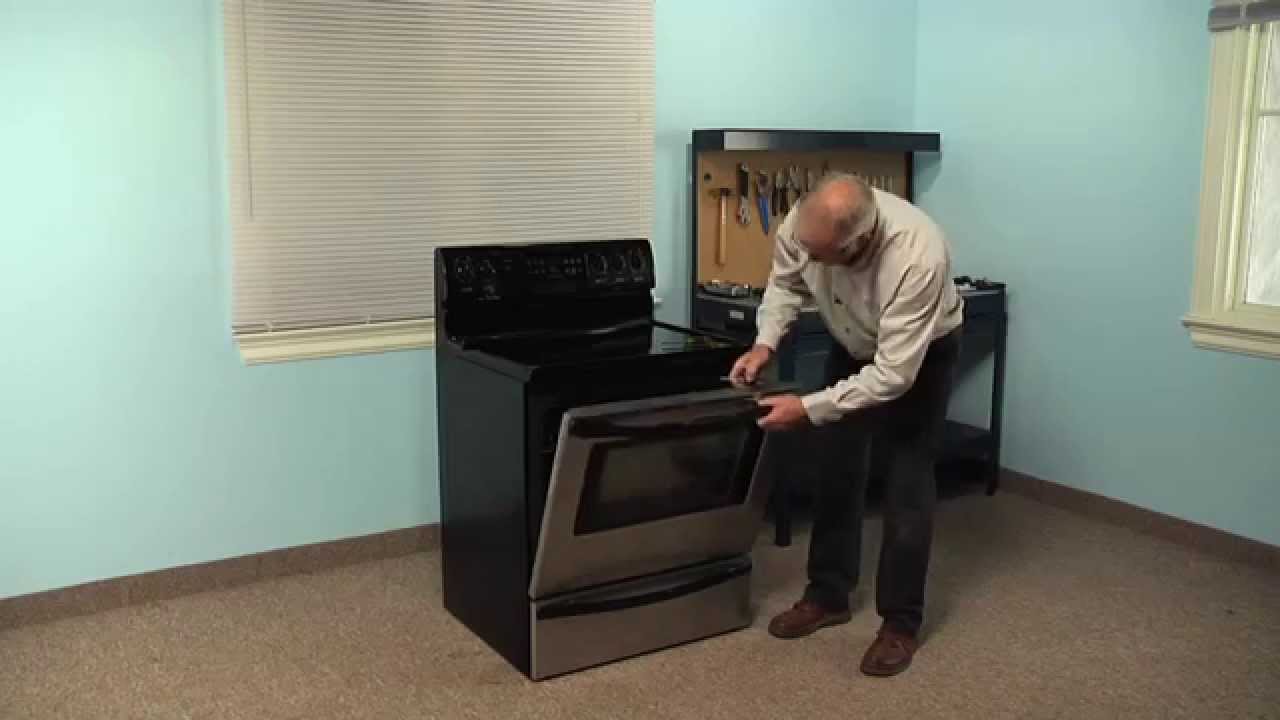
This part is the replacement inner oven door glass for your oven. It is made of glass and is approximately 16 inches wide and 7 inches long. The oven door glass allows you to see inside the oven when the door is closed. The main reason to replace the inner oven door glass is if the old glass is cracked, broken, or missing. This part is an OEM part sourced directly from the manufacturer.
Broil Element – Part Number: 5303051140
$149.44
In Stock
Broil Element
★★★★★
★★★★★
(5)
Part #5303051140
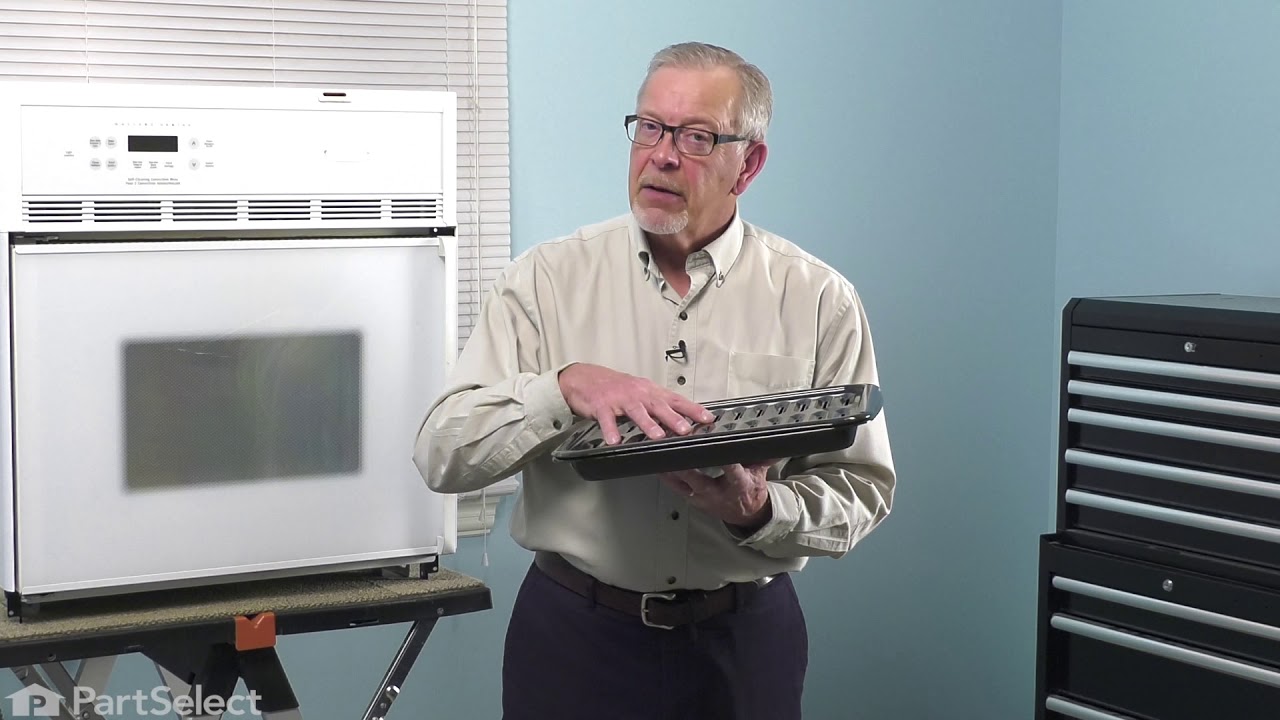
This broil element is found on the roof of the oven.
HANDLE KIT, BLACK – Part Number: 5304537685
No Longer Available
Drawer Handle – Part Number: 316026105
No Longer Available
Drawer Handle
★★★★★
★★★★★
(2)
Part #316026105
Only available in Black.
Oven Probe – Part Number: 5304497424
$48.35
In Stock
Oven Probe
★★★★★
★★★★★
(3)
Part #5304497424
Also known as a temperature sensor. This part is used to detect the temperature within the oven cavity. **The following instructions only apply if the connector piece is different than the original.** Prior to cutting the leads, please check the length of the wire you will need. 1. Cut the leads on your original sensor and the replacement sensor. Be sure to leave enough length to strip and splice the new probe and original connector together. 2. Strip the insulation, or wire cover, back approximately 1/4 inches on the new probe and original connector. 3. Twist the ends of your new probe and original connector together 4. Use a wire nut, or another high heat fastener to cover your exposed wires. 5. Install your new oven probe and re assembly your oven.
Steel Washer – Part Number: 316008401
$23.05
In Stock
Steel Washer
Part #316008401
This steel washer is also known as the range washer and is used on your oven door. The measurements for the steel washer are a three quarter inch outer diameter, and a one quarter inch inner diameter. This washer is an OEM part, made of steel, which is sourced directly from the manufacturer. This specific steel washer is used with your range, to secure the inner and outer door together and to secure the oven door handle back in place. Users have ranked this repair as a simple installation that should take you less than fifteen minutes to complete.

Manuals & Care Guides for 79095711894

Click to download

Common Symptoms of the 79095711894

How this model fails, and the parts that fix it.

Watch our pros, then fix it yourself.

See how others fixed this model. Time, tools, difficulty, and steps that lead to victory! View More

Search repair tips from other customers using simple keywords like "replace", "fit", "remove", "inspect". DIY doesn't mean you have to do it alone!

Search filter:
Clear Filter
Your search term must have 3 or more characters.
Oven light receptacle broken - bulb base broke off
69 of 116 people found this instruction helpful.
  • Paul from Spokane Valley, WA
  • Easy
  • 30 - 60 mins
  • Screw drivers
Turned power off at electrical panel. Pulled oven away from wall. Removed back cover (6 screws), then unplugged wires from old receptacle. I had to pull the squeeze clips backwards & break them to remove the old receptacle - couldn't squeeze them enough to remove them otherwise. The old receptacle came out through the inside of the oven, and the new one snapped in easily from inside the oven as well. Replaced wiring, installed new bulb, restored power & tested. Replaced back cover. Good time to vacuum under/behind where the oven usually lives before sliding it back to the wall.
Was this helpful?
Thank you for voting!
Internal glass broke on the oven door
41 of 43 people found this instruction helpful.
  • EDWARD from PHOENIX, AZ
  • Easy
  • 30 - 60 mins
  • Screw drivers
All the was needed was a Phillips screw driver. It's not difficult. Watch out because the door is spring loaded and does seperate quickly after all the screws are out. Be sure to watch the front panel, it appears to be heavy glass and can come out of the slots during the repair. I only had to re-assemble and dis-assemble 4 times before I got it right but it's still fairly easy to do if you take your time.
Was this helpful?
Thank you for voting!
Broiler element burned out
27 of 34 people found this instruction helpful.
  • louis from cuba, NY
  • Easy
  • 15 - 30 mins
  • Socket set
Remove old element by removing two screws on back wall of oven, pull attached wires out about 6" and disconnect. Reverse to install, very easy. Of course the oven door makes it harder to get at things, but it all worked out. Partselect was the only place I could find the element since the stove is 18 years old. I love keeping appliances g oing as long as possible.
Was this helpful?
Thank you for voting!