


 My Orders




79094469701 Kenmore Range - Overview

Enter a part description. DIY Heroes keep it simple, eg. "belt" or "pump".
Search filter:
Clear Filter
Your search term must have 3 or more characters.

$57.15
In Stock
Temperature Sensor
Part #316490000
This genuine OEM oven probe is also known as an oven temperature sensor or range probe. This part is manufactured for a range, stove, or oven to detect the temperature within the oven cavity. The probe allows the oven to maintain the set temperature by sensing the temperature and sending the information to the ovens motherboard. You may n...Read moreeed to replace this part if oven is not heating or is heating unevenly. Be sure to disconnect power to oven before replacing, as it is an electrical part. Tools needed are 1/4 inch nut driver and needle nose pliers.
Read less

$27.45
On Order
Light Bulb
Part #316538904
This OEM 40 watt appliance light bulb is used for some ranges, refrigerators, freezers, and microwaves. Simply locate the existing bulb, unscrew it from its socket, and replace with new light bulb. If the existing bulb is broken in the socket, disconnect the power to the refrigerator and use a pair of needle nose pliers to grip the intern...Read moreal fragments of the bulb to unscrew. Replace with the new bulb and reconnect the power to the refrigerator. These bulbs are sold individually and are a commonly replaced part; consider ordering a spare.
Read less

$25.25
In Stock
Handle Mounting Screw
Part #316433300
This handle mounting screw works with your oven or range, and bolts the door handle to the door. It is approximately 2 inches in length and is an OEM part sourced directly from the manufacturer. If your oven door will not close or your door handle is loose or disconnected, you may need to tighten or replace the handle mounting screw.

$81.35
In Stock
Oven Rack
Part #316496201
This part is found inside your oven. This oven rack comes in the color chrome and measures 24 inches in width and 16 inches in length. This is an extremely simple repair that requires no tools. The package you will receive will contain one rack. The rack may warp or become distressed over time and will need to be replaced. The rack is wha...Read moret holds your food inside the oven and allows you to adjust your food at different heights. Make sure your oven is unplugged before doing any maintenance. You will need to open the oven door and simply slide the new rack into place.
Read less

$26.37
In Stock
LENS
Part #5304524341
The Frigidaire light bulb lens covers the interior light bulb in an oven. No tools are necessary to replace this item. After unplugging the appliance, slide off the wire bracket to remove the existing light bulb lens. Be sure to remove all broken glass, if applicable, before installing the new lens. It is recommended to check the state of...Read more the light bulb while the lens is off. This part is made of glass. The lens is a genuine Frigidaire part, sourced directly from the manufacturer, and is sold individually.
Read less

$96.75
In Stock
Radiant Element with Limiter - 1200W
Part #318178110
This is a six-inch radiant element with limiter. It works in conjunction with your stove top range. The purpose of this part is to heat up the cooking area that is located on top of the range, also known as your stove top. If you suspect that your surface element is not properly heating then you may want to test the element for continuity...Read more. This model is sold individually and is 1200 watts. The tools you will need for this installation include a Phillips screwdriver and a 14-inch nut driver.
Read less

$12.05
In Stock
Leveling Leg Assembly
Part #5304509869
Sold Individually. These legs should be adjusted to make your appliance level on uneven flooring.

$149.28
In Stock
Broil Element
Part #316203301
This broil element is a genuine replacement part designed for electric ranges and ovens. Located at the top of the oven cavity, it delivers high-intensity heat for broiling functions. Compatible with various models from Frigidaire, Kenmore, Electrolux, and other associated brands, this OEM component replaces several previous part numbers ...Read moreand ensures reliable performance. If your oven is not reaching broil temperatures, heating unevenly, or the element appears visibly damaged, replacing it can restore proper cooking function. Installation should be performed with the appliance unplugged or the circuit breaker turned off to ensure safety.
Read less

$20.85
In Stock
Light Lens Indicator
Part #316557300
This range indicator light lens is designed to cover and protect the appliance’s indicator light, allowing you to easily see when a burner or oven is in use. Made from clear, heat-resistant plastic, it helps shield internal components from grease, moisture, and everyday wear. Replacement is ideal if the original lens is cracked, discolored, or missing, helping restore visibility and maintain safe, reliable operation.

$23.05
In Stock
Steel Washer
Part #316008401
This steel washer is also known as the range washer and is used on your oven door. The measurements for the steel washer are a three quarter inch outer diameter, and a one quarter inch inner diameter. This washer is an OEM part, made of steel, which is sourced directly from the manufacturer. This specific steel washer is used with your ra...Read morenge, to secure the inner and outer door together and to secure the oven door handle back in place. Users have ranked this repair as a simple installation that should take you less than fifteen minutes to complete.
Read less

No Longer Available
Broiler Pan Grate Insert
Part #5304494997
This OEM broiler pan and grate insert are cooking accessories used in your oven to broil food. The pan catches drippings and prevents them from falling into the appliance, while the grate insert ensures the food is cooked evenly. You can usually find them at the bottom of your appliance. If your broiler pan and grate insert are broken, yo...Read moreur food may not cook evenly and the drippings may fall into your appliance. Additionally, it can be difficult to clean a damaged pan or grate. These authentic accessories come together when you purchase them, ensuring that you can enjoy evenly-cooked food without any mess.
Read less

$81.60
In Stock
Manuals & Care Guides for 79094469701
Click to downloadCommon Symptoms of the 79094469701
How this model fails, and the parts that fix it.
Element will not heat
Fixed by
these parts
these parts


Show All
Oven is too hot
Fixed by
these parts
these parts
Show All
Little to no heat when baking
Fixed by
these parts
these parts

Show All
Oven not heating evenly
Fixed by
these parts
these parts
Show All
Will Not Start
Fixed by
these parts
these parts

Show All
Door won’t close
Fixed by
these parts
these parts


Show All
Little to no heat when broiling
Fixed by
these parts
these parts
Show All
Gas igniter glows, but will not light
Fixed by
these parts
these parts
Show All
Watch our pros, then fix it yourself.
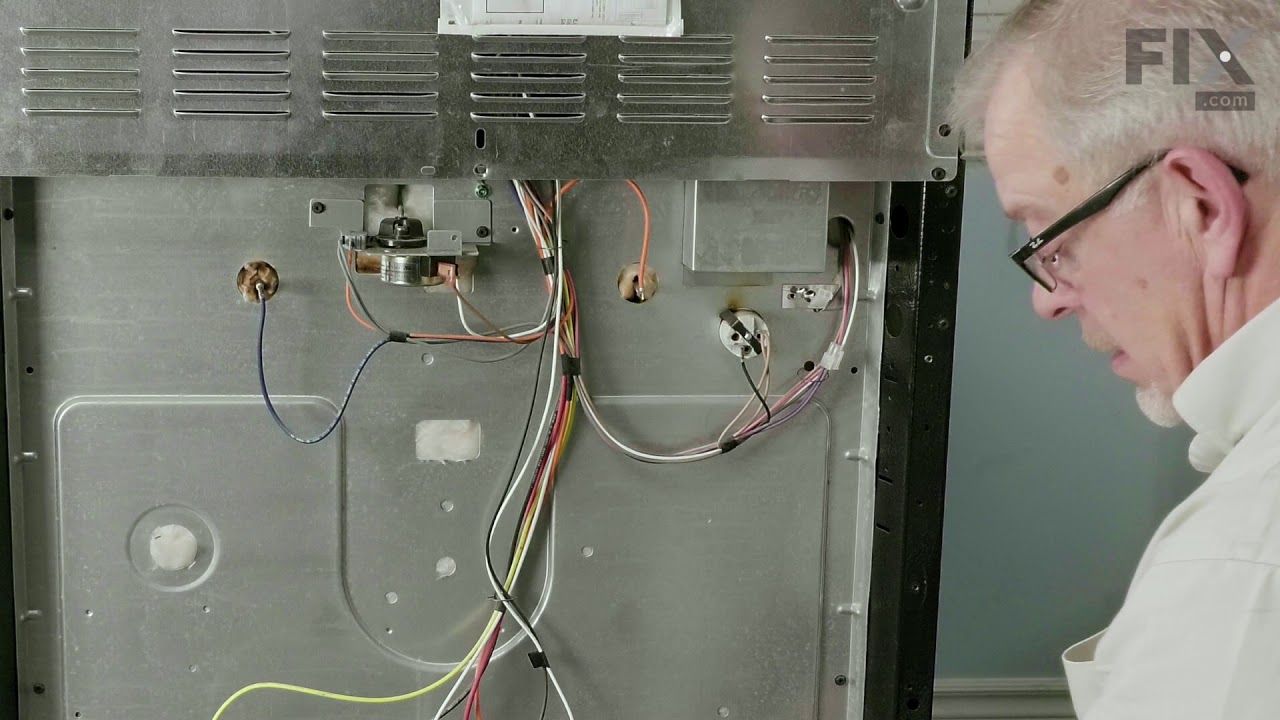

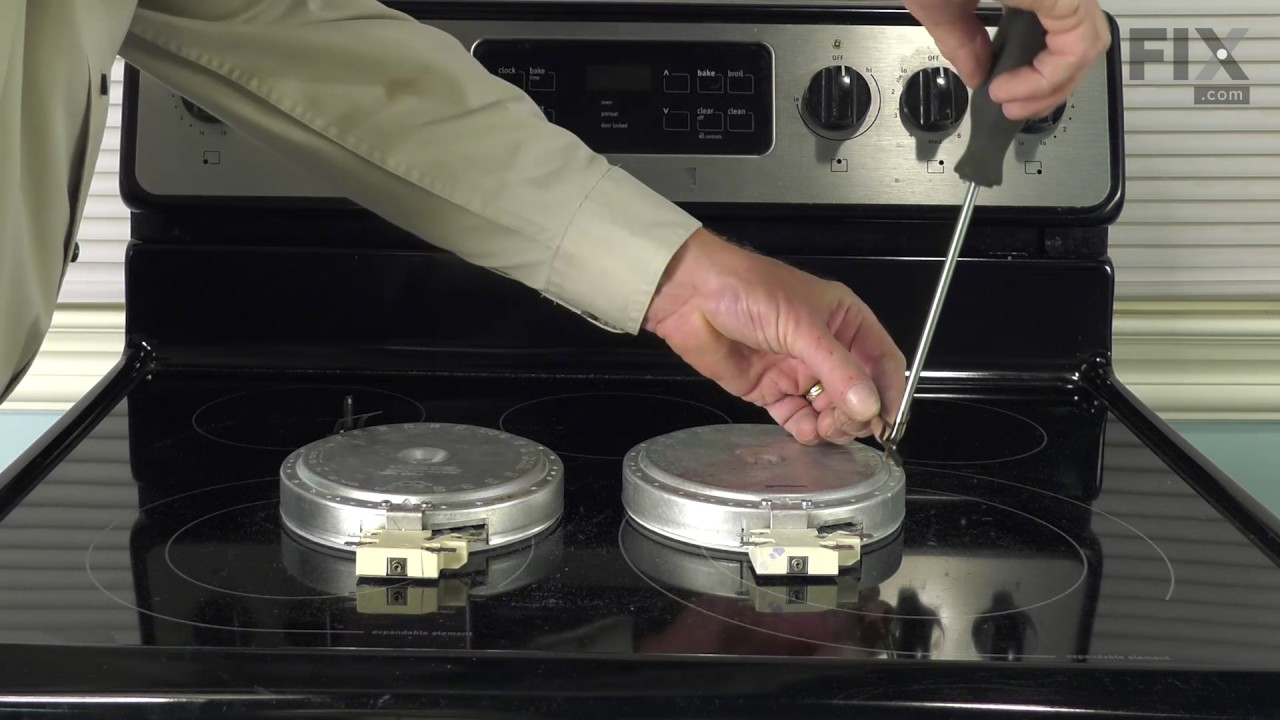
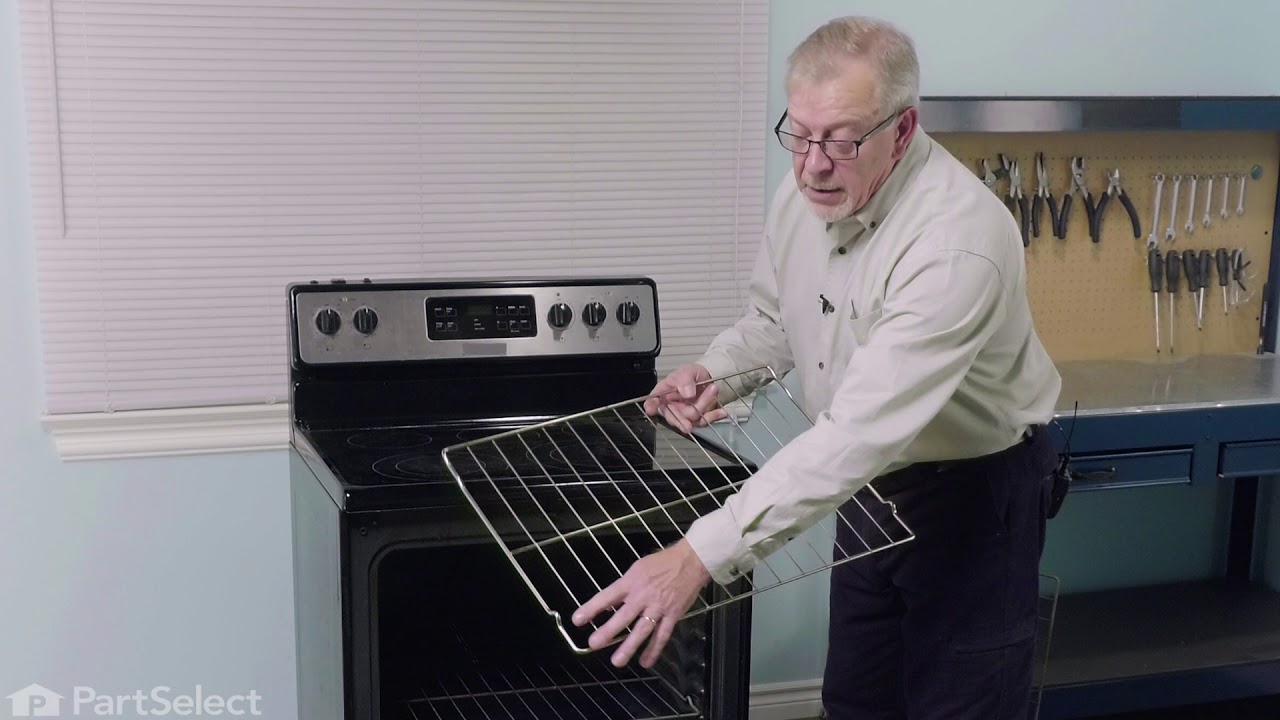

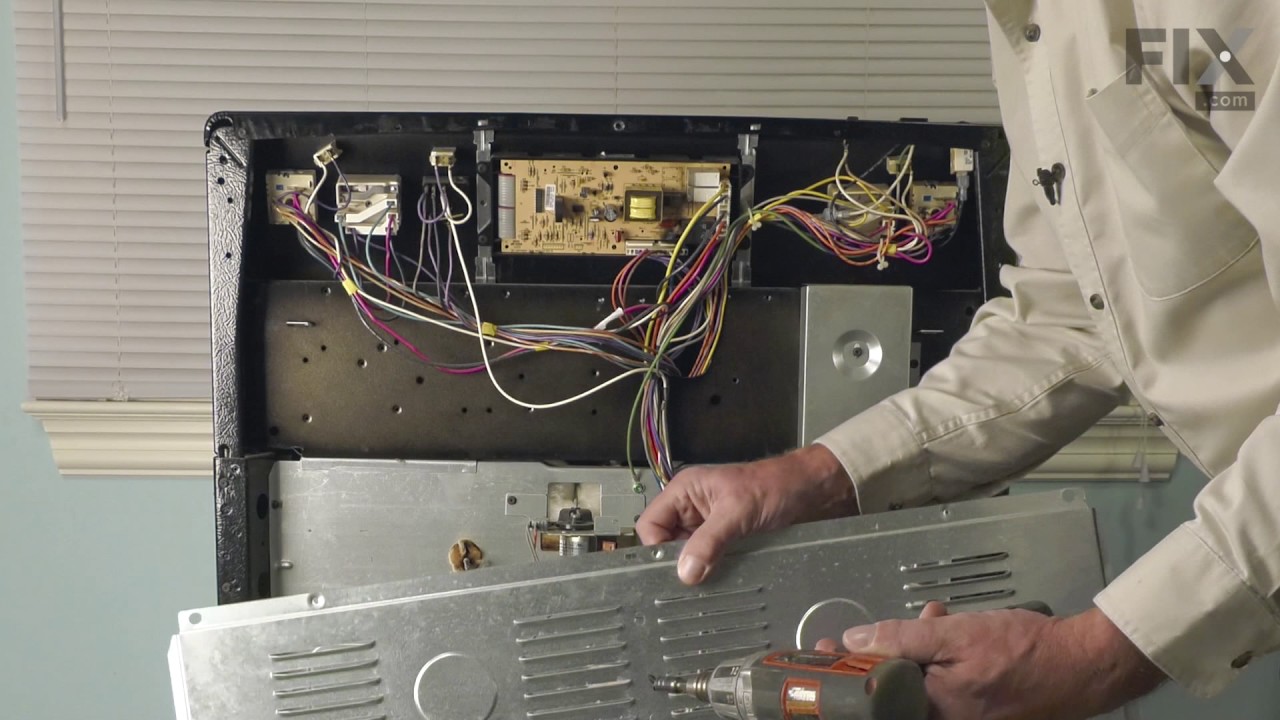
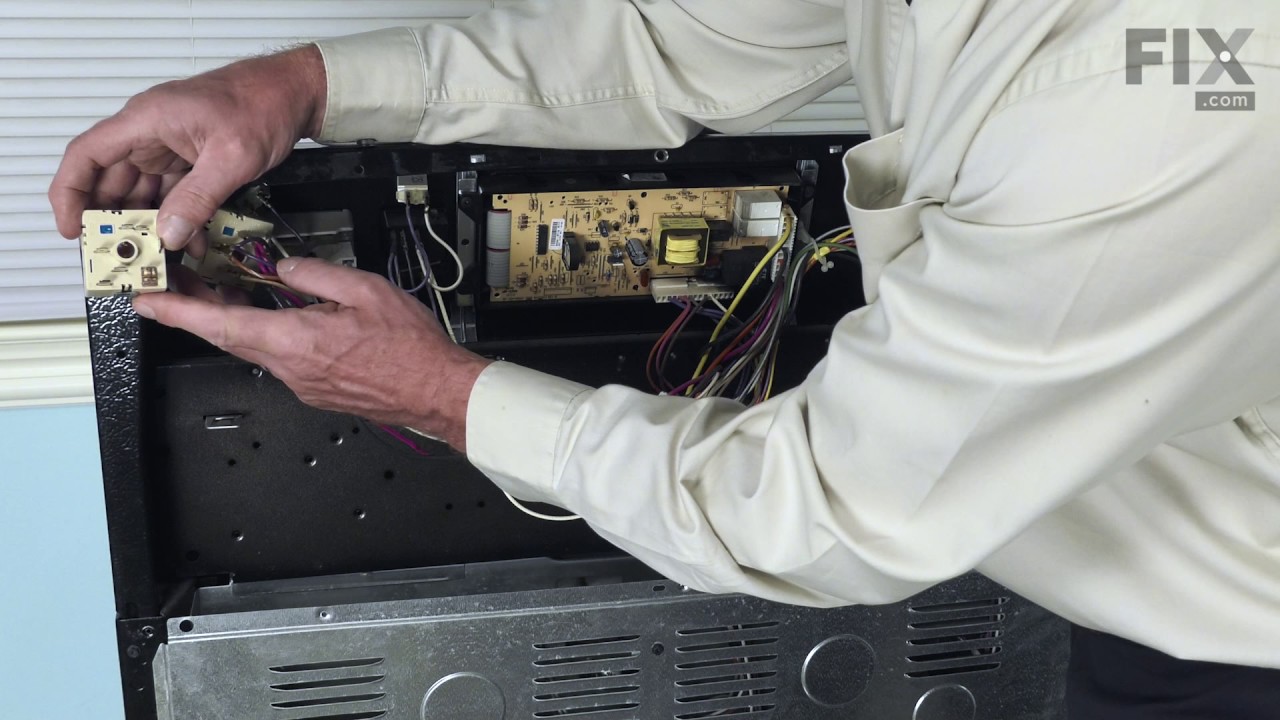
See how others fixed this model. Time, tools, difficulty, and steps that lead to victory!
View More