EasyApplianceParts is now PartSelect! We've merged our sites to provide a better shopping experience for you.   Full Details

Find Parts

Parts Departments

Top Model Types

Top Brands

Repair Help

Expert Repair Videos

Keep typing for more specific results...

7909421941 Frigidaire Range - Overview

Diagrams for 7909421941

See every part. Know exactly what you need.

Enter a part description. DIY Heroes keep it simple, eg. "belt" or "pump".

Search filter:
Clear Filter
Your search term must have 3 or more characters.
Terminal Block Kit – Part Number: 5303935058
$15.20
In Stock
Terminal Block Kit
★★★★★
★★★★★
(47)
Part #5303935058
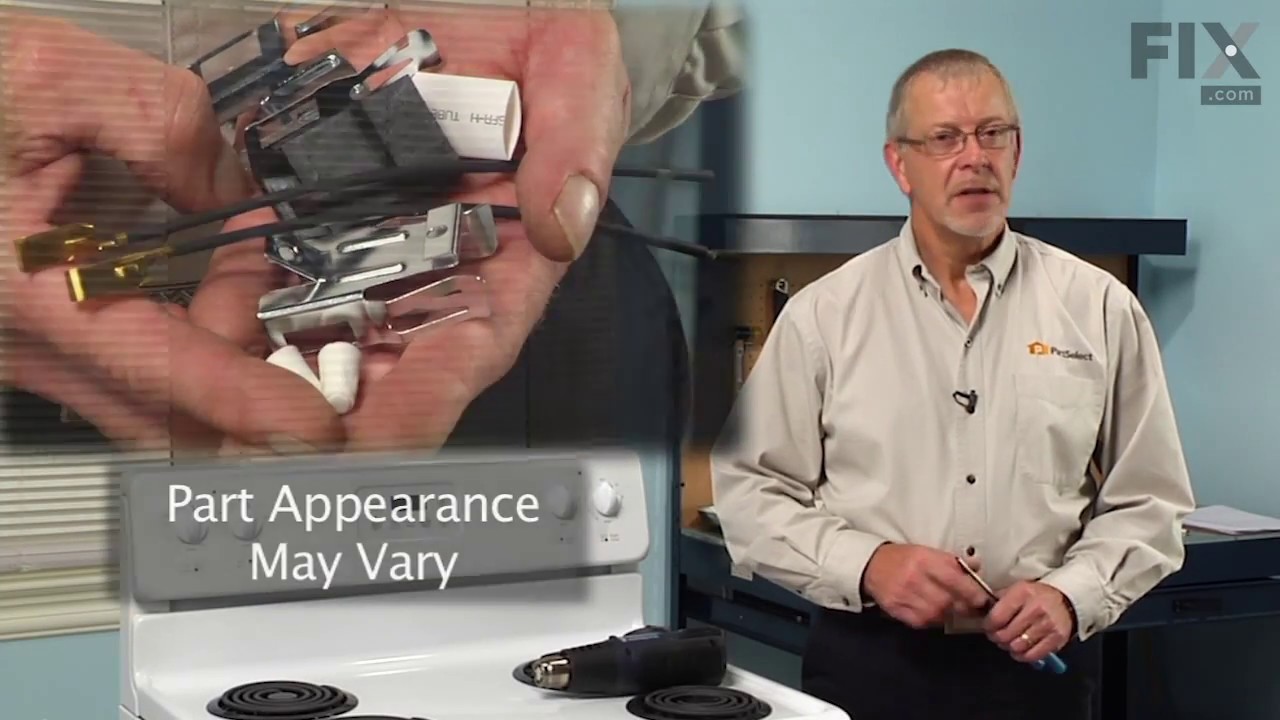
This part connects the wire harness to the surface element and is used for ranges. The kit includes interchangeable mounting brackets, ceramic wire nuts, heat shrink protective tubing, and wires. If your range/oven is having symptoms such as burner not heating, heating elements not working, burning smell, or if the oven is making a buzzing noise then this could be the solution. The tools needed to replace the kit are wire strippers, a heat gun or hair dryer, and #1 square heard screw driver. Refer to the installation/instructional video for further guidance to accurately replace the element.
Range Surface Burner Plug-In Block Kit – Part Number: 330031
$16.07
In Stock
Range Surface Burner Plug-In Block Kit
★★★★★
★★★★★
(22)
Part #330031
The surface burner plug-in block kit features a newer-style terminal block. This kit is designed for use with ranges and cooktops. This terminal block is how the coil element on your stove connects to the inner wiring of your appliance. Without this connection your burner element would not get the electrical current it needs to heat up. When your element will not heat at all, or if it is not heating properly it is likely an issue with the terminal block. You need to remove the element to replace this part. While you have the element out, inspect the element and the terminal for any corrosion, arcing, or discoloration. If you notice any damage to the element or the terminals we recommend you replace this part as well. This kit includes two metal brackets, two pre-crimped high-temperature wire leads, two ceramic wire nuts, two heat-shrinking insulators, and a mounting screw. Before you begin this repair, make sure you have unplugged your appliance.
Handle Mounting Screw – Part Number: 316433300
$25.25
In Stock
Handle Mounting Screw
★★★★★
★★★★★
(11)
Part #316433300
This handle mounting screw works with your oven or range, and bolts the door handle to the door. It is approximately 2 inches in length and is an OEM part sourced directly from the manufacturer. If your oven door will not close or your door handle is loose or disconnected, you may need to tighten or replace the handle mounting screw.

Common Symptoms of the 7909421941

How this model fails, and the parts that fix it.

Watch our pros, then fix it yourself.

See how others fixed this model. Time, tools, difficulty, and steps that lead to victory! View More

Search repair tips from other customers using simple keywords like "replace", "fit", "remove", "inspect". DIY doesn't mean you have to do it alone!

Search filter:
Clear Filter
Your search term must have 3 or more characters.
corroded terminals
22 of 25 people found this instruction helpful.
  • Gary from hollywood, FL
  • Easy
  • 15 - 30 mins
was more of a job of splicing wires together than anything else. Loved the heat shrink electrical tubing
to put over the wires for insulation. used a hair
dryer. must buy more of that amazing stuff
Was this helpful?
Thank you for voting!
Block terminal burnt out, hot plate not working, needed to replace the terminal block
17 of 22 people found this instruction helpful.
  • Shaun from Whitehall, MD
  • Difficult
  • More than 2 hours
  • Pliers, Screw drivers
This should take approx 15-30 mins. It took me 1.5 hours as I pushed the terminals into the wrong end of the block. It's very difficult to get them out when you do that... However, there are no easy instructions on the block or in the instructions to tell you which end to push the terminals into!!! So, with a 50:50 chance of getting it right, I got it wrong. I think most people would need to buy a new part if they do this. It would be very much easier if the block, had an arrow that simply said IN here so that this type of simple mistake is less easy to do... If you get that right, the fix is quite and straight forward. Good luck.
Was this helpful?
Thank you for voting!
One burner didn't work all the time the other would go red hot
15 of 16 people found this instruction helpful.
  • Phillip from Pekin, IL
  • Really Easy
  • 15 - 30 mins
  • Screw drivers
I unplugged the stove from the outlet, then removed the two burners I was going to be working on and the drip pans. Then I raised the top part of the stove and removed the screws holding the plug-in blocks to the stove. Then I cut the two wires going to the old plug-in block and stripped the wires back to match the new wire parts. Then I placed the sleeves over the new wires, then I placed the new wire beside the wire I stripped on the stove and screw on the wire cap making sure it was tight. I repeated this three more times, once I had all four wires connected I then placed the sleeves over the connections and heated them up until they were formed around the connection. Once I had all the connections done I placed one wire at a time into the plug-in block until it locked into place ( I looked at my old plug-in blocks first to make sure I placed the new wires in the correct way ).I then used the metal mounting bracket that matched my old ones and snapped the correct one onto each plug-in block. Before mounting them onto the stove I compared them to my old ones to make sure they were correct. Then I used the new screws to mount them to the stove. I took a second look at everything I had done before closing the top cover of my stove. After lowering the cover back into place I put both the drip covers in place and then installed the burners.I then plugged the stove back into the outlet and tried the burners. This was very simple and the video on the web site shows this very well which made my job very simple.
Was this helpful?
Thank you for voting!