


 My Orders




79093013313 Kenmore Range - Overview


Enter a part description. DIY Heroes keep it simple, eg. "belt" or "pump".
Search filter:
Clear Filter
Your search term must have 3 or more characters.

$51.29
In Stock
Infinite Burner Switch - Large Element
Part #316436001
The infinite burner switch controls the stove top eight-inch surface burner, which is the large surface element. If your surface element is not warming up, the element can be tested to determine whether or not it is defective. If your element is not defective, then it is more than likely that the infinite burner switch is the issue. Befor...Read moree you install the infinite burner switch you will need to unplug your range from the power supply, or shut off the home circuit breaker. The tools you will need to do this repair include a number one square head screwdriver and a pair of needle nose pliers.
Read less

$27.45
On Order
Light Bulb
Part #316538904
This OEM 40 watt appliance light bulb is used for some ranges, refrigerators, freezers, and microwaves. Simply locate the existing bulb, unscrew it from its socket, and replace with new light bulb. If the existing bulb is broken in the socket, disconnect the power to the refrigerator and use a pair of needle nose pliers to grip the intern...Read moreal fragments of the bulb to unscrew. Replace with the new bulb and reconnect the power to the refrigerator. These bulbs are sold individually and are a commonly replaced part; consider ordering a spare.
Read less

$53.85
In Stock
PROBE
Part #316233903
Note: Connector could be different than original. If so cut & splice wires together with porcelain wire nuts.

$63.75
In Stock
Infinite Burner Switch - Small Element - 240V
Part #316436000
This is a part for your range. This switch controls the stovetop surface burner. If you notice that your stove top is not turning on or is not adjusting to the corresponding desired heat, it is mostly likely due to the burner switch needing to be replaced. You will need a #1 square-head screwdriver and needle-nose pliers. Disconnect the p...Read moreower from the range. You will need to move the range out from the wall to remove the upper back panel to access to this part. This is an OEM genuine part.
Read less

$87.37
In Stock
Oven Rack
Part #316067902
Oven racks can become rusted or damaged from constant use, and need to be properly maintained and cleaned to keep them working properly. If you notice that your oven rack has been damaged or rusted, the rack should be replaced. This oven rack has two anchor points on either side to keep it stable and secure within the oven. This ensures t...Read morehat your food stays in place when baking, and allows you to remove pots and pans without the threat of the entire rack falling out in the process. This metal oven rack measures 16 inches long x 23 inches wide, and is sold individually.
Read less

$95.93
In Stock
GLASS
Part #5304503232
This tempered glass is supplied by the original manufacturer and measures 20 inches by 13 inches. It is an inner door glass, designed for use in ranges/ovens and has several purposes which include providing heat insulation, acting as protective barrier, and providing an opening to monitor the cooking/heating process. Over time the glass c...Read morean break or break from impact, thermal shock, or improper installation. If the glass is defective, it needs to be replaced promptly to avoid leaking, loss of insulation and potential harm to the user. Remove any fasteners or clips that secure the glass and carefully dispose of it. Position the new glass in the same position and secure it appropriately.
Read less

$128.94
In Stock
Broil Element
Part #316203200
This oven broil element is a high-performance heating component designed to deliver intense, direct heat from the top of the oven cavity. Measuring approximately 12 ½ inches by 18 ½ inches, it operates at 3000 watts and 240 volts, making it suitable for broiling and contributing to certain baking functions. Positioned at the top interior ...Read moreof the oven, it ensures even heat distribution for optimal cooking results. This element is commonly used as a replacement in electric ranges experiencing reduced or no heat during broil or bake cycles. Installation typically involves disconnecting power, removing the old element, and securing the new one using existing mounting brackets and electrical connectors. It is compatible with a variety of household ranges and is engineered for durability and consistent performance.
Read less

$18.31
In Stock
DRAWER GLIDE
Part #316407402
This rear drawer glide, also known as a storage drawer glide, is used in ranges. This helps hold the front side of the storage drawer and allows the drawer to easily slide in and out of the range. If your glide is damaged or missing, replacing it could solve any difficulty using the drawer. First, remove the storage drawer and locate the ...Read morerear glide on the side. Next, remove the glide by taking out the screws. Replace new glide by placing tabs into the cut-out. If you are replacing both rear drawer glides, then repeat the same on the other side. Refer to the diagram provided by the manufacturer for further installation instructions and guidance.
Read less

$74.75
In Stock
Radiant Surface Element
Part #316135401
This part is the heatsource. This surface element is for ranges.
Surface element supplies the heat to a cooking area on top of the range.
Unplug the range or shut off the house circuit breaker for the range before installing this part. Wear work gloves to protect your hands.

$21.95
In Stock
GLIDE
Part #807047102
This front drawer glide supports the bottom storage or broil drawer, allowing it to slide smoothly in and out of the range. Designed to reduce friction and keep the drawer properly aligned, it helps ensure easy and stable operation. Replacing a worn or damaged glide can fix issues such as sticking, tilting, or uneven movement, restoring normal drawer function.

$130.85
In Stock

$96.75
In Stock
Radiant Element with Limiter - 1200W
Part #318178110
This is a six-inch radiant element with limiter. It works in conjunction with your stove top range. The purpose of this part is to heat up the cooking area that is located on top of the range, also known as your stove top. If you suspect that your surface element is not properly heating then you may want to test the element for continuity...Read more. This model is sold individually and is 1200 watts. The tools you will need for this installation include a Phillips screwdriver and a 14-inch nut driver.
Read less
Common Symptoms of the 79093013313
How this model fails, and the parts that fix it.
Element will not heat
Fixed by
these parts
these parts


Show All
Little to no heat when baking
Fixed by
these parts
these parts


Show All
Oven is too hot
Fixed by
these parts
these parts

Show All
Will Not Start
Fixed by
these parts
these parts
Show All
Little to no heat when broiling
Fixed by
these parts
these parts
Show All
Oven not heating evenly
Fixed by
these parts
these parts
Show All
Door won’t close
Fixed by
these parts
these parts


Show All
Gas igniter glows, but will not light
Fixed by
these parts
these parts
Show All
Will not program
Fixed by
these parts
these parts
Show All
Watch our pros, then fix it yourself.
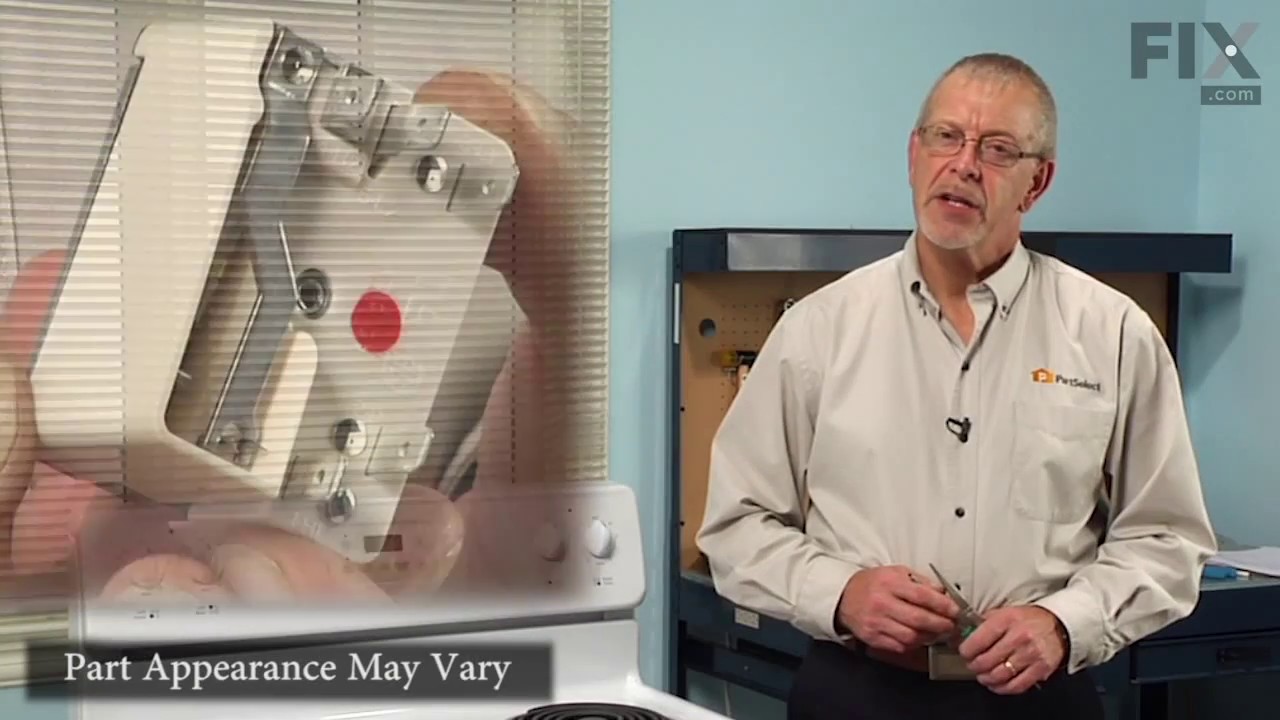

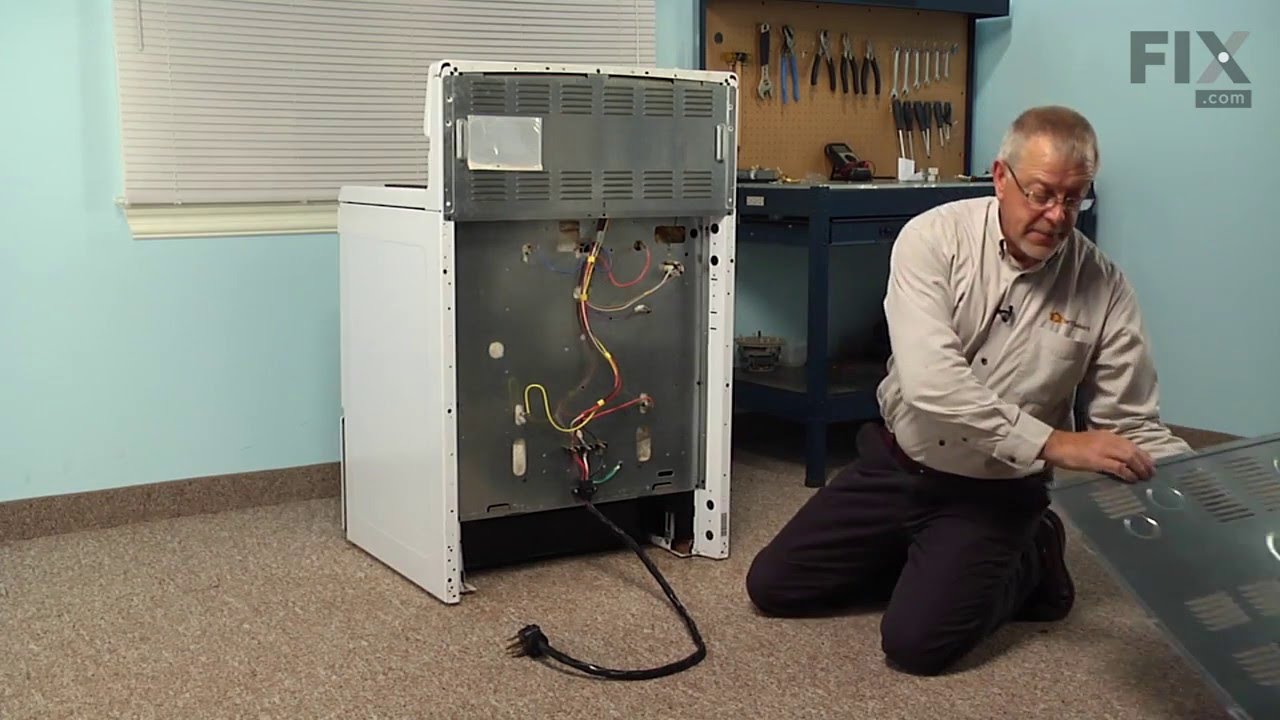
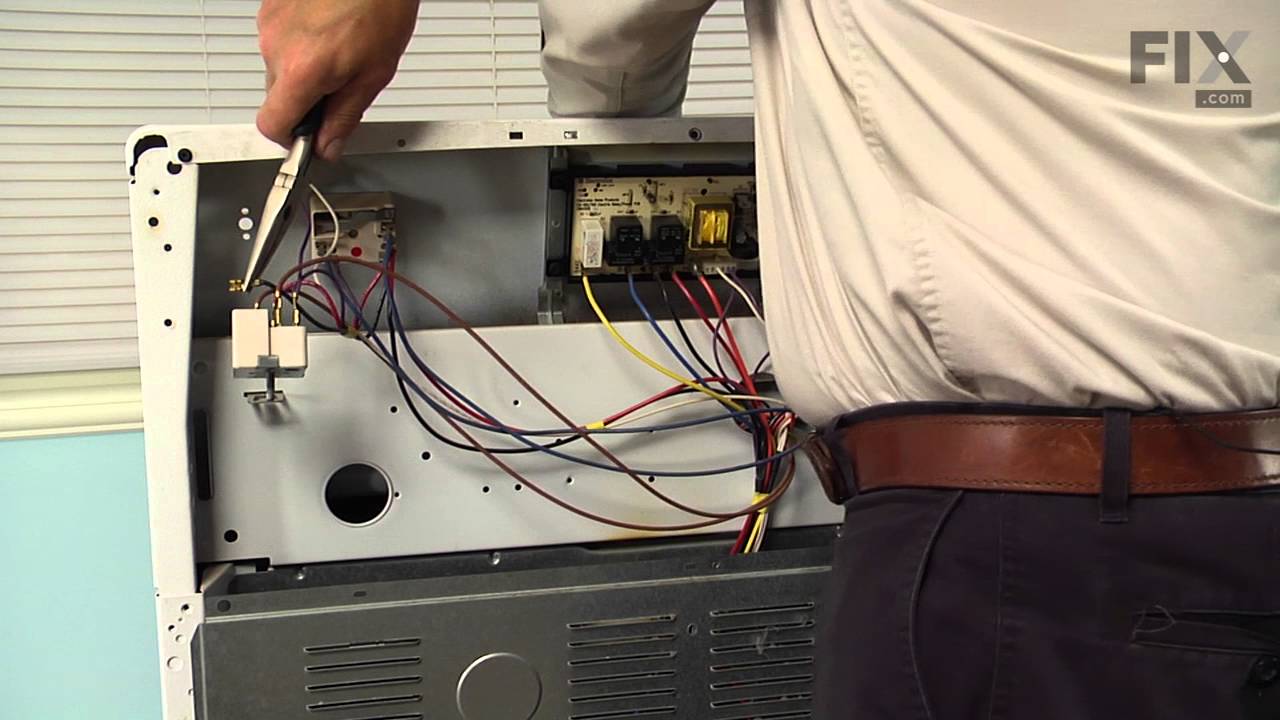

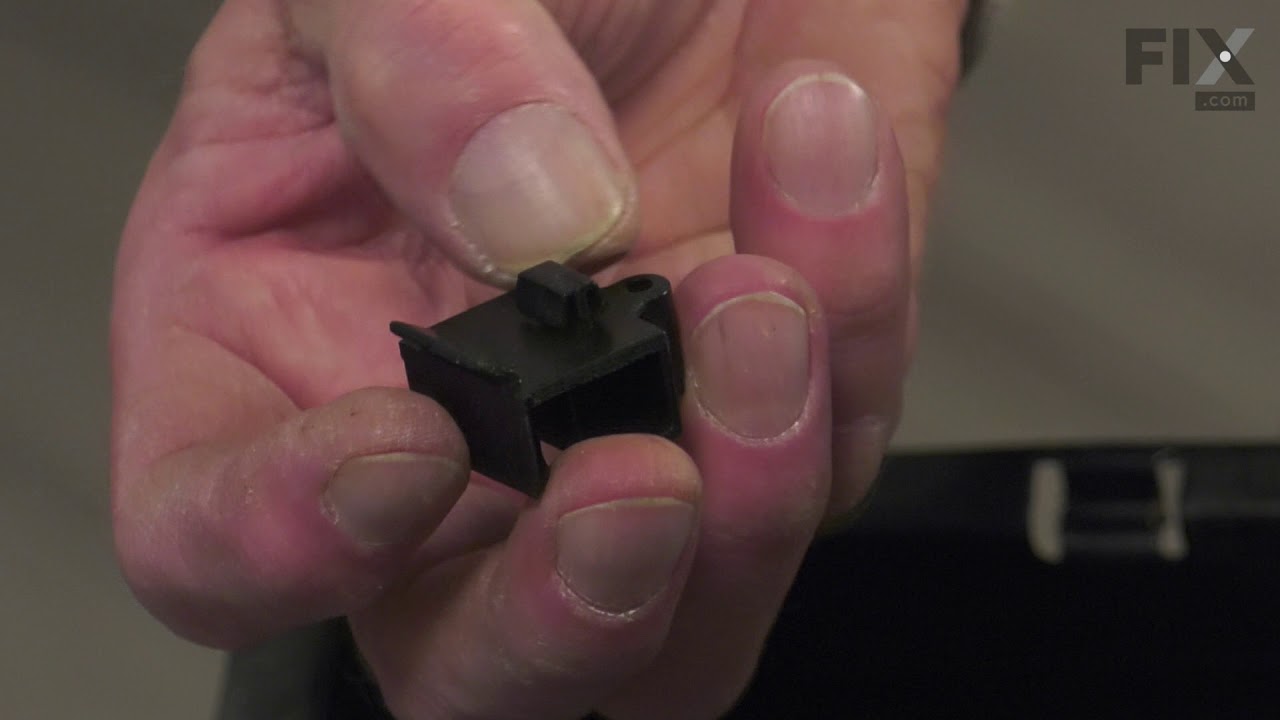
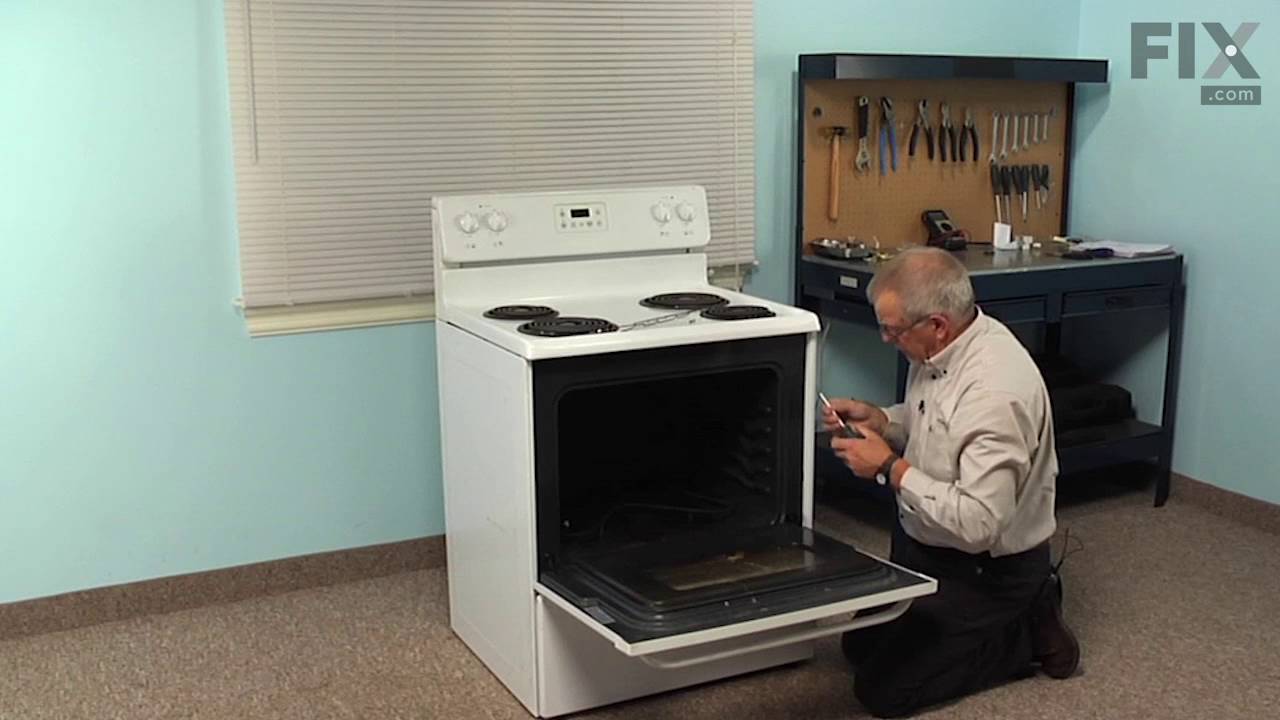
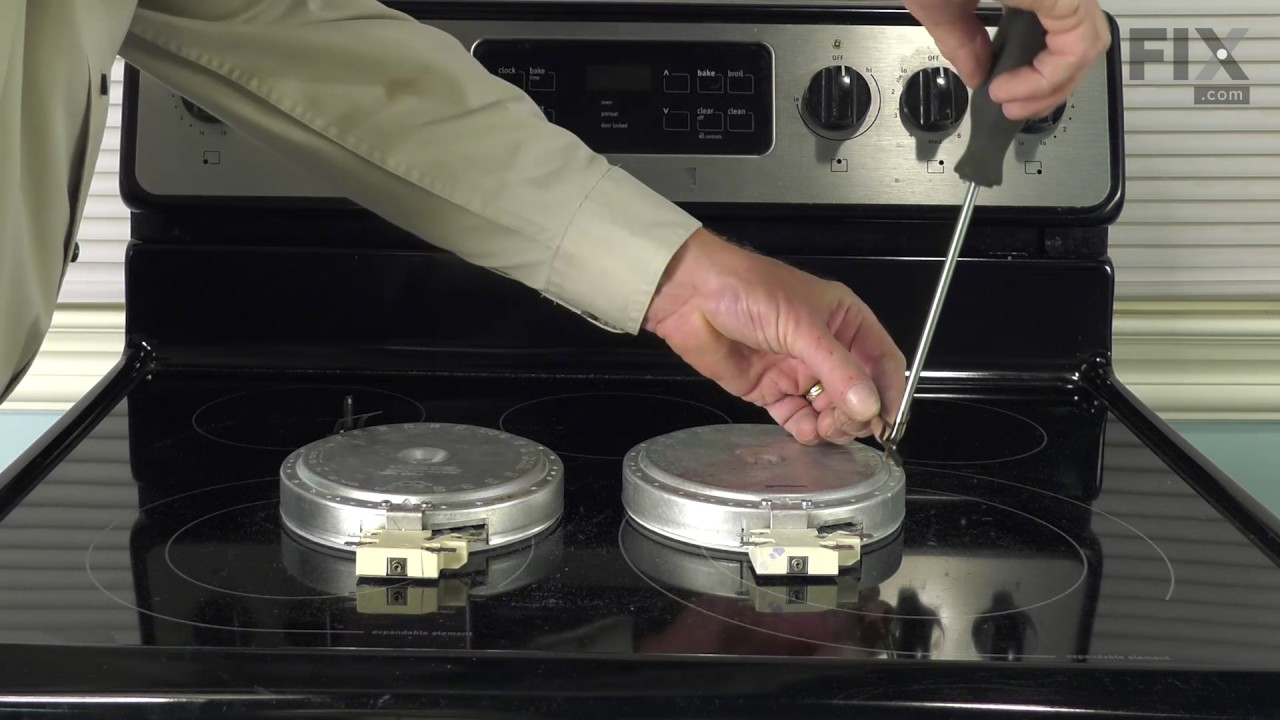
See how others fixed this model. Time, tools, difficulty, and steps that lead to victory!
View More