


 My Orders




79091011200 Kenmore Range - Overview
Diagrams for 79091011200
See every part. Know exactly what you need.

Enter a part description. DIY Heroes keep it simple, eg. "belt" or "pump".
Search filter:
Clear Filter
Your search term must have 3 or more characters.

$20.63
In Stock
6" FM CHROME DRIP B
Part #L304430992
This six-inch drip bowl or drip pan is found underneath the small surface element on your cooktop or range. A similar eight-inch drip bowl also exists, so be sure to check which size you need. The drip bowl is designed to catch any spills when cooking on your range. If your old drip bowl is stained or rusted, you may need to replace it. The drip bowl is easy to repair, it should simply fit into place.

No Longer Available
White Touch up Paint
Part #5303321319
This is white touch up paint for refrigerators, microwaves, ranges, dryers, and freezers. It is used to cover, or touch up, nicks and scratches on the appliance from wear and tear. It is an 18ml bottle that contains paint and a small brush for easy application. It is a little over 2 inches tall. This is an OEM part that is sourced directl...Read morey from the genuine manufacturer, and is meant to be an exact match to the color of the appliance. If the appliance is not white, please see other colors such as almond or black.
Read less

$23.05
In Stock
Steel Washer
Part #316008401
This steel washer is also known as the range washer and is used on your oven door. The measurements for the steel washer are a three quarter inch outer diameter, and a one quarter inch inner diameter. This washer is an OEM part, made of steel, which is sourced directly from the manufacturer. This specific steel washer is used with your ra...Read morenge, to secure the inner and outer door together and to secure the oven door handle back in place. Users have ranked this repair as a simple installation that should take you less than fifteen minutes to complete.
Read less

$108.74
In Stock
Oven Door Seal with Clips
Part #316239700
This oven door gasket is designed to form a secure seal around the perimeter of the oven door, helping to retain heat during cooking and improve energy efficiency. By preventing heat from escaping, it ensures consistent temperatures inside the oven for better cooking performance. The gasket is typically located along the inner edge of the...Read more oven door and can be replaced easily by removing the old seal and pressing the new one into place along the designated groove. Regular inspection is recommended, as a worn or damaged gasket can lead to uneven cooking and increased energy use.
Read less

No Longer Available
Broiler Pan Grate Insert
Part #5304494997
This OEM broiler pan and grate insert are cooking accessories used in your oven to broil food. The pan catches drippings and prevents them from falling into the appliance, while the grate insert ensures the food is cooked evenly. You can usually find them at the bottom of your appliance. If your broiler pan and grate insert are broken, yo...Read moreur food may not cook evenly and the drippings may fall into your appliance. Additionally, it can be difficult to clean a damaged pan or grate. These authentic accessories come together when you purchase them, ensuring that you can enjoy evenly-cooked food without any mess.
Read less

$26.35
In Stock

No Longer Available
HANDLE
Part #316545300
his oven door handle is for ranges.
Wear work gloves to protect your hands when installing this part.

$8.60
In Stock
Screw
Part #5303288565
This is an authentic mounting screw, which works with ranges, wall ovens, cooktops and warming drawers.

$25.25
In Stock

$70.34
In Stock
Range Main Top Burner Box
Part #5304522901
The main top burner box separates the oven from the main top and houses the surface burners or elements.

$6.55
In Stock

No Longer Available
Manuals & Care Guides for 79091011200
Click to downloadWatch our pros, then fix it yourself.
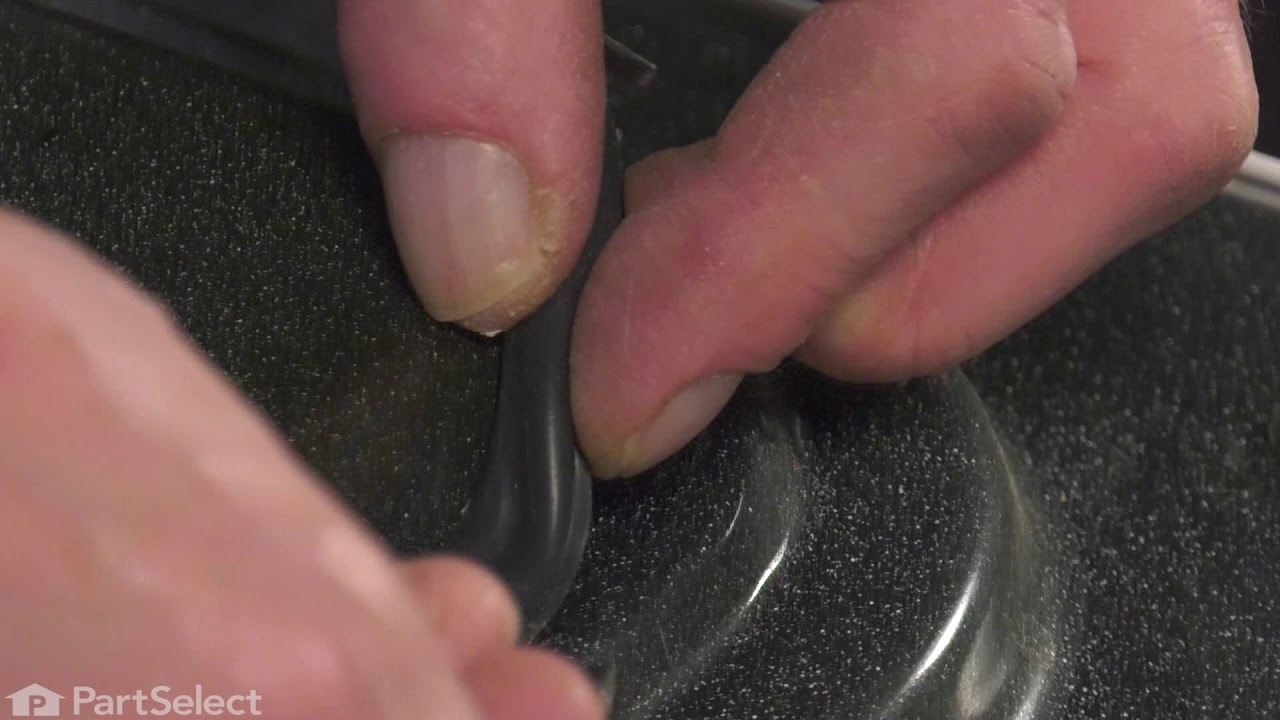
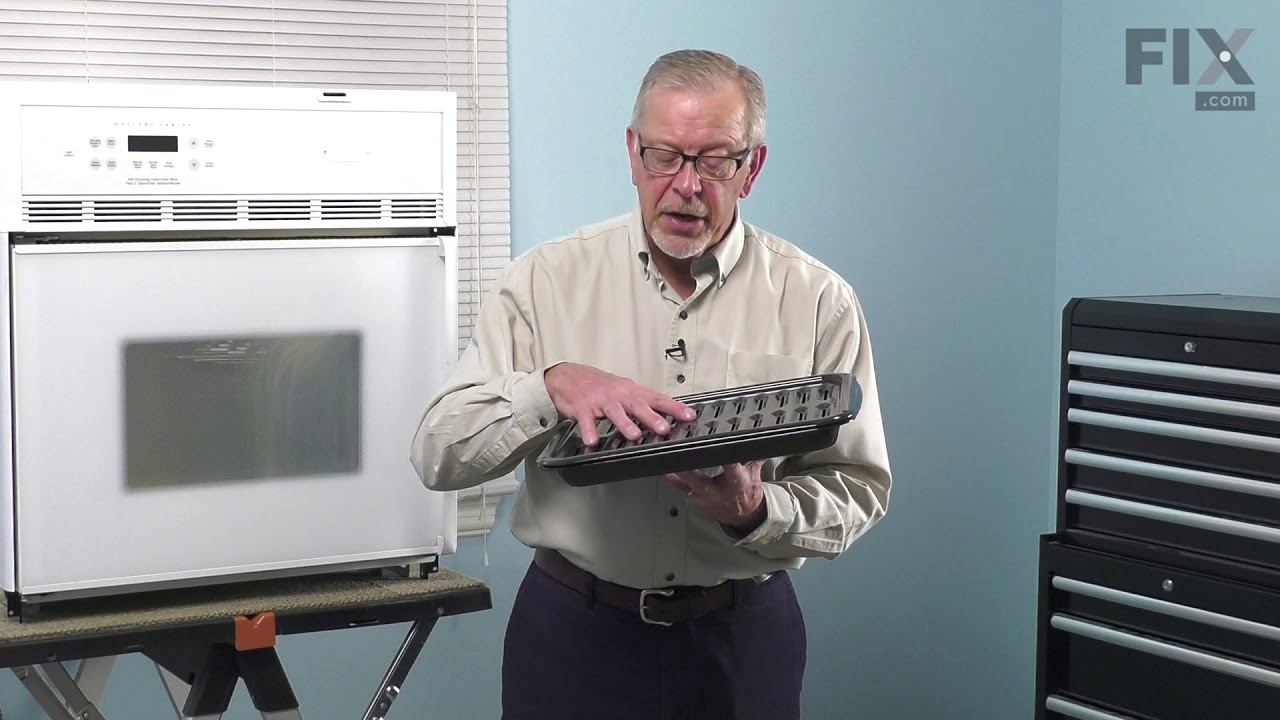
See how others fixed this model. Time, tools, difficulty, and steps that lead to victory!
View More