This genuine OEM oven probe is also known as an oven temperature sensor or range probe. This part is manufactured for a range, stove, or oven to detect the temperature within the oven cavity. The probe allows the oven to maintain the set temperature by sensing the temperature and sending the information to the ovens motherboard. You may n...Read moreeed to replace this part if oven is not heating or is heating unevenly. Be sure to disconnect power to oven before replacing, as it is an electrical part. Tools needed are 1/4 inch nut driver and needle nose pliers.
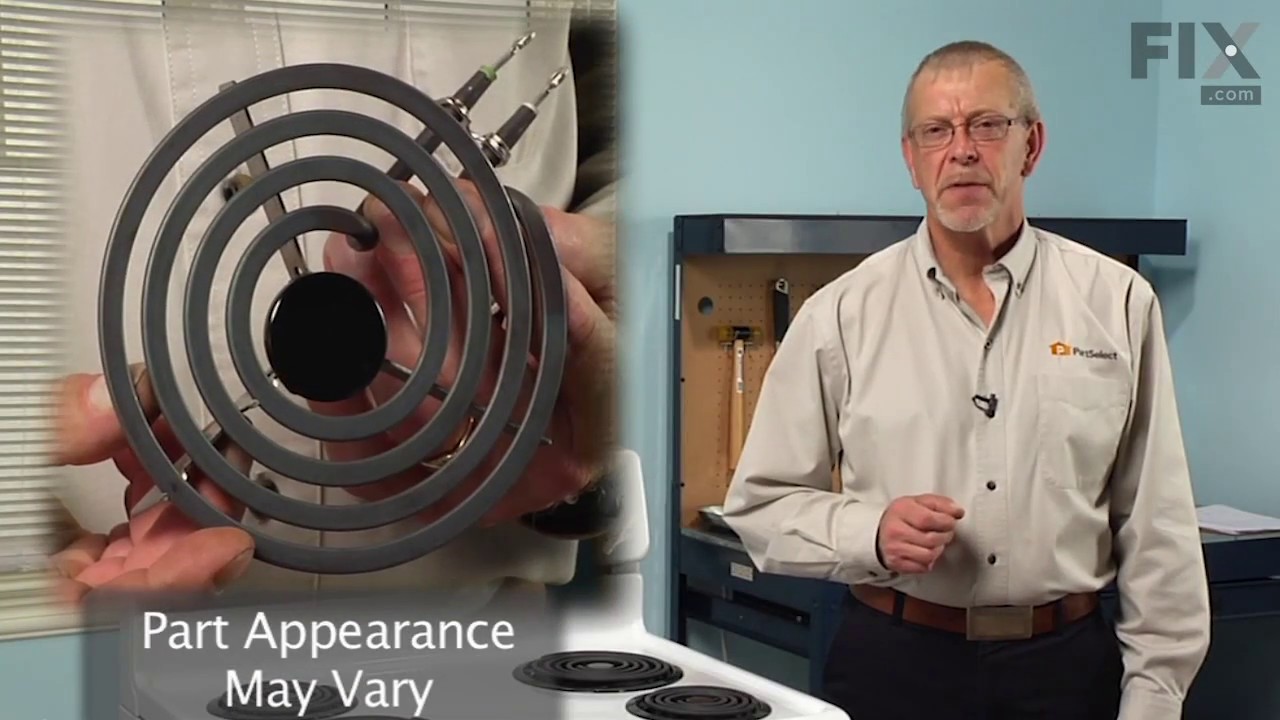
This element is a genuine OEM replacement part, has looped terminal ends, comes with a black medallion center, and fits most electric ranges. All burners are made of a heating wire that produces heat from electricity. Remove the non-functional burner element from the terminal block (or receptacle). Use a multi-meter to check for continuit...Read morey. Check the end of the terminals for corrosion or heat damage. If there is corrosion or heat damage, replace the whole terminal block or receptacle at the same time you replace the damaged coil. Before you start this repair, make sure that the element is turned off and cool to the touch.
This OEM 40 watt appliance light bulb is used for some ranges, refrigerators, freezers, and microwaves. Simply locate the existing bulb, unscrew it from its socket, and replace with new light bulb. If the existing bulb is broken in the socket, disconnect the power to the refrigerator and use a pair of needle nose pliers to grip the intern...Read moreal fragments of the bulb to unscrew. Replace with the new bulb and reconnect the power to the refrigerator. These bulbs are sold individually and are a commonly replaced part; consider ordering a spare.
The Frigidaire light bulb lens covers the interior light bulb in an oven. No tools are necessary to replace this item. After unplugging the appliance, slide off the wire bracket to remove the existing light bulb lens. Be sure to remove all broken glass, if applicable, before installing the new lens. It is recommended to check the state of...Read more the light bulb while the lens is off. This part is made of glass. The lens is a genuine Frigidaire part, sourced directly from the manufacturer, and is sold individually.
This rear drawer glide, also known as a storage drawer glide, is used in ranges. This helps hold the front side of the storage drawer and allows the drawer to easily slide in and out of the range. If your glide is damaged or missing, replacing it could solve any difficulty using the drawer. First, remove the storage drawer and locate the ...Read morerear glide on the side. Next, remove the glide by taking out the screws. Replace new glide by placing tabs into the cut-out. If you are replacing both rear drawer glides, then repeat the same on the other side. Refer to the diagram provided by the manufacturer for further installation instructions and guidance.
This front drawer glide supports the bottom storage or broil drawer, allowing it to slide smoothly in and out of the range. Designed to reduce friction and keep the drawer properly aligned, it helps ensure easy and stable operation. Replacing a worn or damaged glide can fix issues such as sticking, tilting, or uneven movement, restoring normal drawer function.
This is white touch up paint for refrigerators, microwaves, ranges, dryers, and freezers. It is used to cover, or touch up, nicks and scratches on the appliance from wear and tear. It is an 18ml bottle that contains paint and a small brush for easy application. It is a little over 2 inches tall. This is an OEM part that is sourced directl...Read morey from the genuine manufacturer, and is meant to be an exact match to the color of the appliance. If the appliance is not white, please see other colors such as almond or black.
This steel washer is also known as the range washer and is used on your oven door. The measurements for the steel washer are a three quarter inch outer diameter, and a one quarter inch inner diameter. This washer is an OEM part, made of steel, which is sourced directly from the manufacturer. This specific steel washer is used with your ra...Read morenge, to secure the inner and outer door together and to secure the oven door handle back in place. Users have ranked this repair as a simple installation that should take you less than fifteen minutes to complete.
The oven light socket allows you to screw in a light bulb so that you can see the inside of your oven. The light socket is located in the back of your oven, so you will need to remove the back panel to access the socket for the repair. You will also need to remove the current light bulb and the light lens cover so that the old socket can ...Read morebe removed. As you will be working around electrical circuits for this repair, be sure to disconnect the power source from the oven before you begin work on the oven.
Ask our experts a question about this model and we'll get back to you as soon as possible!
We may have answered a similar question already! Search questions and answers left by others using simple keywords like "fit", "broken", "easy", or "quality" to find questions that match.
Search filter:
Clear Filter
Your search term must have 3 or more characters.
Sort by:
Prev
1
Next
Sorry, we couldn't find any existing answers that matched.Try using some different or simpler keywords, or submit your new question by using the "Ask a Question" button above!
Donna - For model number 79090932601
February 18, 2025
Is the oven bottom baking element still available. I don't see it on your website.
Thanks,
Donna
Hi Donna, Thank you for asking. Yes, the Bake Element for this model is PartSelect Number PS438018. Good luck with the repair!
See how others fixed this model. Time, tools, difficulty, and steps that lead to victory!View More
Search repair tips from other customers using simple keywords like "replace", "fit", "remove", "inspect". DIY doesn't mean you have to do it alone!
Search filter:
Clear Filter
Your search term must have 3 or more characters.
Oven wouldn't operated. Error code F9
76 of 101 peoplefound this instruction helpful.
Richard from Centennial, CO
Really Easy
Less than 15 mins
Nutdriver
I called a repair place. They charged $54 to diagnose, (said it needed a new latch motor) then wanted $220 to complete the repair. I checked online prices and did it myself for about 15 minutes work and the latch motor itself ($44?).
Was necessary to uplug the range, pull it away from the wall and remove the back panel sheet m
... Read moreetal, then 3 screws that mount the motor. Replace motor, reattach sheet metal. Plug in. Done. Ready to bake cookies.
Read less
Was this helpful?
Thank you for voting!
Oven light receptacle broken - bulb base broke off
69 of 116 peoplefound this instruction helpful.
Paul from Spokane Valley, WA
Easy
30 - 60 mins
Screw drivers
Turned power off at electrical panel. Pulled oven away from wall. Removed back cover (6 screws), then unplugged wires from old receptacle. I had to pull the squeeze clips backwards & break them to remove the old receptacle - couldn't squeeze them enough to remove them otherwise. The old receptacle came out through the inside of the oven,
... Read moreand the new one snapped in easily from inside the oven as well. Replaced wiring, installed new bulb, restored power & tested. Replaced back cover. Good time to vacuum under/behind where the oven usually lives before sliding it back to the wall.
Read less
Was this helpful?
Thank you for voting!
oven did not heat up
73 of 130 peoplefound this instruction helpful.
Tim from ASHAWAY, RI
Really Easy
15 - 30 mins
Socket set
Replaced the probe because that's what this site recommended.The oven still does not heat up.



 My Orders