


 My Orders




79079112202 Kenmore Range - Overview
Diagrams for 79079112202
See every part. Know exactly what you need.

Enter a part description. DIY Heroes keep it simple, eg. "belt" or "pump".
Search filter:
Clear Filter
Your search term must have 3 or more characters.

$37.35
In Stock
Oven Bake Element
Part #316075103
The Oven Bake Element is a black, metal part which supplies heat to the oven. This element is 19-1/2" wide x 18-1/2" long and has 3-1/2" inserts. It is rated as "Easy" to install by users, and attaches to the bottom of the oven. If you notice visible damage, or that your oven is not receiving heat properly then it may be a problem with th...Read moreis part. Check your model number and user manual to see if this is the right part for you. It is important for you to disconnect your appliance from the power source before performing this repair. After disconnecting your appliance, remove the two screws/nuts connecting the old element, pull it out, and discard if faulty. Simply connect the new element prongs where the old element fit, and screw it back in. You may need a flashlight when making this repair.
Read less

$27.45
On Order
Light Bulb
Part #316538904
This OEM 40 watt appliance light bulb is used for some ranges, refrigerators, freezers, and microwaves. Simply locate the existing bulb, unscrew it from its socket, and replace with new light bulb. If the existing bulb is broken in the socket, disconnect the power to the refrigerator and use a pair of needle nose pliers to grip the intern...Read moreal fragments of the bulb to unscrew. Replace with the new bulb and reconnect the power to the refrigerator. These bulbs are sold individually and are a commonly replaced part; consider ordering a spare.
Read less

$40.60
In Stock
Main Terminal Block Kit
Part #5304409888
Terminal block kits are also known as terminal boards, or terminal strips, and they are found in a wide variety of household appliances. Most often in ranges, wall ovens, and dryers. This kit attaches the power cord to the inner wiring of your appliance. If the terminal block is faulty, your appliance will not get the power it needs to op...Read moreerate properly. When removing the old block pay close attention to the wire placement, this will make installing your new part much easier. If you notice any of the wires or wire terminals are corroded or damaged they will also need to be replaced.
Read less

$87.37
In Stock
Oven Rack
Part #316067902
Oven racks can become rusted or damaged from constant use, and need to be properly maintained and cleaned to keep them working properly. If you notice that your oven rack has been damaged or rusted, the rack should be replaced. This oven rack has two anchor points on either side to keep it stable and secure within the oven. This ensures t...Read morehat your food stays in place when baking, and allows you to remove pots and pans without the threat of the entire rack falling out in the process. This metal oven rack measures 16 inches long x 23 inches wide, and is sold individually.
Read less

$68.15
In Stock
Oven Temperature Sensor
Part #316490001
The temperature sensor detects the temperature within the oven cavity. If there is a limited amount of heat, it is not heating evenly, or the oven will not start, this might indicate that your temperature sensor requires a replacement. If you are working with your oven this part is found on the right side when facing the back of the oven....Read more This part is can be found in a range, wall oven, and microwave-oven. You will need to remove the panel located on the back of the oven, unplug the sensor, remove the screw, and pull the sensor out. The new one slides into place.
Read less

$26.37
In Stock
LENS
Part #5304524341
The Frigidaire light bulb lens covers the interior light bulb in an oven. No tools are necessary to replace this item. After unplugging the appliance, slide off the wire bracket to remove the existing light bulb lens. Be sure to remove all broken glass, if applicable, before installing the new lens. It is recommended to check the state of...Read more the light bulb while the lens is off. This part is made of glass. The lens is a genuine Frigidaire part, sourced directly from the manufacturer, and is sold individually.
Read less

$95.93
In Stock
GLASS
Part #5304503232
This tempered glass is supplied by the original manufacturer and measures 20 inches by 13 inches. It is an inner door glass, designed for use in ranges/ovens and has several purposes which include providing heat insulation, acting as protective barrier, and providing an opening to monitor the cooking/heating process. Over time the glass c...Read morean break or break from impact, thermal shock, or improper installation. If the glass is defective, it needs to be replaced promptly to avoid leaking, loss of insulation and potential harm to the user. Remove any fasteners or clips that secure the glass and carefully dispose of it. Position the new glass in the same position and secure it appropriately.
Read less

$128.94
In Stock
Broil Element
Part #316203200
This oven broil element is a high-performance heating component designed to deliver intense, direct heat from the top of the oven cavity. Measuring approximately 12 ½ inches by 18 ½ inches, it operates at 3000 watts and 240 volts, making it suitable for broiling and contributing to certain baking functions. Positioned at the top interior ...Read moreof the oven, it ensures even heat distribution for optimal cooking results. This element is commonly used as a replacement in electric ranges experiencing reduced or no heat during broil or bake cycles. Installation typically involves disconnecting power, removing the old element, and securing the new one using existing mounting brackets and electrical connectors. It is compatible with a variety of household ranges and is engineered for durability and consistent performance.
Read less

$23.05
In Stock
Indicator Light Lens
Part #318228310
This is a red indicator light lens for an oven that covers the indicator light for the surface element. The indicator light signifies when the element is on and heated. This part is sold individually. It is recommended to check other red indicator lights in case they need to be replaced because they often wear at the same rate. It is diff...Read moreicult to see the light without the red lens. This part does not include the light. If your light does not illuminate, you may want to consider ordering the light as well. Tools required for this repair are a 1/4 inch nut driver and a stubby Phillips screwdriver.
Read less

$26.68
In Stock
Anti-Tip Kit
Part #316112005
The anti-tip bracket kit comes with one metal bracket and two installation screws, and is sourced directly from the genuine manufacturer. It prevents the freestanding oven, range, or stove from tipping when force or weight is applied to an open oven door. The bracket is secured to the floor and wall and fits over the rear leveling leg in ...Read morethe back of the appliance, in a cutout specifically designed for the anti-tip bracket. This part is very essential to the safe operation of the appliance. Failure to install the bracket properly can result in the oven tipping or falling and causing injuries.
Read less

No Longer Available
White Touch up Paint
Part #5303321319
This is white touch up paint for refrigerators, microwaves, ranges, dryers, and freezers. It is used to cover, or touch up, nicks and scratches on the appliance from wear and tear. It is an 18ml bottle that contains paint and a small brush for easy application. It is a little over 2 inches tall. This is an OEM part that is sourced directl...Read morey from the genuine manufacturer, and is meant to be an exact match to the color of the appliance. If the appliance is not white, please see other colors such as almond or black.
Read less

No Longer Available
Leveling Leg
Part #316129200
Manuals & Care Guides for 79079112202
Click to downloadCommon Symptoms of the 79079112202
How this model fails, and the parts that fix it.
Element will not heat
Fixed by
these parts
these parts


Show All
Little to no heat when baking
Fixed by
these parts
these parts

Show All
Oven not heating evenly
Fixed by
these parts
these parts
Show All
Will Not Start
Fixed by
these parts
these parts

Show All
Oven is too hot
Fixed by
these parts
these parts
Show All
Little to no heat when broiling
Fixed by
these parts
these parts
Show All
Door won’t close
Fixed by
these parts
these parts


Show All
Touchpad does not respond
Fixed by
these parts
these parts
Show All
Gas igniter glows, but will not light
Fixed by
these parts
these parts
Show All
Watch our pros, then fix it yourself.
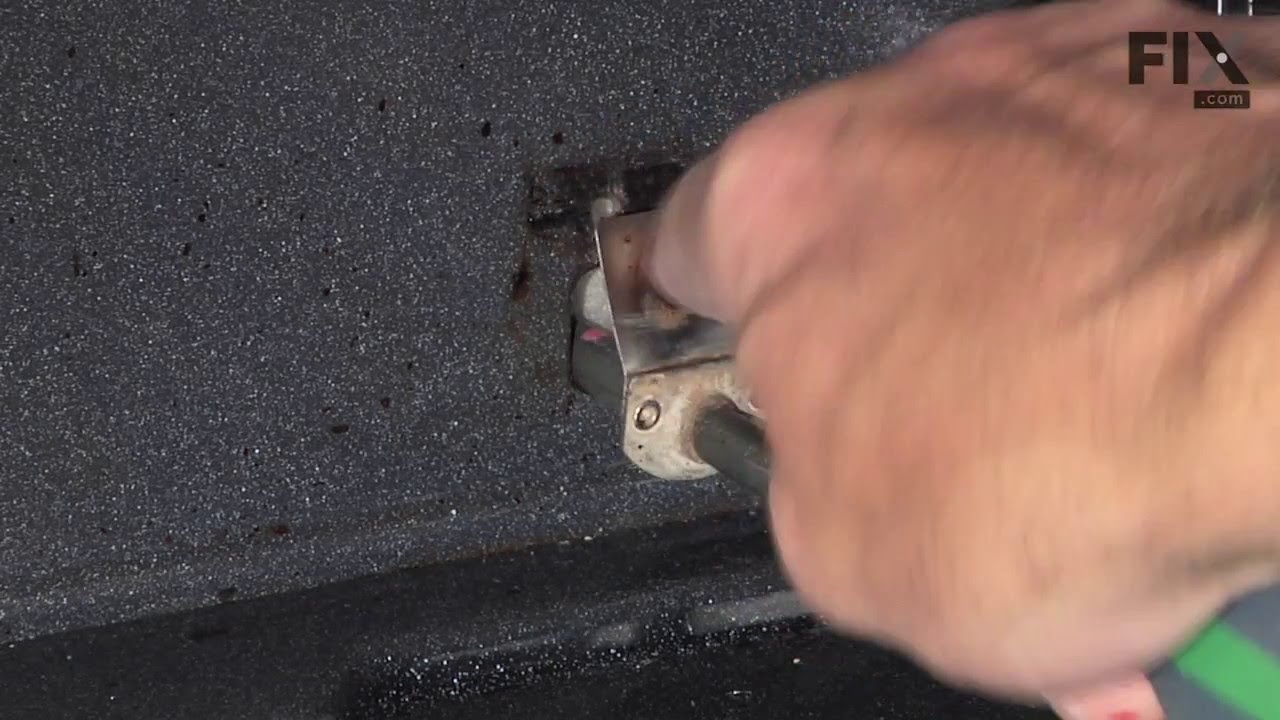


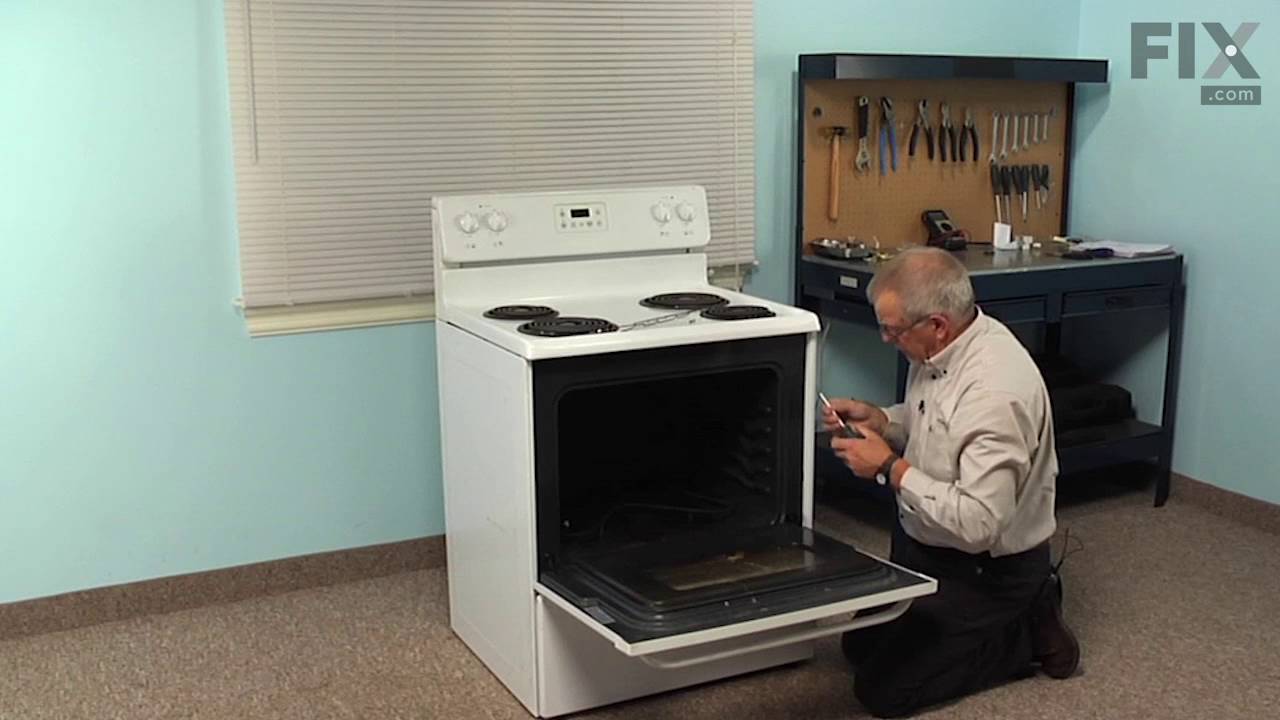


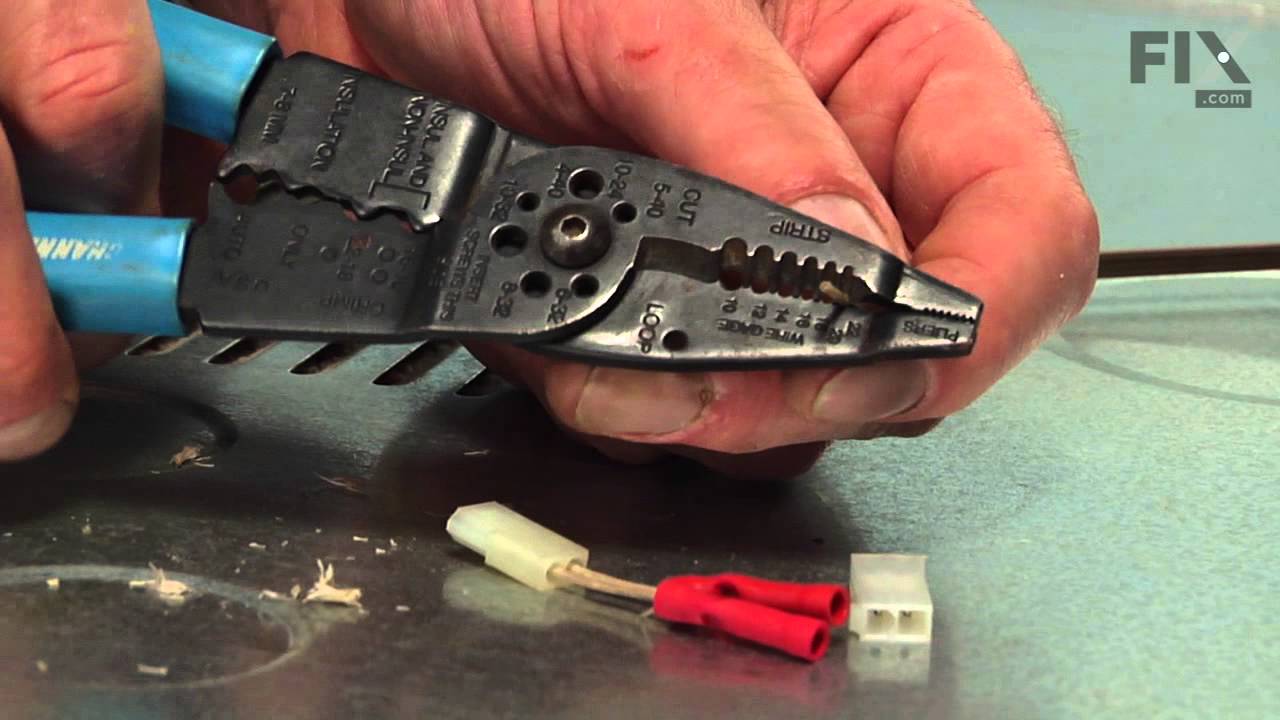
See how others fixed this model. Time, tools, difficulty, and steps that lead to victory!
View More