


 My Orders




79078699401 Kenmore Range - Overview
Diagrams for 79078699401
See every part. Know exactly what you need.

Enter a part description. DIY Heroes keep it simple, eg. "belt" or "pump".
Search filter:
Clear Filter
Your search term must have 3 or more characters.

$47.25
In Stock
Flat Style Oven Igniter
Part #5303935066
This is a flat style oven igniter used to light the oven burner in a gas range. When the element in this igniter glows white hot, the gas is released from the safety valves, which lights the oven burner. If your range is not heating properly, or not heating at all, it might indicate a problem with this part. If the element in the igniter ...Read moreis only glowing red or orange, or not glowing at all, it will need to be replaced. This is a shorter style igniter. It is 3.72 inches in length, and it features an 18-inch wire lead. This kit includes the igniter, an instruction sheet, a mounting bracket, and the two ceramic wire nuts needed for installation. This part has an amperage range of 3.2 to 3.6. Unplug your appliance before you start any repair work.
Read less

$27.45
On Order
Light Bulb
Part #316538904
This OEM 40 watt appliance light bulb is used for some ranges, refrigerators, freezers, and microwaves. Simply locate the existing bulb, unscrew it from its socket, and replace with new light bulb. If the existing bulb is broken in the socket, disconnect the power to the refrigerator and use a pair of needle nose pliers to grip the intern...Read moreal fragments of the bulb to unscrew. Replace with the new bulb and reconnect the power to the refrigerator. These bulbs are sold individually and are a commonly replaced part; consider ordering a spare.
Read less

$68.15
In Stock
Oven Temperature Sensor
Part #316490001
The temperature sensor detects the temperature within the oven cavity. If there is a limited amount of heat, it is not heating evenly, or the oven will not start, this might indicate that your temperature sensor requires a replacement. If you are working with your oven this part is found on the right side when facing the back of the oven....Read more This part is can be found in a range, wall oven, and microwave-oven. You will need to remove the panel located on the back of the oven, unplug the sensor, remove the screw, and pull the sensor out. The new one slides into place.
Read less

$26.37
In Stock
LENS
Part #5304524341
The Frigidaire light bulb lens covers the interior light bulb in an oven. No tools are necessary to replace this item. After unplugging the appliance, slide off the wire bracket to remove the existing light bulb lens. Be sure to remove all broken glass, if applicable, before installing the new lens. It is recommended to check the state of...Read more the light bulb while the lens is off. This part is made of glass. The lens is a genuine Frigidaire part, sourced directly from the manufacturer, and is sold individually.
Read less

$84.65
In Stock
IGNITOR,BAKE
Part #5304534663
This gas oven bake igniter is designed to initiate the heating process by activating the burner during baking cycles. It functions by heating up until it reaches the ignition point, allowing gas to ignite and maintain consistent oven temperatures. A failing igniter is a common cause of heating issues, including longer preheat times, uneve...Read moren baking, or complete failure to heat. Replacing the igniter restores proper oven function and ensures reliable performance. Installation should be performed with the appliance disconnected from power and gas supply for safety.
Read less

No Longer Available

$12.05
In Stock
Leveling Leg Assembly
Part #5304509869
Sold Individually. These legs should be adjusted to make your appliance level on uneven flooring.

No Longer Available

$94.68
In Stock
Front Burner Igniter/Orifice Assembly
Part #316237805
This igniter and orifice assembly is a legitimate OEM replacement part for your gas stove, and includes the igniter, orifice assembly, and gas tube. This part may need replacing if the igniter fails or the tube is leaking gas. It is a very easy repair. Remove the grates and burners from the range. Unscrew the existing assemblies and pry o...Read moreff the cooktop. Locate the assembly you are replacing and undo the nut holding it in place. Pull out the igniter wire by hand, and install the new one, replacing the rest of the parts in reverse order.
Read less

$21.79
In Stock
Igniter/Orifice Mounting Screw
Part #316240600
This part is the igniter/orifice mounting screw for your cooktop or range. It is approximately ½ an inch in length and is made of metal. The mounting screw connects the orifice to the cooktop. If the orifice is loose, or the screw is missing, this is the part that will replace it. This part is sold individually and is a genuine OEM part sourced directly from the manufacturer.

$52.96
In Stock
Burner Cap - LF, LR, RR
Part #316213500
This burner cap is a replacement cooking surface component designed to distribute heat evenly across the burner. It is commonly replaced when chipped, warped, or damaged by heat exposure.

$23.05
In Stock
Steel Washer
Part #316008401
This steel washer is also known as the range washer and is used on your oven door. The measurements for the steel washer are a three quarter inch outer diameter, and a one quarter inch inner diameter. This washer is an OEM part, made of steel, which is sourced directly from the manufacturer. This specific steel washer is used with your ra...Read morenge, to secure the inner and outer door together and to secure the oven door handle back in place. Users have ranked this repair as a simple installation that should take you less than fifteen minutes to complete.
Read less
Manuals & Care Guides for 79078699401
Click to downloadInstall
Installation Instructions
(0.62MB)
Install
Installation Instructions
(2.05MB)
Manual
Owner's Manuals
(2.97MB)
Common Symptoms of the 79078699401
How this model fails, and the parts that fix it.
Gas igniter glows, but will not light
Fixed by
these parts
these parts


Show All
Little to no heat when baking
Fixed by
these parts
these parts

Show All
Will Not Start
Fixed by
these parts
these parts

Show All
Element will not heat
Fixed by
these parts
these parts
Show All
Oven is too hot
Fixed by
these parts
these parts
Show All
Gas smell
Fixed by
these parts
these parts
Show All
Oven not heating evenly
Fixed by
these parts
these parts
Show All
Door won’t close
Fixed by
these parts
these parts

Show All
Touchpad does not respond
Fixed by
these parts
these parts

Show All
Little to no heat when broiling
Fixed by
these parts
these parts
Show All
Watch our pros, then fix it yourself.


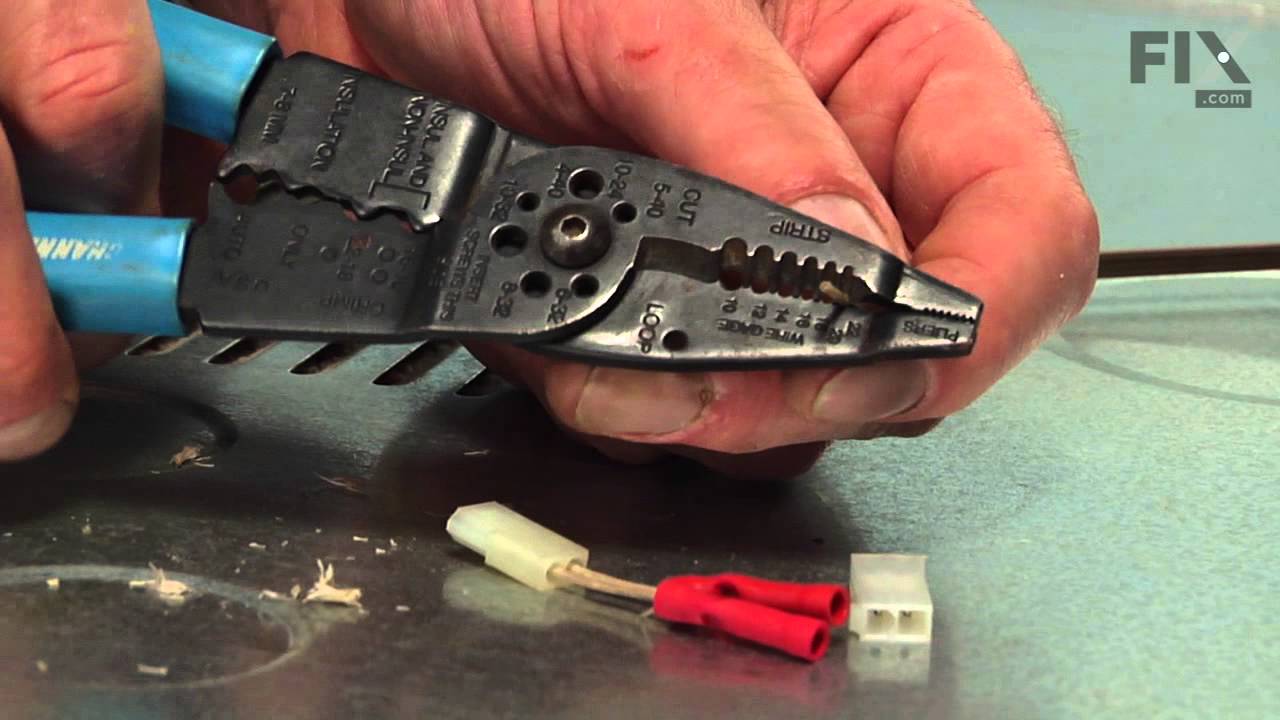
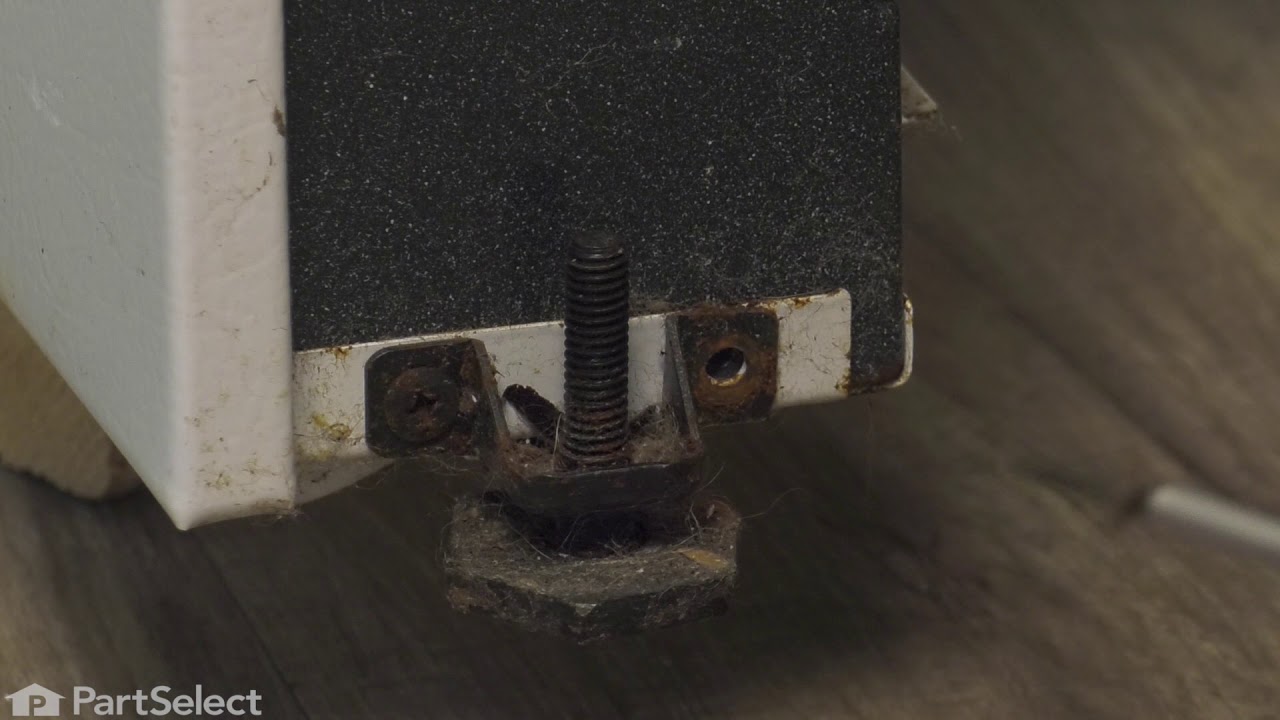

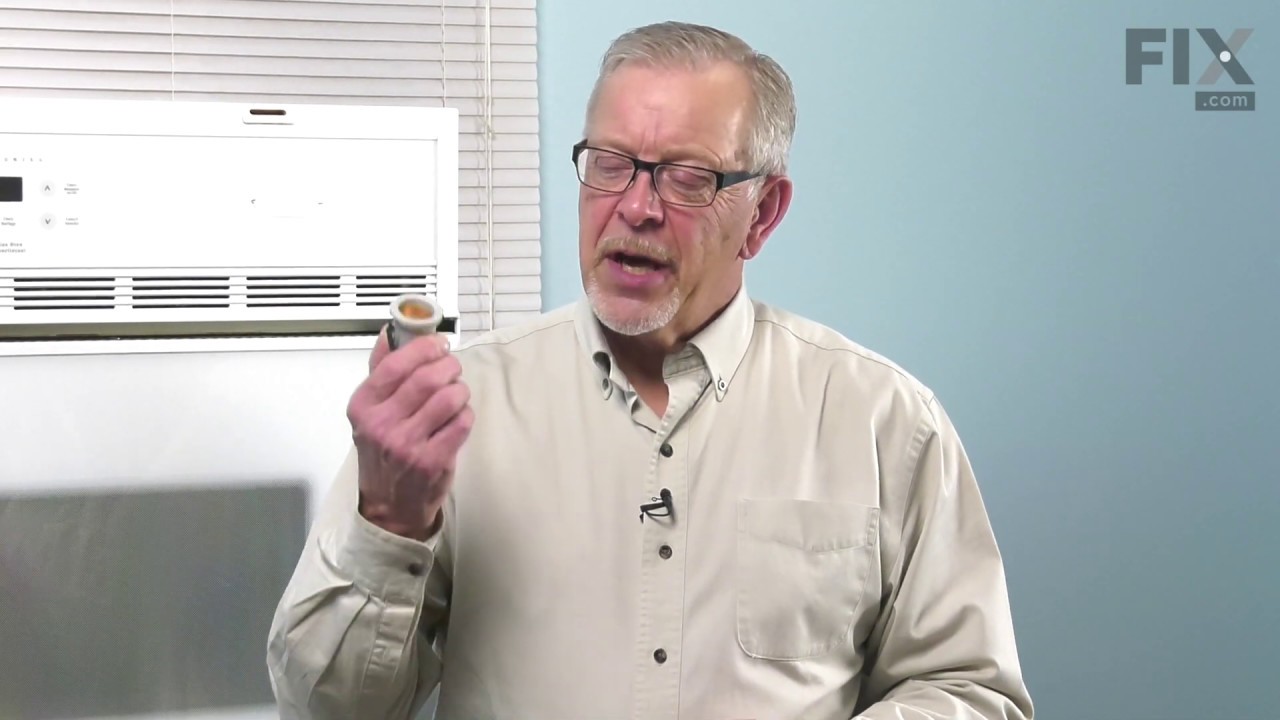
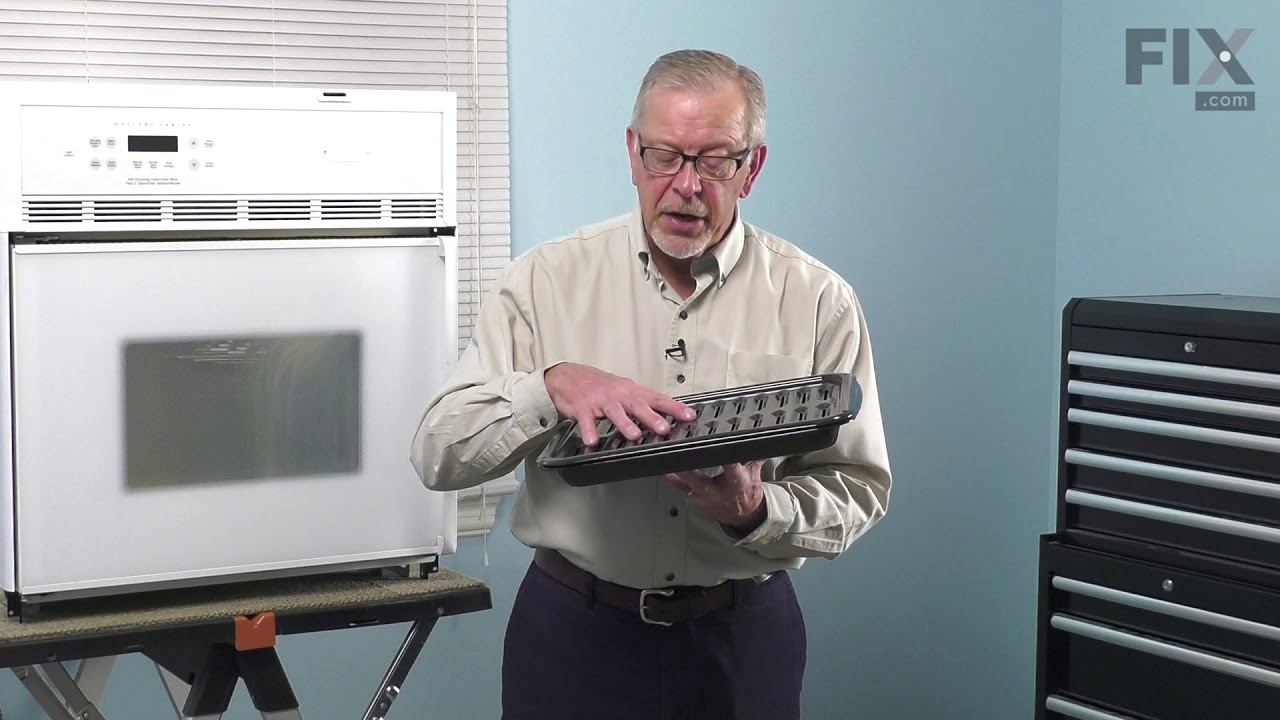
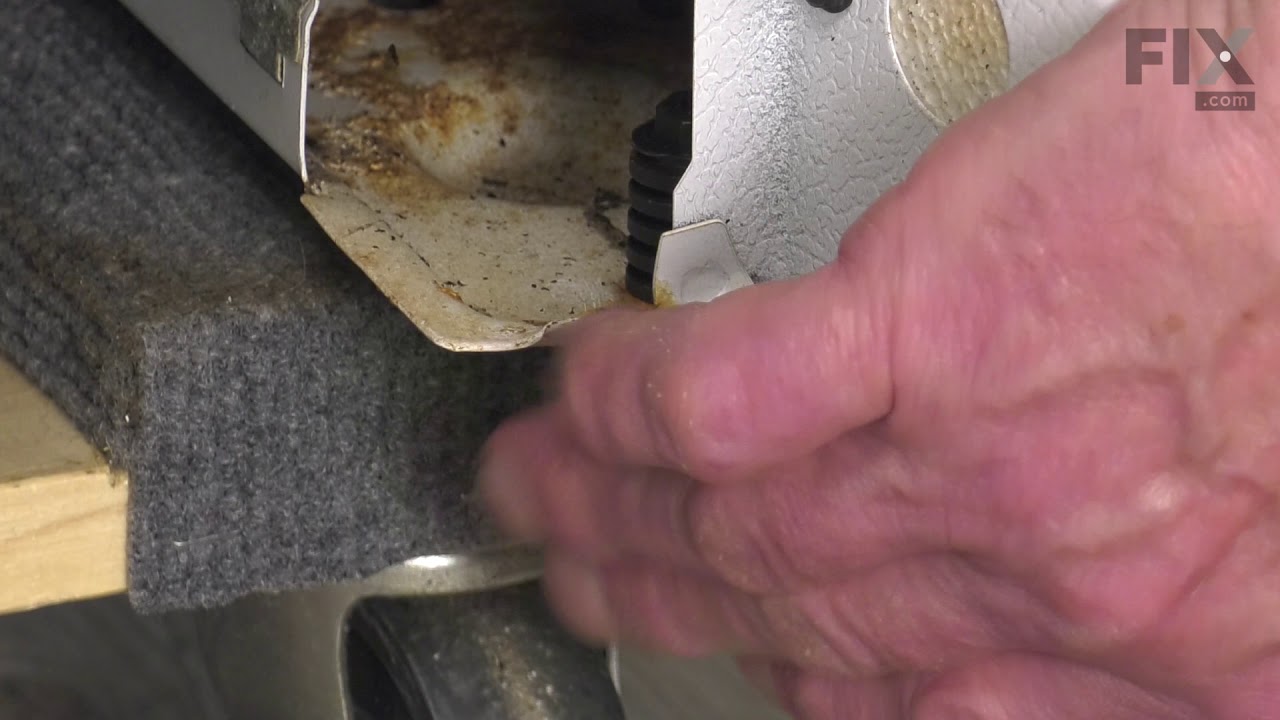
See how others fixed this model. Time, tools, difficulty, and steps that lead to victory!
View More