


 My Orders




79078153410 Kenmore Range - Overview

Enter a part description. DIY Heroes keep it simple, eg. "belt" or "pump".
Search filter:
Clear Filter
Your search term must have 3 or more characters.

$39.82
In Stock
CAP
Part #5304508442
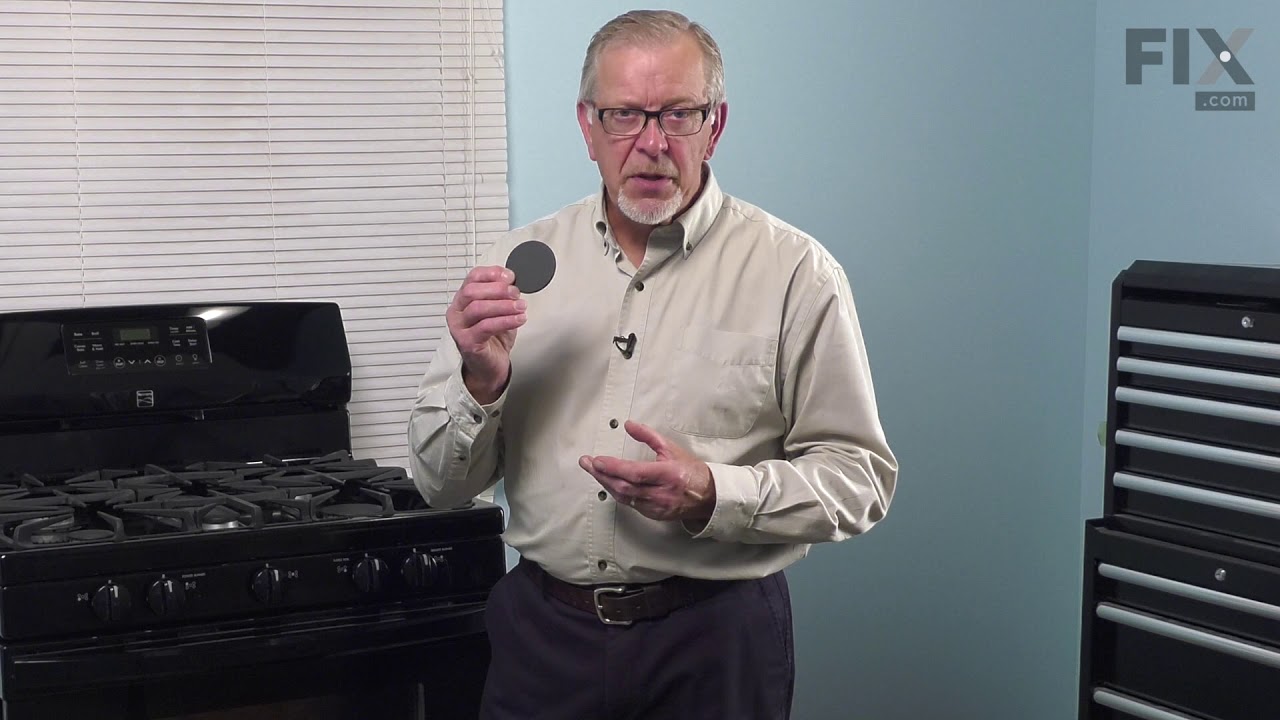
The surface Meduim 9.5K burner cap is located on the top of the burner head and is used in ranges and ovens. The burner cap helps spread out the burner flame for even heating, and protects the burner head from cooking spills. Without the cap you can have a burning gas torch. If your cap is missing or is discolored, replacing this part ca...Read moren solve the issue. This part comes in the color black. Remember to unplug your range from the power source and allow surface to cool before installing this part. Refer to the manual provided by the manufacturer for further installation instructions.
Read less

$42.82
In Stock
CAP
Part #5304508441
Sold individually. This part helps the flame to spread for even heat. Also protects your burner head from spills.

$26.35
In Stock

$25.25
In Stock

$38.71
In Stock

$80.25
In Stock
Spark Module
Part #5304508269
This spark module provides the electrical spark needed to ignite surface burners on a gas range or cooktop, helping ensure safe and reliable burner operation. It is commonly replaced when burners will not light, sparking is weak or inconsistent, or clicking occurs without ignition. This component plays a key role in proper burner startup ...Read moreduring normal cooking use. Installation generally involves disconnecting power and gas, accessing the spark module beneath the cooktop, and carefully reconnecting the wiring during replacement; professional installation is recommended to ensure correct and safe operation.
Read less

$179.98
In Stock
Range Grate Set
Part #A00263801
This surface burner grate set is for ranges.
The surface burner grate set provides a stable surface for cookware on the surface burner.

$54.95
In Stock
Sealed Burner - 9.5K
Part #316558300
This sealed burner delivers consistent heat output for precise cooking performance. Its design helps contain spills and simplifies cleanup while ensuring efficient flame control. Installation is straightforward for restoring your cooktop’s functionality.

$46.18
In Stock
PROBE
Part #5304525427
This OEM-manufactured metal temperature sensor, or oven probe, measures and regulates the temperature within the oven. If you find that your food is being overcooked, undercooked, or is not cooking evenly, the sensor may be faulty. You can verify this by testing it with a multimeter or looking out for an error code on the control board. I...Read moref you do not replace the broken sensor, your oven will run too hot or too cold. To replace the sensor, you first need to turn off the power to the oven and let it cool down. Access the probe inside the oven cavity, it is commonly attached to the rear wall. Using a screwdriver or pliers, remove any screws or clips that are securing the sensor in position. You may also need to unscrew or unclip the wire attached to the probe from the back of the oven. This sensor is sold as a single unit.
Read less

$13.77
In Stock
SCREW
Part #5304507924
This is an authentic door handle mounting screw, which works with ranges, wall ovens and microwaves.

$41.17
In Stock
Convection Fan Blade
Part #318398302
This convection fan blade is designed for use with various makes and models of range and oven and is sold as an individual part. Made of metal and measuring approximately 4.75-inches in diameter, this genuine OEM fan blade works with the convection motor to circulate and distribute heat evenly throughout the oven. If your oven is not gett...Read moreing hot enough or the heat is not circulating properly, or if the fan blade in your oven has become warped, damaged, or chipped, it needs to be replaced immediately. To replace the fan blade, disconnect your range from the power and locate the fan assembly. With the appropriate screwdriver and wrench, remove any assembly covers and the securing nut from the blade. Once the nut is removed, install the new blade and secure it and re-install the cover.
Read less

$36.06
In Stock
Leveling Leg
Part #318175510
This part is a levelling leg and it is used in conjunction with your range. The function of this part is to supply stability and support to your appliance. This part is adjustable to allow you to tailor each leg to meet your levelled cooking needs. A range typically uses four of these parts, and this model is sold individually. This part ...Read moremeasures to be just over a square inch wide, and almost two inches high. The body of this part resembles a screw and is made of metal. The bottom of the leg is black, flat, and made of plastic.
Read less
Common Symptoms of the 79078153410
How this model fails, and the parts that fix it.

Watch our pros, then fix it yourself.

See how others fixed this model. Time, tools, difficulty, and steps that lead to victory!
View More