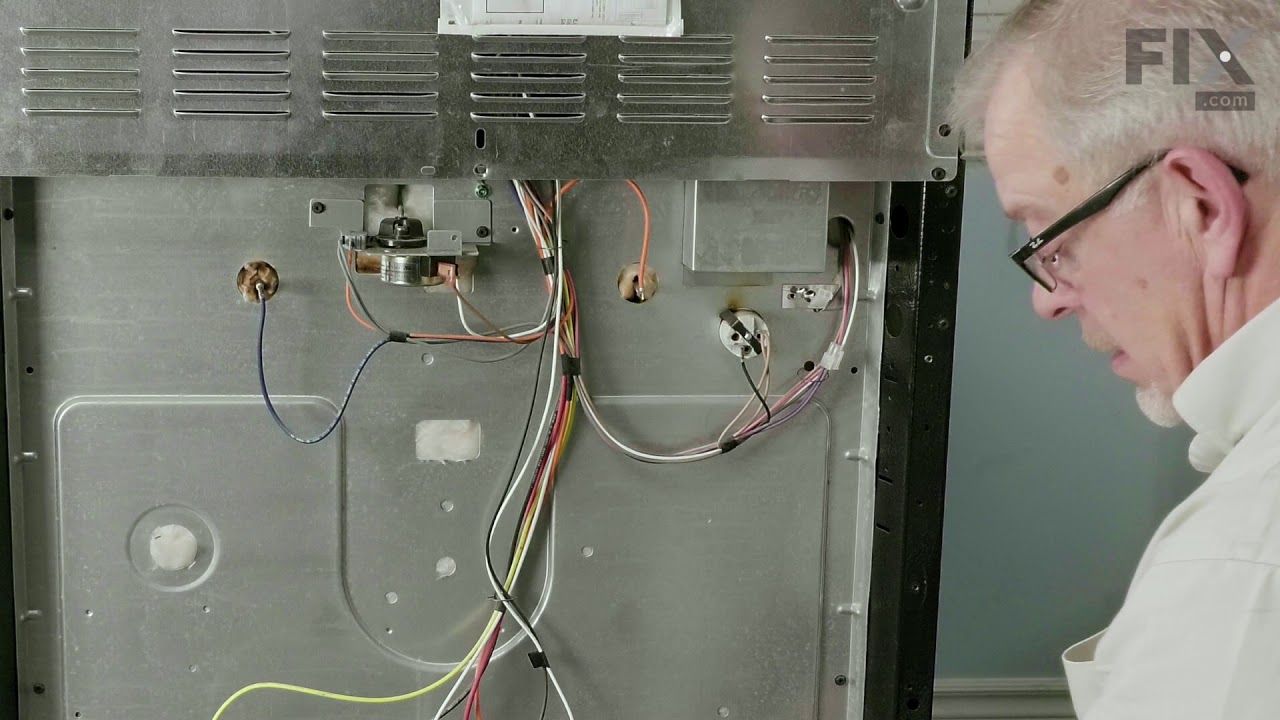
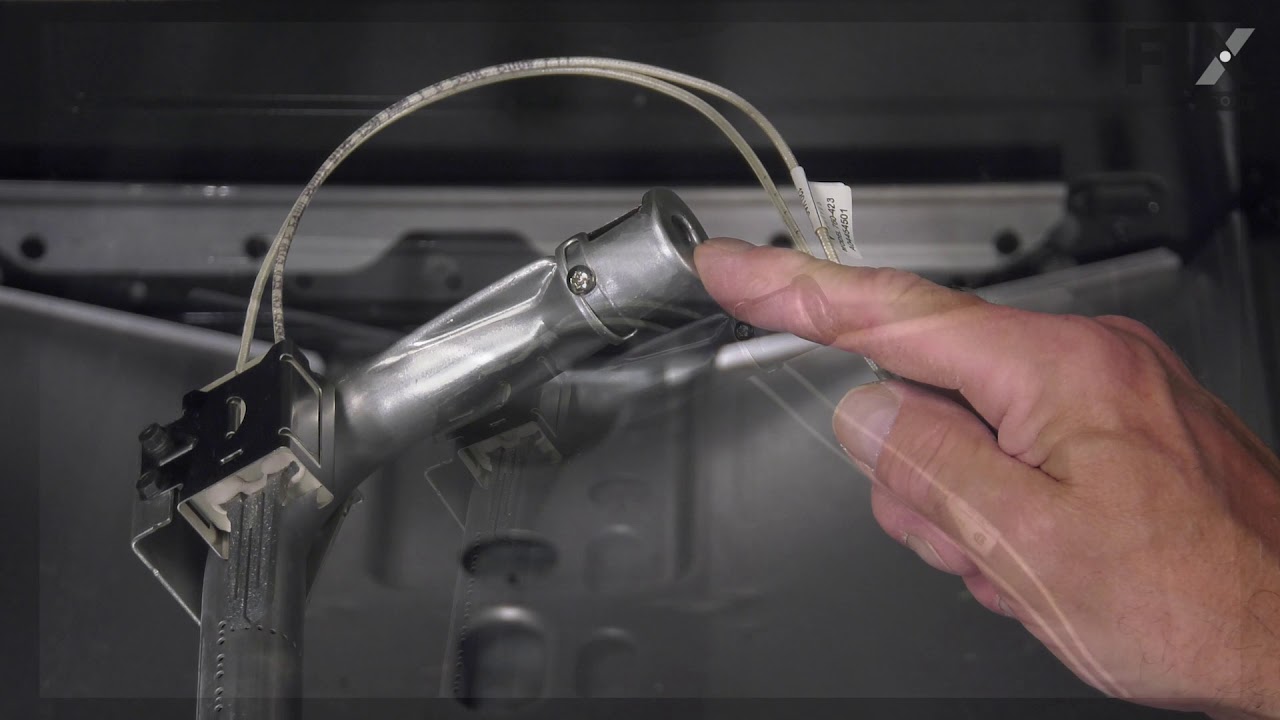
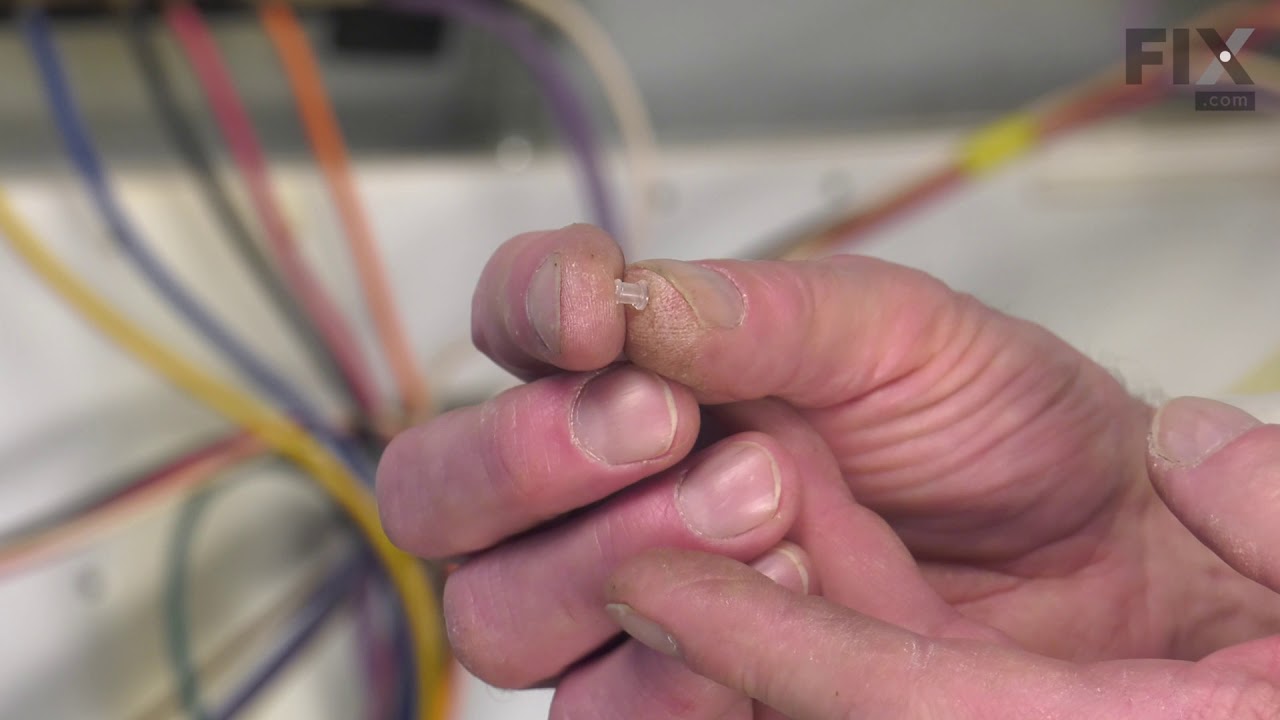
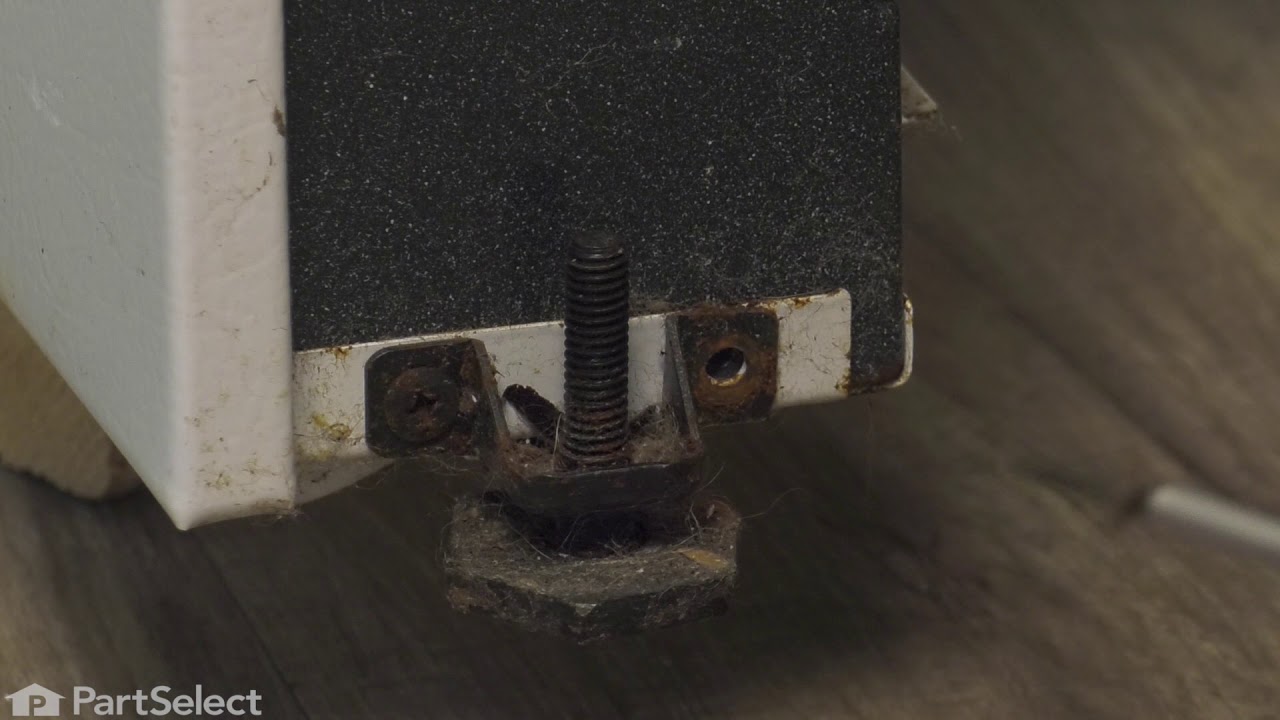
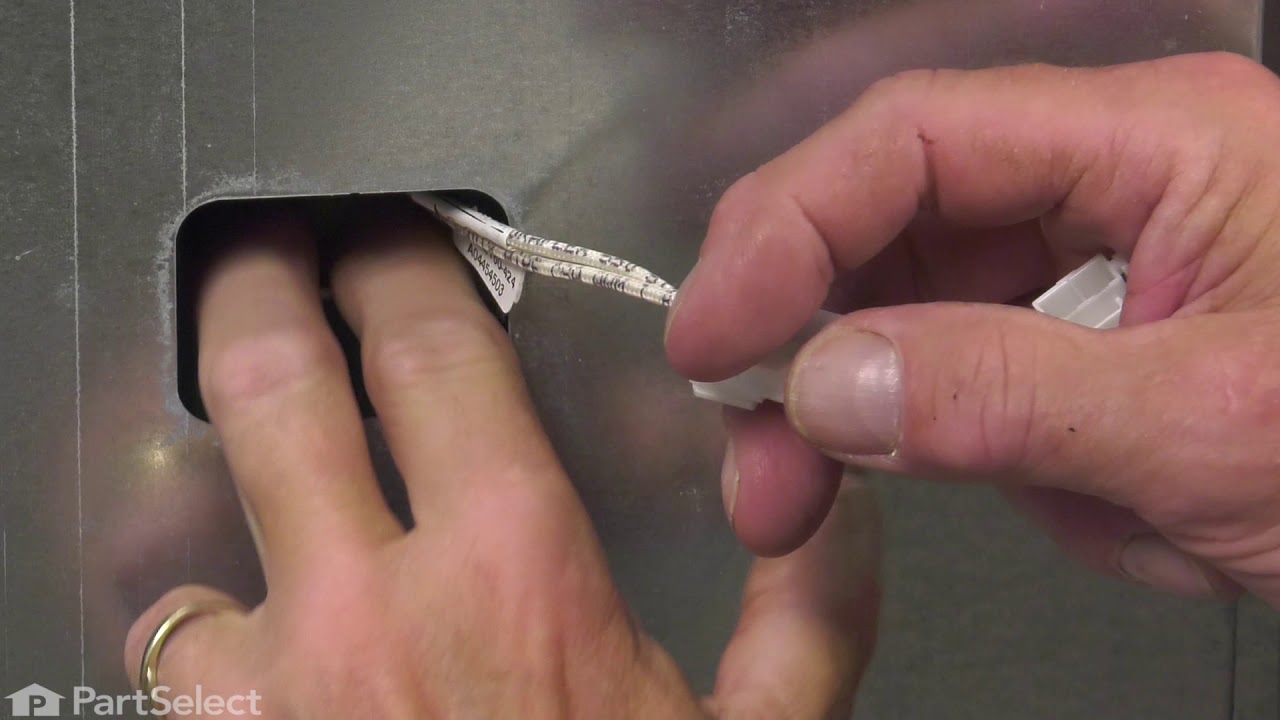
This genuine OEM oven probe is also known as an oven temperature sensor or range probe. This part is manufactured for a range, stove, or oven to detect the temperature within the oven cavity. The probe allows the oven to maintain the set temperature by sensing the temperature and sending the information to the ovens motherboard. You may n...Read moreeed to replace this part if oven is not heating or is heating unevenly. Be sure to disconnect power to oven before replacing, as it is an electrical part. Tools needed are 1/4 inch nut driver and needle nose pliers.
This OEM 40 watt appliance light bulb is used for some ranges, refrigerators, freezers, and microwaves. Simply locate the existing bulb, unscrew it from its socket, and replace with new light bulb. If the existing bulb is broken in the socket, disconnect the power to the refrigerator and use a pair of needle nose pliers to grip the intern...Read moreal fragments of the bulb to unscrew. Replace with the new bulb and reconnect the power to the refrigerator. These bulbs are sold individually and are a commonly replaced part; consider ordering a spare.
This kit is used to convert your appliance to liquid propane. This liquid petroleum gas conversion kit contains seven orifices, each under an inch long.
The oven burner igniter simply ignites the gas so it can heat the oven burner. The igniter does this by drawing electrical currents through the oven safety valve to open it. If the element shortens out, is no longer glowing, or is only glowing red or orange, replacing the igniter is the solution. You will need a wire splicing tool to do t...Read morehis repair. First, disconnect the wire harness from the igniter by removing the access panel on the rear of the stove. Next, access the front of oven and take out the racks before removing the bottom of the oven. For the rest of the installation instructions refer to the diagram provided by the manufacturer. Remember to unplug your oven from the power source before beginning this project.
The Frigidaire light bulb lens covers the interior light bulb in an oven. No tools are necessary to replace this item. After unplugging the appliance, slide off the wire bracket to remove the existing light bulb lens. Be sure to remove all broken glass, if applicable, before installing the new lens. It is recommended to check the state of...Read more the light bulb while the lens is off. This part is made of glass. The lens is a genuine Frigidaire part, sourced directly from the manufacturer, and is sold individually.
This tempered glass is supplied by the original manufacturer and measures 20 inches by 13 inches. It is an inner door glass, designed for use in ranges/ovens and has several purposes which include providing heat insulation, acting as protective barrier, and providing an opening to monitor the cooking/heating process. Over time the glass c...Read morean break or break from impact, thermal shock, or improper installation. If the glass is defective, it needs to be replaced promptly to avoid leaking, loss of insulation and potential harm to the user. Remove any fasteners or clips that secure the glass and carefully dispose of it. Position the new glass in the same position and secure it appropriately.
The anti-tip bracket kit comes with one metal bracket and two installation screws, and is sourced directly from the genuine manufacturer. It prevents the freestanding oven, range, or stove from tipping when force or weight is applied to an open oven door. The bracket is secured to the floor and wall and fits over the rear leveling leg in ...Read morethe back of the appliance, in a cutout specifically designed for the anti-tip bracket. This part is very essential to the safe operation of the appliance. Failure to install the bracket properly can result in the oven tipping or falling and causing injuries.
This range indicator light lens is designed to cover and protect the appliance’s indicator light, allowing you to easily see when a burner or oven is in use. Made from clear, heat-resistant plastic, it helps shield internal components from grease, moisture, and everyday wear. Replacement is ideal if the original lens is cracked, discolored, or missing, helping restore visibility and maintain safe, reliable operation.
This igniter and orifice assembly is a legitimate OEM replacement part for your gas stove, and includes the igniter, orifice assembly, and gas tube. This part may need replacing if the igniter fails or the tube is leaking gas. It is a very easy repair. Remove the grates and burners from the range. Unscrew the existing assemblies and pry o...Read moreff the cooktop. Locate the assembly you are replacing and undo the nut holding it in place. Pull out the igniter wire by hand, and install the new one, replacing the rest of the parts in reverse order.
The surface burner head is used for ranges and ovens, and is located on the cooktop, where the flames go up. The surface burner spreads the gas through holes to create an even flame throughout the entire cooking area. If your surface burner is damaged it can affect the distribution of gas, or the flames may not come up correctly. If this ...Read moreis the case, replace this part. The measurements of the surface burner are: 6.25 inches in length, 5.13 inches in width, 8 inches in height, and 0.4 pounds in weight. Allow your cooktop to cool before installing this part. Refer to the manual provided by the manufacturer for further repair instructions.
Ask our experts a question about this model and we'll get back to you as soon as possible!
We may have answered a similar question already! Search questions and answers left by others using simple keywords like "fit", "broken", "easy", or "quality" to find questions that match.
Search filter:
Clear Filter
Your search term must have 3 or more characters.
Sort by:
Prev
1
Next
Sorry, we couldn't find any existing answers that matched.Try using some different or simpler keywords, or submit your new question by using the "Ask a Question" button above!
Mike - For model number 79077489802
April 19, 2025
Broiler will not come on
Hello Mike, thank you for contacting us. If the broiler of your oven is not coming on, we would suggest checking the broil igniter, part number PS11770500, to solve the problem. A malfunctioning broil igniter can most probably cause this issue. We hope this helps!
See how others fixed this model. Time, tools, difficulty, and steps that lead to victory!View More
Search repair tips from other customers using simple keywords like "replace", "fit", "remove", "inspect". DIY doesn't mean you have to do it alone!
Search filter:
Clear Filter
Your search term must have 3 or more characters.
Bought a new gas oven that did not come with a propane conversion kit.
125 of 179 peoplefound this instruction helpful.
Denny from Bishop, CA
Easy
30 - 60 mins
Nutdriver, Wrench set
I followed the simple instructions that were included in the kit. I started by replacing the 5 orifices on the top burners. The orifices are well labeled with numbers and colors. Next, I tightened the broiler burner orifice and the oven burner orifice with a 1/2 inch wrench. I had to tighten them pretty good to get the flame down where it
... Read more is supposed to be. Then, I checked for leaks and I was then ready to cook.
Read less
Was this helpful?
Thank you for voting!
Stove was set up for natural gas and needed to be converted to LP
118 of 193 peoplefound this instruction helpful.
Ed from Orange, TX
Easy
30 - 60 mins
Nutdriver, Screw drivers
The LP conversion kit contained very good, detailed instructions. I replaced the gas orifices, took off the bottom door and adjusted the regulator.
Used the screwdriver to adjust the low flame and everything was done.
Was this helpful?
Thank you for voting!
Cracked oven door inner glass
76 of 135 peoplefound this instruction helpful.
Mitch from Fernandina Beach, FL
Easy
15 - 30 mins
Screw drivers
Repair was quite easy, as long as you have the instructions for removing the door. The screws that hold the bottom of the door to the fixed hinge are placed into the side of the hinge assembly after removal; this holds the door at a 45 degree angle for easy removal. After that, just place the door on a flat surface and dismantle the door
... Read morefrom the inside. The inner glass is contained in a metal frame with another piece of glass; this frame comes apart easily using the clips in each side. The door assembles easily after the glass is replaced; just take your time and give yourself enough room to lay out the parts as you go. Good luck!



 My Orders