


 My Orders




79077475790 Kenmore Range - Overview
Diagrams for 79077475790
See every part. Know exactly what you need.

Enter a part description. DIY Heroes keep it simple, eg. "belt" or "pump".
Search filter:
Clear Filter
Your search term must have 3 or more characters.

$27.45
On Order
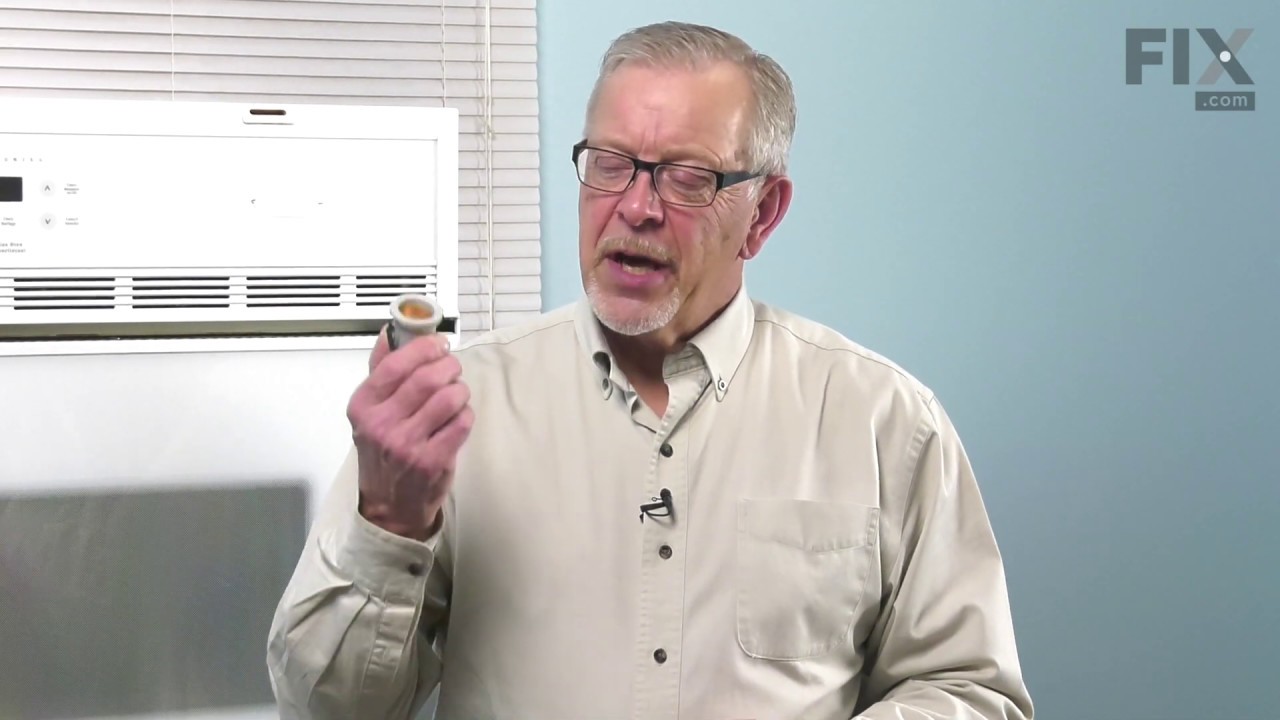
Light Bulb
Part #316538904
This OEM 40 watt appliance light bulb is used for some ranges, refrigerators, freezers, and microwaves. Simply locate the existing bulb, unscrew it from its socket, and replace with new light bulb. If the existing bulb is broken in the socket, disconnect the power to the refrigerator and use a pair of needle nose pliers to grip the intern...Read moreal fragments of the bulb to unscrew. Replace with the new bulb and reconnect the power to the refrigerator. These bulbs are sold individually and are a commonly replaced part; consider ordering a spare.
Read less

$34.15
In Stock

$26.37
In Stock
LENS
Part #5304524341
The Frigidaire light bulb lens covers the interior light bulb in an oven. No tools are necessary to replace this item. After unplugging the appliance, slide off the wire bracket to remove the existing light bulb lens. Be sure to remove all broken glass, if applicable, before installing the new lens. It is recommended to check the state of...Read more the light bulb while the lens is off. This part is made of glass. The lens is a genuine Frigidaire part, sourced directly from the manufacturer, and is sold individually.
Read less

No Longer Available
GLASS
Part #5304506004
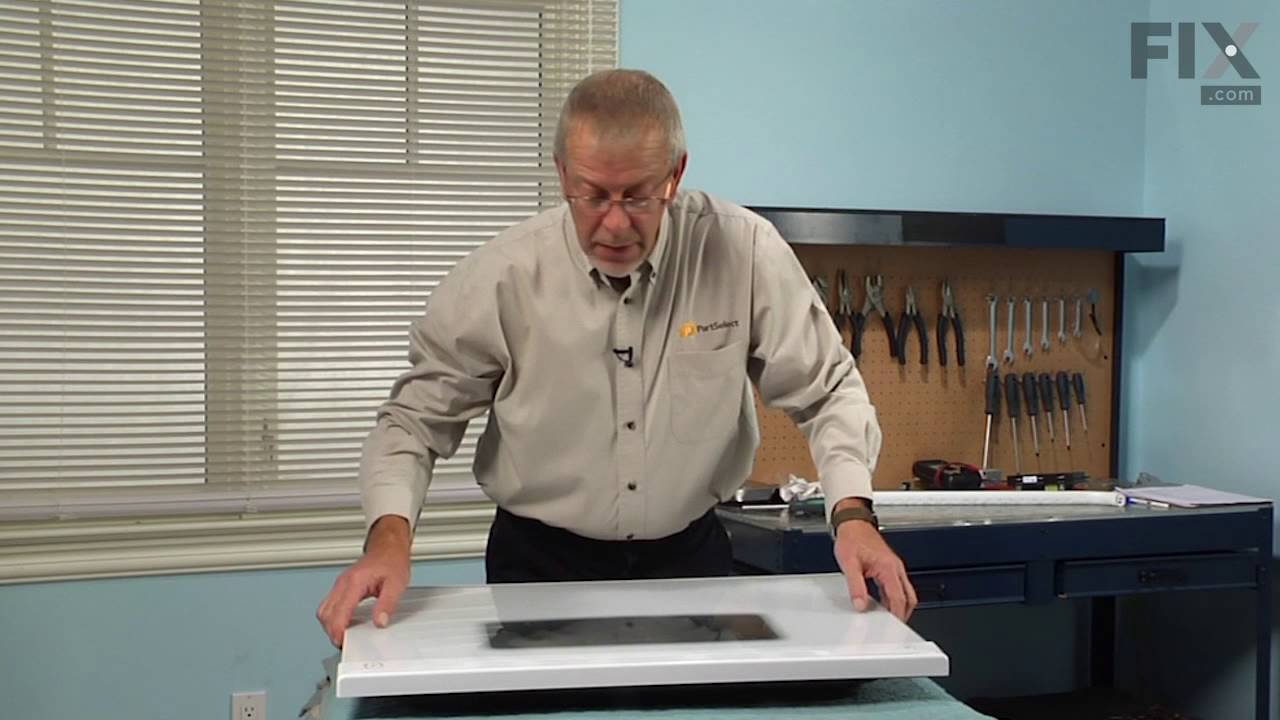
This part is the replacement inner oven door glass for your oven. It is made of glass and is approximately 16 inches wide and 7 inches long. The oven door glass allows you to see inside the oven when the door is closed. The main reason to replace the inner oven door glass is if the old glass is cracked, broken, or missing. This part is an OEM part sourced directly from the manufacturer.

$7.65
In Stock
Top Burner Mounting Screw with Washer
Part #316069301
This is now a new zinc and black-coated screw that will resist rust and
seizing.

No Longer Available

$48.35
In Stock
Oven Probe
Part #5304497424
Also known as a temperature sensor. This part is used to detect the temperature within the oven cavity.
**The following instructions only apply if the connector piece is different than the original.**
Prior to cutting the leads, please check the length of the wire you will need.
1. Cut the leads on your original sensor and the replac...Read moreement sensor. Be sure to leave enough length to strip and splice the new probe and original connector together.
2. Strip the insulation, or wire cover, back approximately 1/4 inches on the new probe and original connector.
3. Twist the ends of your new probe and original connector together
4. Use a wire nut, or another high heat fastener to cover your exposed wires.
5. Install your new oven probe and re assembly your oven.
Read less

No Longer Available
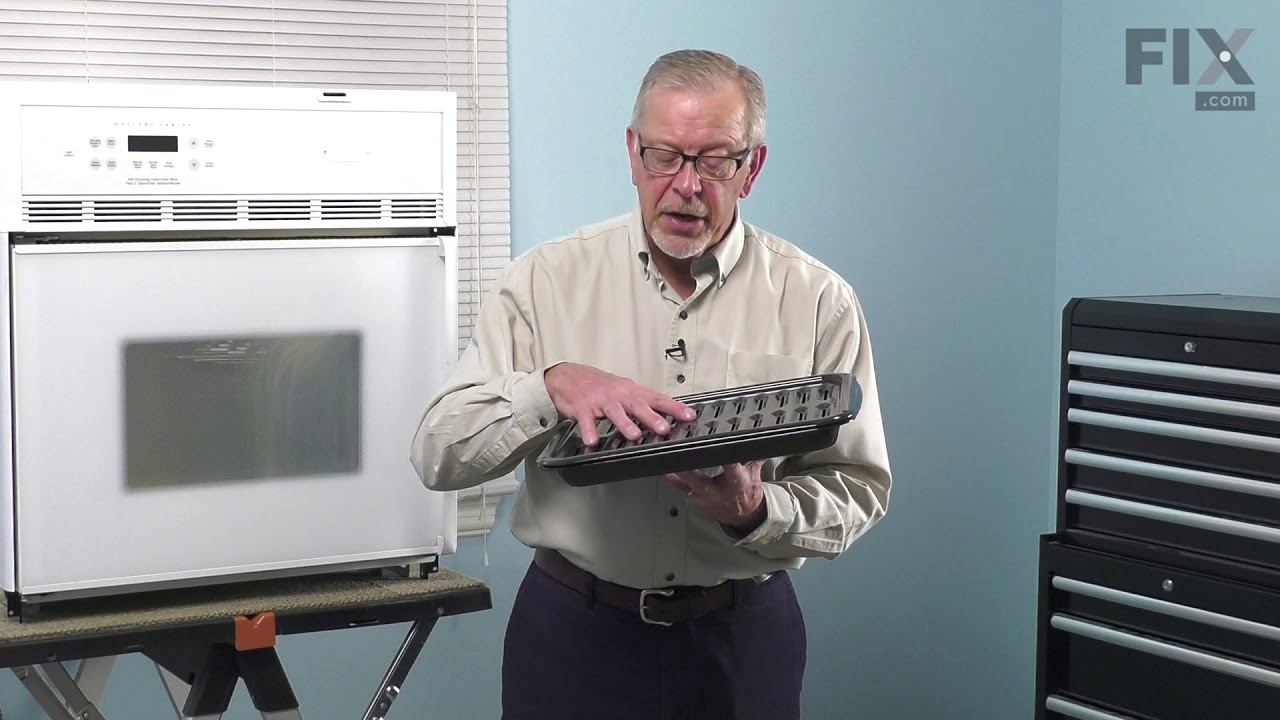
Broiler Pan Grate Insert
Part #5304494997
This OEM broiler pan and grate insert are cooking accessories used in your oven to broil food. The pan catches drippings and prevents them from falling into the appliance, while the grate insert ensures the food is cooked evenly. You can usually find them at the bottom of your appliance. If your broiler pan and grate insert are broken, yo...Read moreur food may not cook evenly and the drippings may fall into your appliance. Additionally, it can be difficult to clean a damaged pan or grate. These authentic accessories come together when you purchase them, ensuring that you can enjoy evenly-cooked food without any mess.
Read less

$63.59
In Stock
Oven Light Socket
Part #316116400
The oven light socket allows you to screw in a light bulb so that you can see the inside of your oven. The light socket is located in the back of your oven, so you will need to remove the back panel to access the socket for the repair. You will also need to remove the current light bulb and the light lens cover so that the old socket can ...Read morebe removed. As you will be working around electrical circuits for this repair, be sure to disconnect the power source from the oven before you begin work on the oven.
Read less

$26.35
In Stock

$115.69
In Stock

$59.35
In Stock
Light Indicator - 125v
Part #316022500
Manuals & Care Guides for 79077475790
Click to downloadCommon Symptoms of the 79077475790
How this model fails, and the parts that fix it.
Will Not Start
Fixed by
these parts
these parts


Show All
Gas igniter glows, but will not light
Fixed by
these parts
these parts

Show All
Little to no heat when baking
Fixed by
these parts
these parts
Show All
Oven is too hot
Fixed by
these parts
these parts
Show All
Oven not heating evenly
Fixed by
these parts
these parts
Show All
Element will not heat
Fixed by
these parts
these parts
Show All
Little to no heat when broiling
Fixed by
these parts
these parts

Show All
Watch our pros, then fix it yourself.


See how others fixed this model. Time, tools, difficulty, and steps that lead to victory!
View More