


 My Orders




79075909993 Kenmore Range - Overview

Enter a part description. DIY Heroes keep it simple, eg. "belt" or "pump".
Search filter:
Clear Filter
Your search term must have 3 or more characters.

$34.15
In Stock

$23.05
In Stock
Indicator Light Lens
Part #318228310
This is a red indicator light lens for an oven that covers the indicator light for the surface element. The indicator light signifies when the element is on and heated. This part is sold individually. It is recommended to check other red indicator lights in case they need to be replaced because they often wear at the same rate. It is diff...Read moreicult to see the light without the red lens. This part does not include the light. If your light does not illuminate, you may want to consider ordering the light as well. Tools required for this repair are a 1/4 inch nut driver and a stubby Phillips screwdriver.
Read less

$48.35
In Stock
Oven Probe
Part #5304497424
Also known as a temperature sensor. This part is used to detect the temperature within the oven cavity.
**The following instructions only apply if the connector piece is different than the original.**
Prior to cutting the leads, please check the length of the wire you will need.
1. Cut the leads on your original sensor and the replac...Read moreement sensor. Be sure to leave enough length to strip and splice the new probe and original connector together.
2. Strip the insulation, or wire cover, back approximately 1/4 inches on the new probe and original connector.
3. Twist the ends of your new probe and original connector together
4. Use a wire nut, or another high heat fastener to cover your exposed wires.
5. Install your new oven probe and re assembly your oven.
Read less

No Longer Available
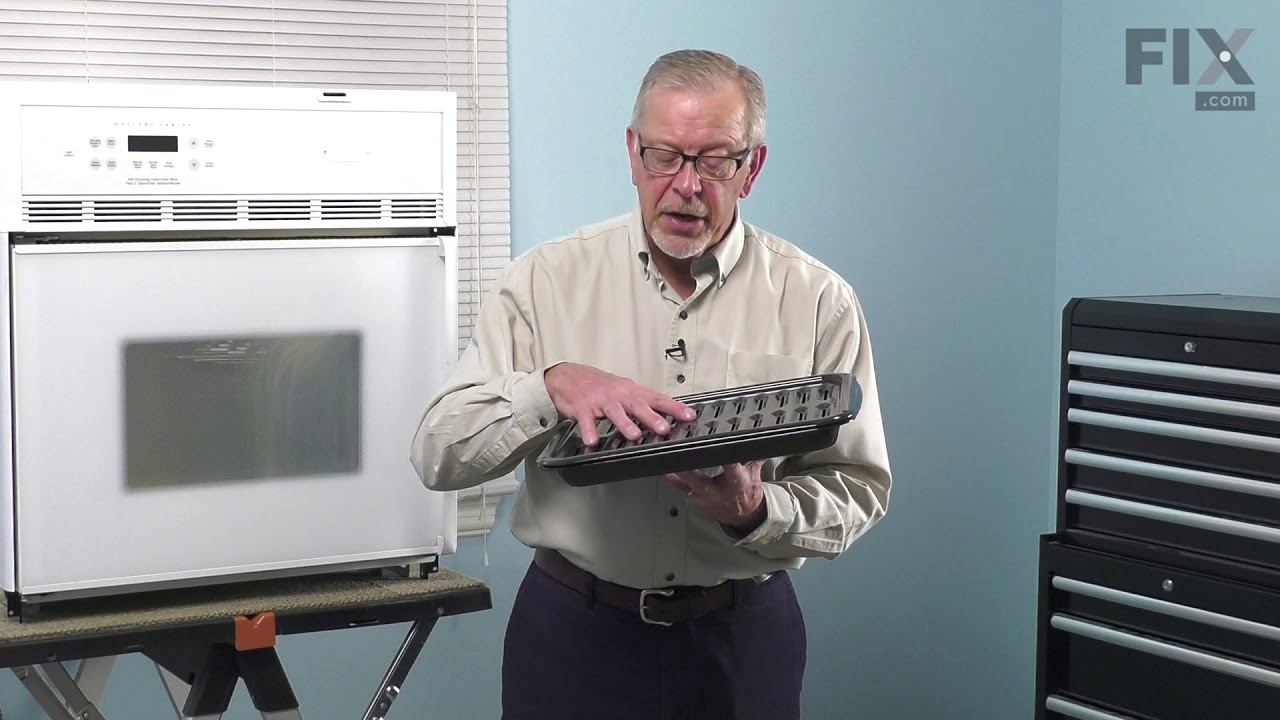
Broiler Pan Grate Insert
Part #5304494997
This OEM broiler pan and grate insert are cooking accessories used in your oven to broil food. The pan catches drippings and prevents them from falling into the appliance, while the grate insert ensures the food is cooked evenly. You can usually find them at the bottom of your appliance. If your broiler pan and grate insert are broken, yo...Read moreur food may not cook evenly and the drippings may fall into your appliance. Additionally, it can be difficult to clean a damaged pan or grate. These authentic accessories come together when you purchase them, ensuring that you can enjoy evenly-cooked food without any mess.
Read less

$59.35
In Stock
Light Indicator - 125v
Part #316022500

$59.17
In Stock

$80.25
In Stock
Outer Drawer Glide
Part #316105501
As per the factory, the original part was 19 3/4 inches and the new substituted part is 16 1/4 inches. According to the factory, this part will still work with your appliance.

No Longer Available
Burner Cap - Black
Part #316122100

$60.56
In Stock
Oven Door Light Switch
Part #316445500

No Longer Available
Burner Cap
Part #316122101

$13.77
In Stock
SCREW
Part #5304507924
This is an authentic door handle mounting screw, which works with ranges, wall ovens and microwaves.

No Longer Available
Common Symptoms of the 79075909993
How this model fails, and the parts that fix it.
Will Not Start
Fixed by
these parts
these parts


Show All
Gas igniter glows, but will not light
Fixed by
these parts
these parts
Show All
Oven is too hot
Fixed by
these parts
these parts
Show All
Little to no heat when baking
Fixed by
these parts
these parts
Show All
Oven not heating evenly
Fixed by
these parts
these parts
Show All
Element will not heat
Fixed by
these parts
these parts
Show All
Watch our pros, then fix it yourself.
See how others fixed this model. Time, tools, difficulty, and steps that lead to victory!
View More