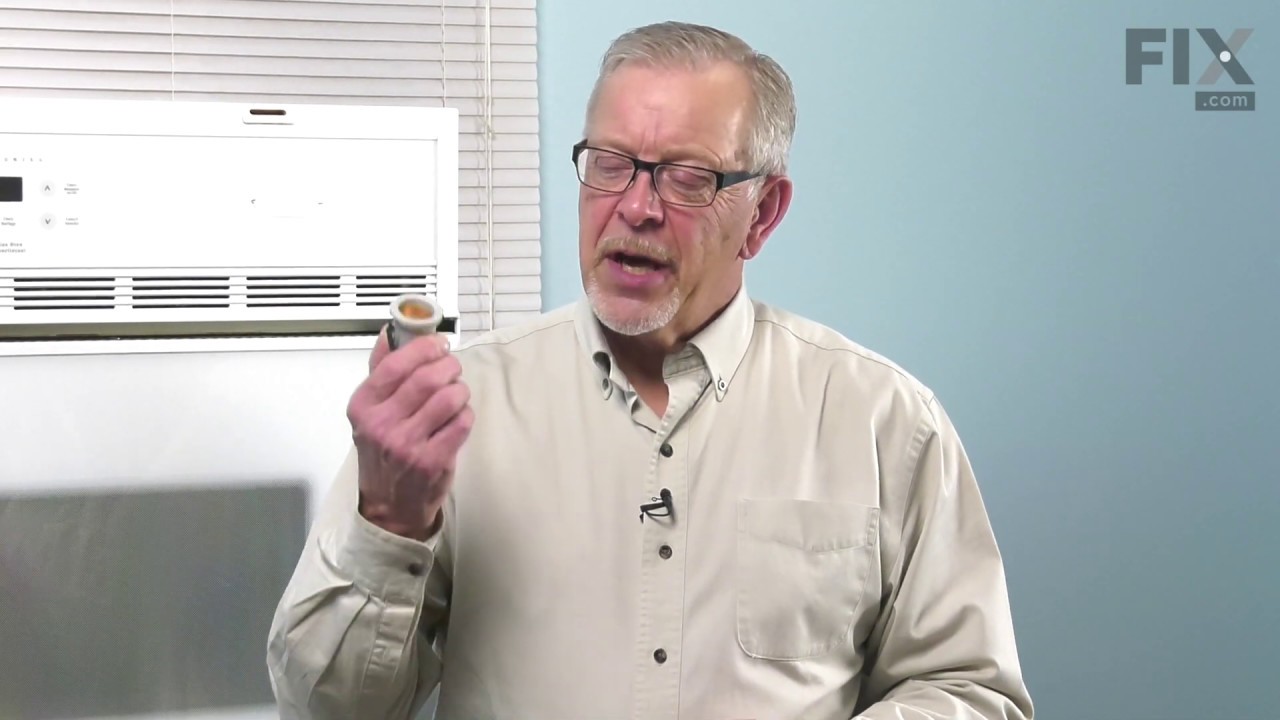
The 3000W bake element is located on the bottom of the oven cavity to supply heat for baking. The element terminals are male quarter inch spade connectors and have push-on wire terminals. If your oven is not heating evenly, the element will not heat, or there is little to no heat when baking, you may need to replace the element. This genu...Read moreine OEM bake element. Please remember to disconnect the power to your oven before you start your repair.
This OEM 40 watt appliance light bulb is used for some ranges, refrigerators, freezers, and microwaves. Simply locate the existing bulb, unscrew it from its socket, and replace with new light bulb. If the existing bulb is broken in the socket, disconnect the power to the refrigerator and use a pair of needle nose pliers to grip the intern...Read moreal fragments of the bulb to unscrew. Replace with the new bulb and reconnect the power to the refrigerator. These bulbs are sold individually and are a commonly replaced part; consider ordering a spare.
The oven temperature sensor for your range may also be called a probe. The quick connect on this part may differ than your original piece. If the temperature sensor does not fit you will have to cut off the quick connect, and then wire together with porcelain wire nuts. The function of the oven temperature sensor is to measure the tempera...Read moreture in the oven and signal the other heating components. Before you begin this repair make sure to disconnect the power to the range. The tools required for this installation include a number two Phillips screwdriver or a number two square head screwdriver, and maybe a pair of wire strippers and crimpers.
Terminal block kits are also known as terminal boards, or terminal strips, and they are found in a wide variety of household appliances. Most often in ranges, wall ovens, and dryers. This kit attaches the power cord to the inner wiring of your appliance. If the terminal block is faulty, your appliance will not get the power it needs to op...Read moreerate properly. When removing the old block pay close attention to the wire placement, this will make installing your new part much easier. If you notice any of the wires or wire terminals are corroded or damaged they will also need to be replaced.
The Frigidaire light bulb lens covers the interior light bulb in an oven. No tools are necessary to replace this item. After unplugging the appliance, slide off the wire bracket to remove the existing light bulb lens. Be sure to remove all broken glass, if applicable, before installing the new lens. It is recommended to check the state of...Read more the light bulb while the lens is off. This part is made of glass. The lens is a genuine Frigidaire part, sourced directly from the manufacturer, and is sold individually.
This broil element is found on the roof of the oven and heats food. The most common reasons you would need to replace this part is due to the oven not giving off enough heat, not turning on, or not baking your food at an even temperature. This could be due to the element being burnt out or broken. Make sure to unplug the oven before you b...Read moreegin. You will need to remove the oven from the wall to complete this repair. This is an OEM part that comes right from the manufacturer, ensuring the best quality.
The surface burner head is used for ranges and ovens, and is located on the cooktop, where the flames go up. The surface burner spreads the gas through holes to create an even flame throughout the entire cooking area. If your surface burner is damaged it can affect the distribution of gas, or the flames may not come up correctly. If this ...Read moreis the case, replace this part. The measurements of the surface burner are: 6.25 inches in length, 5.13 inches in width, 8 inches in height, and 0.4 pounds in weight. Allow your cooktop to cool before installing this part. Refer to the manual provided by the manufacturer for further repair instructions.
This part is the igniter/orifice mounting screw for your cooktop or range. It is approximately ½ an inch in length and is made of metal. The mounting screw connects the orifice to the cooktop. If the orifice is loose, or the screw is missing, this is the part that will replace it. This part is sold individually and is a genuine OEM part sourced directly from the manufacturer.
This steel washer is also known as the range washer and is used on your oven door. The measurements for the steel washer are a three quarter inch outer diameter, and a one quarter inch inner diameter. This washer is an OEM part, made of steel, which is sourced directly from the manufacturer. This specific steel washer is used with your ra...Read morenge, to secure the inner and outer door together and to secure the oven door handle back in place. Users have ranked this repair as a simple installation that should take you less than fifteen minutes to complete.
The oven light socket allows you to screw in a light bulb so that you can see the inside of your oven. The light socket is located in the back of your oven, so you will need to remove the back panel to access the socket for the repair. You will also need to remove the current light bulb and the light lens cover so that the old socket can ...Read morebe removed. As you will be working around electrical circuits for this repair, be sure to disconnect the power source from the oven before you begin work on the oven.
The door lock switch, or simply door switch, is used in ranges and ovens. The switch activates signals to the oven control board about the state of the door lock. If the light in the oven is not turning on or off, or the self-cleaning option is not working, it is best to replace the switch to solve your issues. The tools needed for this i...Read morenstallation project are a flat-head screwdriver, Phillips-head screwdriver, and pliers. To repair, first remove the screws from upper rear access panel, then open oven door to disconnect the door switch wire connecter. Next, remove switch assembly through the access hole and unhook the old hook from the actuator rod. Now you can install the new switch by hooking it on to the rod and back into place. Refer to the manual provided by the manufacturer for further installation instructions and guidance.
Ask our experts a question about this model and we'll get back to you as soon as possible!
We may have answered a similar question already! Search questions and answers left by others using simple keywords like "fit", "broken", "easy", or "quality" to find questions that match.
Search filter:
Clear Filter
Your search term must have 3 or more characters.
Sort by:
Prev
1
Next
Sorry, we couldn't find any existing answers that matched.Try using some different or simpler keywords, or submit your new question by using the "Ask a Question" button above!
Joan - For model number 79075503202
November 22, 2023
One burner clicking and starting once in a while. Changed the electrode
( not the problem)- Could it be the switch module?
Hello Joan, thank you for your inquiry. Based on the description that you have provided, we would recommend checking the spark module, part number PS11770793, to fix the issue. We hope this solves your problem!
How do I access the control panel to clean back side of panel glass?
Hello Tom, Thank you for contacting us. You would need to remove the back panel on the back of the stove. We have provided a link to one of our videos on accessing the control board, which also shows how to access the control panel. We hope this helps you.
2 peoplefound this instruction helpful.
Was this helpful?
Thank you for voting!
Thomas - For model number 79075503202
April 30, 2026
The large lower drawer (below the oven) has defective drawer slides (ball bearing are falling out- black plastic retainer clip is damaged. I need to replace the slides that attach to the oven frame.
Hi Thomas, thank you for contacting us. The drawer outer glides for your model are part number PS977459. They are sold individually. The inner drawer glide for the left side is part number PS1152401, and for the right side, it is part number PS1152400. We hope that helps!
Hello, I am looking for 2 racks for the side oven on this Kenmore Elite dual fuel range. Also, I need drawer glides for the bottom drawer and an igniter for one of the burners
Hello Kelly, thanks for contacting us. With reference to your model number after research we have found the compatible parts that you are looking for is PS725729 for the ignitor, PS1560592 for the rack, PS1152401 for the left glide for drawer, and PS1152400 for the right side glide. We hope this will solve your problem. Thanks.
See how others fixed this model. Time, tools, difficulty, and steps that lead to victory!View More
Search repair tips from other customers using simple keywords like "replace", "fit", "remove", "inspect". DIY doesn't mean you have to do it alone!
Search filter:
Clear Filter
Your search term must have 3 or more characters.
oven element broken
169 of 194 peoplefound this instruction helpful.
Van from Sanford, NC
Really Easy
Less than 15 mins
Screw drivers
The repair was simple; first I removed the 2 screws from the old element and disconnected the wires and then I inserted the new element reconnected the wires and replaced the screws . The repair was easy and took less that 15 min. The oven works as good as new and I saved alot of money by doing it myself.
Was this helpful?
Thank you for voting!
Oven not heating to desired temperature
155 of 244 peoplefound this instruction helpful.
Dan from Bellevue, ID
Easy
15 - 30 mins
Screw drivers
Replaced clock control by removing surface burner control knobs and plastic nuts, and then the cover over the oven control. Two screw hold the clock in place, after removal and disconnecting the plug-in you can reinstall the new clock control. The Heat Sensor inside the oven will also need to be replaced. It is located inside the oven
... Read moreand attached with two screws; the back of the oven will need to be removed to unplug. Reverse removal procedure and turn the power back on to the stove.
Read less
Was this helpful?
Thank you for voting!
Cord was not tightened enough by delivery crew.
109 of 174 peoplefound this instruction helpful.
Timothy from Spring Valley, AL
Really Easy
15 - 30 mins
Screw drivers, Socket set
PF alarm appeared on display. Noticed clicking when cord was moved. Had arced for some time and melted original block. New part slightly different. Only has 3 lugs, old one had six. Stack using washers provided. Take note of colors before disassembly. Use caution while working through access opening. The edges are sharp. Only tools neede
... Read mored are phillips screwdriver, deep socket for lug nuts. Nut driver optional. Hope this is helpful.




 My Orders