


 My Orders




79075429410 Kenmore Range - Overview

Enter a part description. DIY Heroes keep it simple, eg. "belt" or "pump".
Search filter:
Clear Filter
Your search term must have 3 or more characters.

$42.82
In Stock
CAP
Part #5304508441
Sold individually. This part helps the flame to spread for even heat. Also protects your burner head from spills.

$21.79
In Stock
Igniter/Orifice Mounting Screw
Part #316240600
This part is the igniter/orifice mounting screw for your cooktop or range. It is approximately ½ an inch in length and is made of metal. The mounting screw connects the orifice to the cooktop. If the orifice is loose, or the screw is missing, this is the part that will replace it. This part is sold individually and is a genuine OEM part sourced directly from the manufacturer.

$50.55
On Order
CAP
Part #5304508443
This black burner cap is a genuine OEM part made of a durable material capable of reaching 14,000-BTU, with an approximately 3-inch diameter. It is compatible with various models of ranges and cooktops, where it helps to distribute heat evenly and protects the burner assembly from thermal damage. Since this cap is sold as an individual pa...Read morert, consider how many caps you need to replace on your stovetop before ordering. Burner caps often need to be replaced if they are damaged or worn, no longer providing even heat distribution, or if they simply no longer look good. To replace this cap, make sure the stovetop is cool, and then simply lift any necessary grates to get access to the cap. Then lift and swap out the old cap for the new one, making sure it is settled properly on the burner before you reseat the grate(s).
Read less

$26.35
In Stock

$25.25
In Stock

$179.98
In Stock
Range Grate Set
Part #A00263801
This surface burner grate set is for ranges.
The surface burner grate set provides a stable surface for cookware on the surface burner.

$101.95
In Stock
Surface Burner Orifice Holder - Left Front 9.5K
Part #316536602
This orifice holder ensures the left front burner delivers the right amount of gas for safe, efficient cooking. Built from heat-resistant metal, it provides a secure fit and reliable flame control, so you can enjoy even heat every time you cook.

$35.14
In Stock

$54.95
In Stock
Sealed Burner - 9.5K
Part #316558300
This sealed burner delivers consistent heat output for precise cooking performance. Its design helps contain spills and simplifies cleanup while ensuring efficient flame control. Installation is straightforward for restoring your cooktop’s functionality.

$60.56
In Stock
Oven Door Light Switch
Part #316445500

$13.77
In Stock
SCREW
Part #5304507924
This is an authentic door handle mounting screw, which works with ranges, wall ovens and microwaves.

$41.17
In Stock
Convection Fan Blade
Part #318398302
This convection fan blade is designed for use with various makes and models of range and oven and is sold as an individual part. Made of metal and measuring approximately 4.75-inches in diameter, this genuine OEM fan blade works with the convection motor to circulate and distribute heat evenly throughout the oven. If your oven is not gett...Read moreing hot enough or the heat is not circulating properly, or if the fan blade in your oven has become warped, damaged, or chipped, it needs to be replaced immediately. To replace the fan blade, disconnect your range from the power and locate the fan assembly. With the appropriate screwdriver and wrench, remove any assembly covers and the securing nut from the blade. Once the nut is removed, install the new blade and secure it and re-install the cover.
Read less
Watch our pros, then fix it yourself.
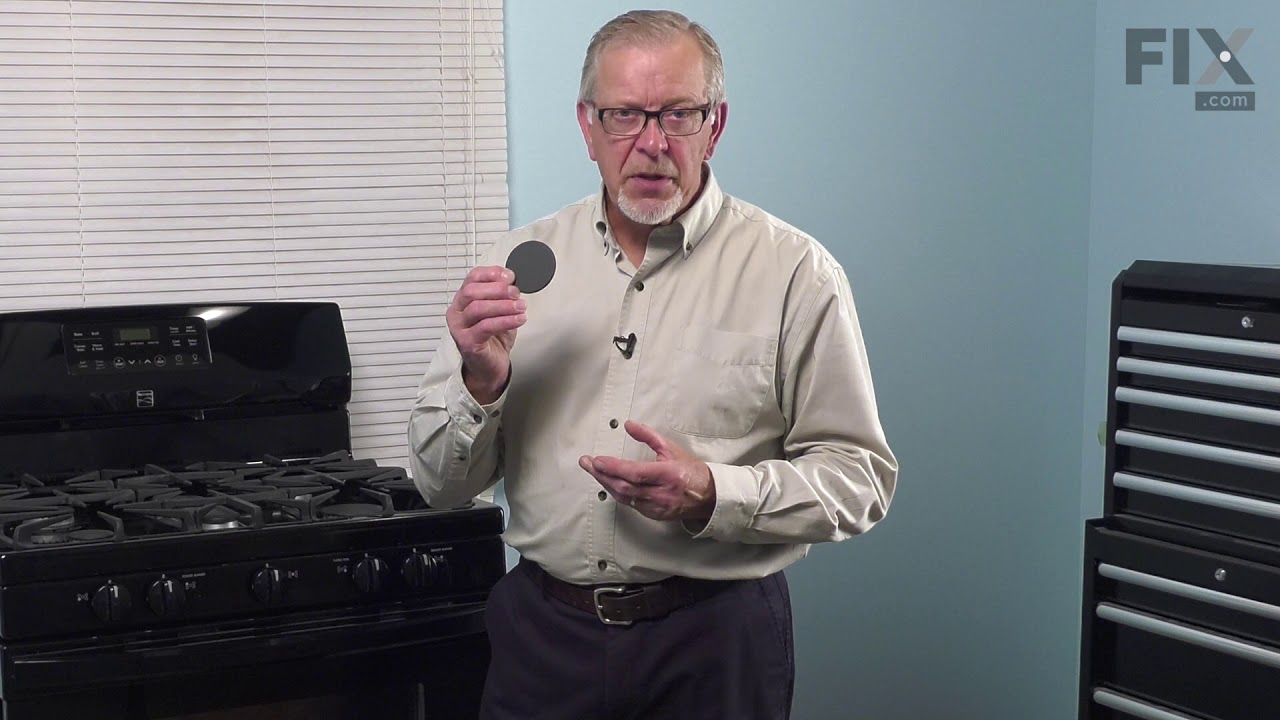
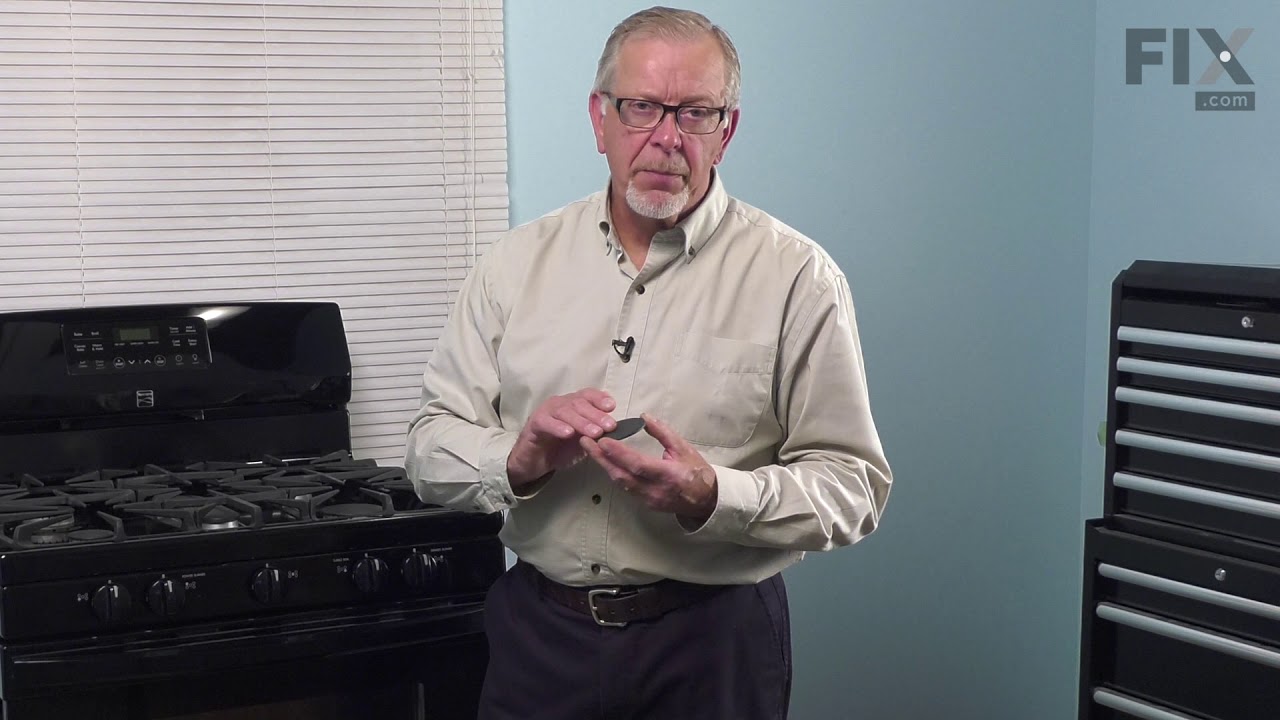
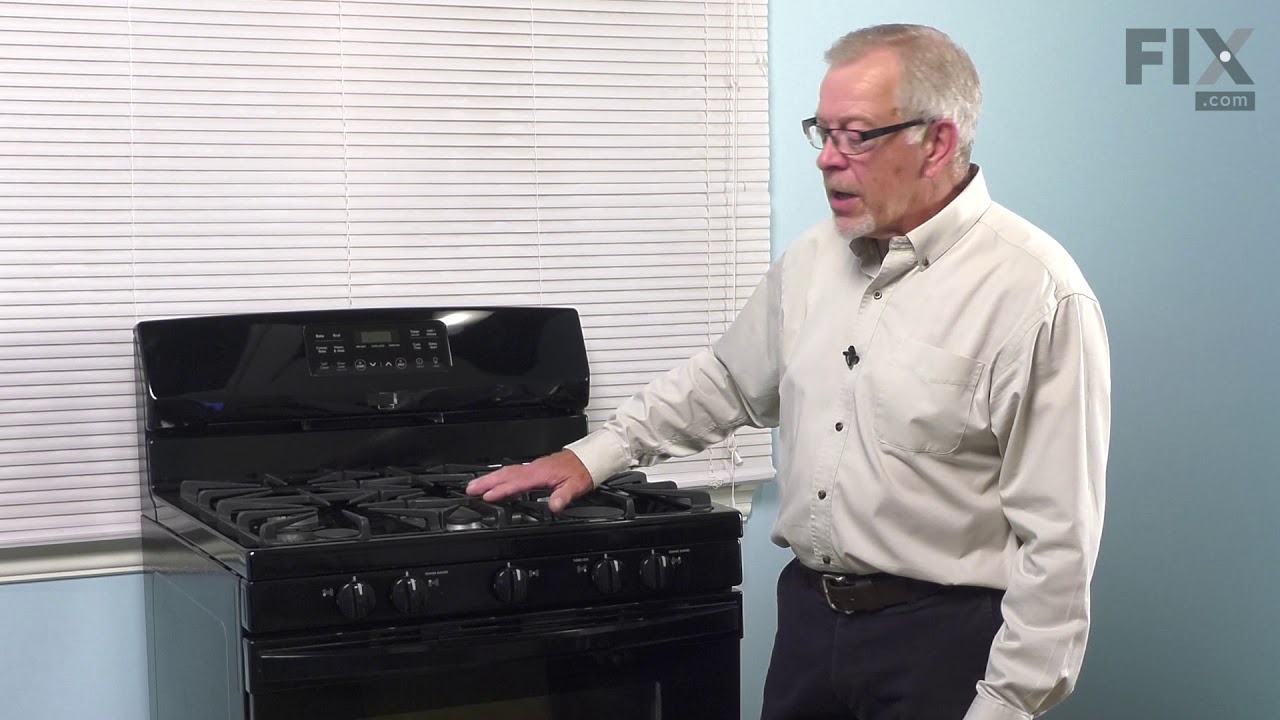

See how others fixed this model. Time, tools, difficulty, and steps that lead to victory!
View More
Search repair tips from other customers using simple keywords like "replace", "fit", "remove", "inspect". DIY doesn't mean you have to do it alone!
Search filter:
Clear Filter
Your search term must have 3 or more characters.
The range at a round burner and the wife wanted an oblong one
2 of 2 people
found this instruction helpful.
Removed 2 3/16 bolts and burner, set the oblong burner over the orifice and we were all done
Other Parts Used:


Was this helpful?
Thank you for voting!