


 My Orders




79061130102 Kenmore Range - Overview
Diagrams for 79061130102
See every part. Know exactly what you need.

Enter a part description. DIY Heroes keep it simple, eg. "belt" or "pump".
Search filter:
Clear Filter
Your search term must have 3 or more characters.

$14.25
In Stock
Drip Bowl - 8"
Part #316048413
This chrome drip bowl is designed for use with electric cooktops and ranges. This drip bowl is sold individually. At the widest point this part has a diameter of approximately 10 inches. It sits beneath the surface burner element. It catches any drips or spills coming from the cookware on your burner. Because the cooktop is a high-traffic...Read more area of the kitchen, these bowls often get damaged, or get so dirty they can no longer be adequately cleaned. When replacing this part you need to remove the burner element. While you have it out we recommend inspecting the terminals and the element for any corrosion, arcing, or discoloration. Any of those things could be a sign of a bigger problem, and it indicates that the element and terminal block should be replaced.
Read less

$9.14
In Stock
Rear Drawer Glide
Part #3051163
If you are having trouble opening your drawer easily or it has been damaged/broken, replacing the rear drawer glide could be the solution. The glide attaches to the rear of the oven drawer and supports the sides of the drawer. This allows the drawer to slide in and out of range without difficulty. Only one tool is needed for this repair, ...Read morea flat blade screw driver. Make sure to unplug the oven and wear gloves before repair to protect hands in case range is not cooled before repairing. This an OEM part sourced directly from the manufacturer.
Read less

$15.20
In Stock
Terminal Block Kit
Part #5303935058
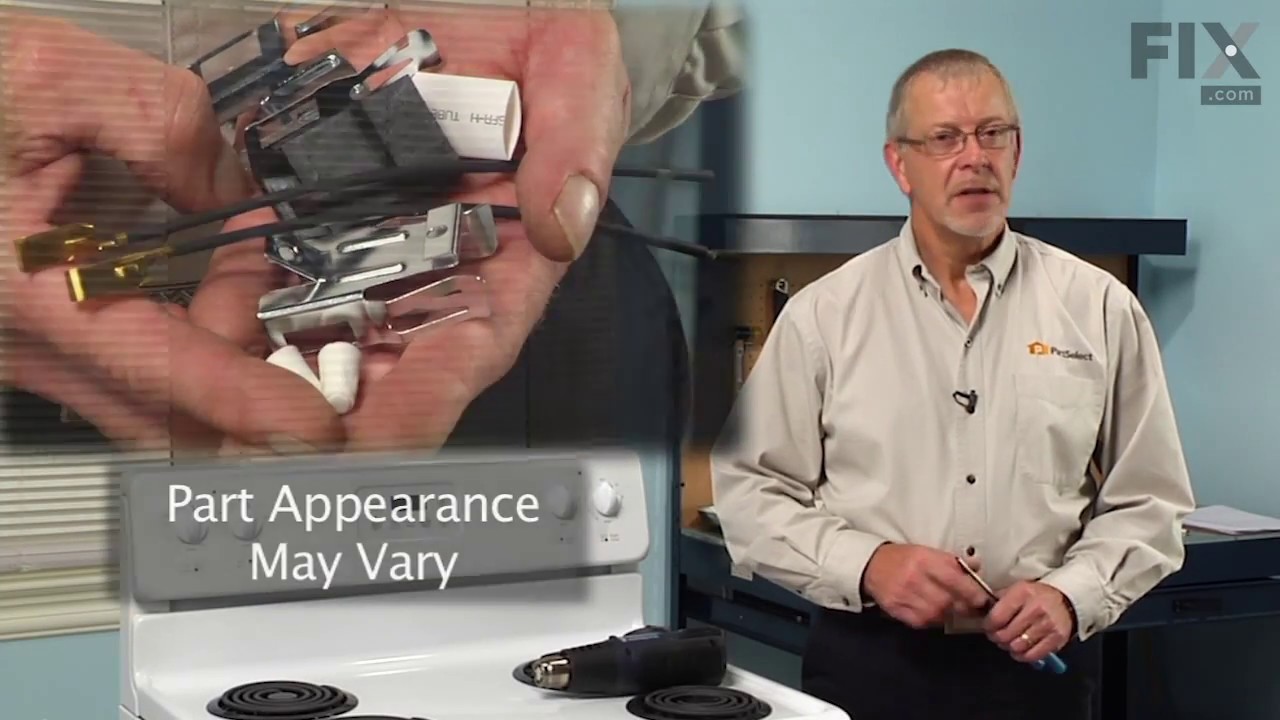
This part connects the wire harness to the surface element and is used for ranges. The kit includes interchangeable mounting brackets, ceramic wire nuts, heat shrink protective tubing, and wires. If your range/oven is having symptoms such as burner not heating, heating elements not working, burning smell, or if the oven is making a buzzin...Read moreg noise then this could be the solution. The tools needed to replace the kit are wire strippers, a heat gun or hair dryer, and #1 square heard screw driver. Refer to the installation/instructional video for further guidance to accurately replace the element.
Read less

$62.84
In Stock
Surface Element - 8 Inch - 2600W
Part #316442301
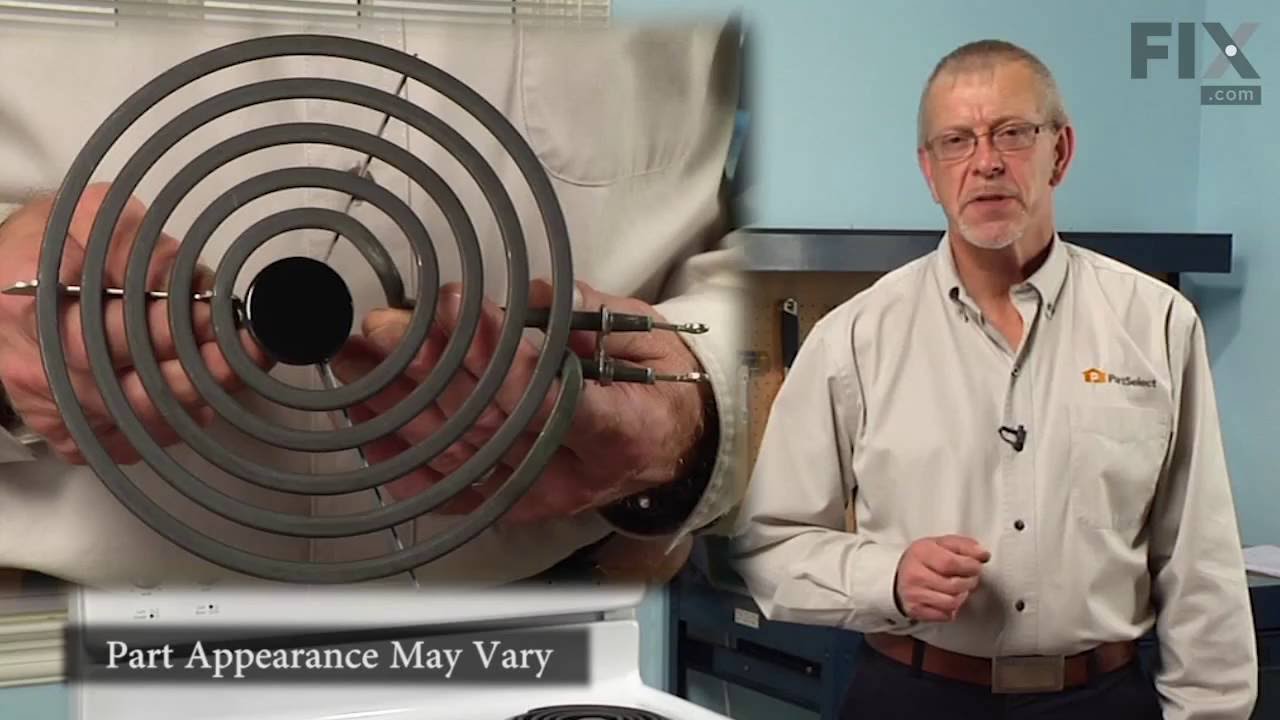
The range surface element provides heat to the cooking surface on top of the range. The element has a universal plug, is 8 inches in diameter, spans 5 coils in width and reaches 2600 watts. Before you begin your repair, ensure that the elements are turned off and have had time to cool. Once you have removed the element this is a good time...Read more to ensure the terminal is in good condition (they can wear over time) which may need to be replaced as well. This quick repair requires no tools except gloves for safety, and a small amount of time.
Read less

$20.63
In Stock
6" FM CHROME DRIP B
Part #L304430992
This six-inch drip bowl or drip pan is found underneath the small surface element on your cooktop or range. A similar eight-inch drip bowl also exists, so be sure to check which size you need. The drip bowl is designed to catch any spills when cooking on your range. If your old drip bowl is stained or rusted, you may need to replace it. The drip bowl is easy to repair, it should simply fit into place.

$57.70
In Stock
6-Inch Coil Burner Element
Part #318372211
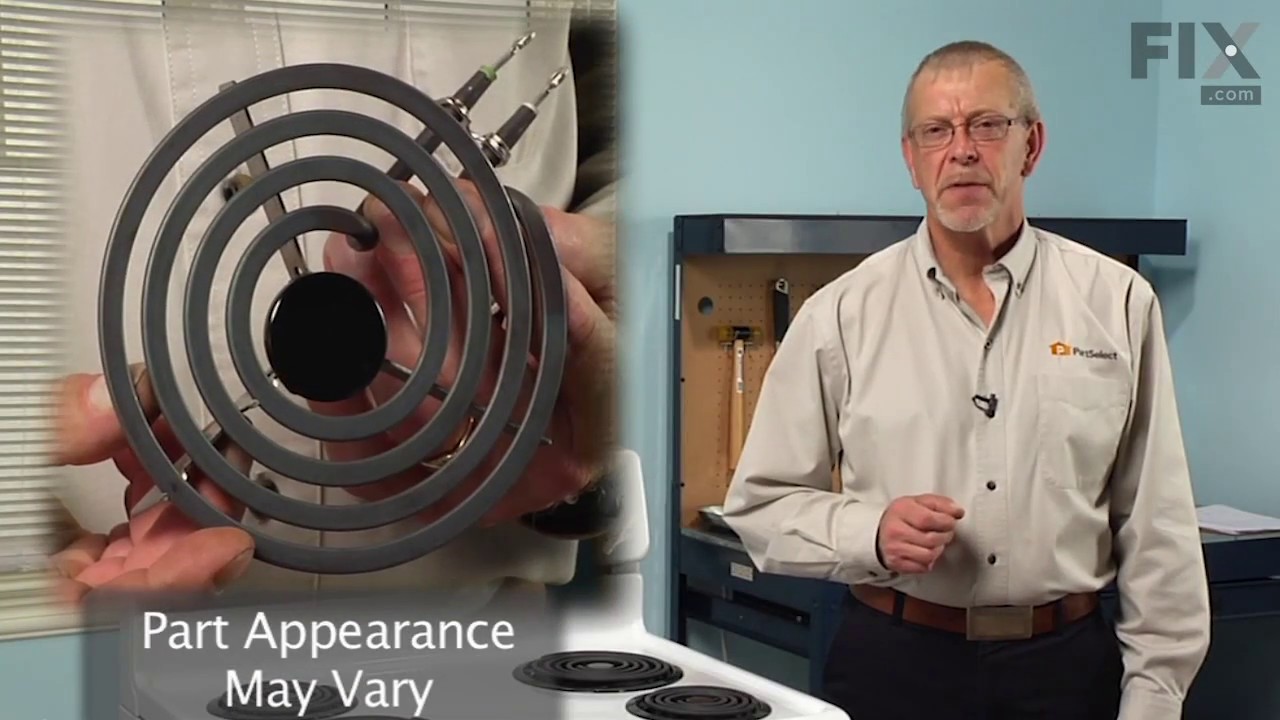
This element is a genuine OEM replacement part, has looped terminal ends, comes with a black medallion center, and fits most electric ranges. All burners are made of a heating wire that produces heat from electricity. Remove the non-functional burner element from the terminal block (or receptacle). Use a multi-meter to check for continuit...Read morey. Check the end of the terminals for corrosion or heat damage. If there is corrosion or heat damage, replace the whole terminal block or receptacle at the same time you replace the damaged coil. Before you start this repair, make sure that the element is turned off and cool to the touch.
Read less

$23.05
In Stock
Steel Washer
Part #316008401
This steel washer is also known as the range washer and is used on your oven door. The measurements for the steel washer are a three quarter inch outer diameter, and a one quarter inch inner diameter. This washer is an OEM part, made of steel, which is sourced directly from the manufacturer. This specific steel washer is used with your ra...Read morenge, to secure the inner and outer door together and to secure the oven door handle back in place. Users have ranked this repair as a simple installation that should take you less than fifteen minutes to complete.
Read less

$108.74
In Stock
Oven Door Seal with Clips
Part #316239700
This oven door gasket is designed to form a secure seal around the perimeter of the oven door, helping to retain heat during cooking and improve energy efficiency. By preventing heat from escaping, it ensures consistent temperatures inside the oven for better cooking performance. The gasket is typically located along the inner edge of the...Read more oven door and can be replaced easily by removing the old seal and pressing the new one into place along the designated groove. Regular inspection is recommended, as a worn or damaged gasket can lead to uneven cooking and increased energy use.
Read less

No Longer Available
Broiler Pan Grate Insert
Part #5304494997
This OEM broiler pan and grate insert are cooking accessories used in your oven to broil food. The pan catches drippings and prevents them from falling into the appliance, while the grate insert ensures the food is cooked evenly. You can usually find them at the bottom of your appliance. If your broiler pan and grate insert are broken, yo...Read moreur food may not cook evenly and the drippings may fall into your appliance. Additionally, it can be difficult to clean a damaged pan or grate. These authentic accessories come together when you purchase them, ensuring that you can enjoy evenly-cooked food without any mess.
Read less

$26.35
In Stock

No Longer Available
HANDLE
Part #316545300
his oven door handle is for ranges.
Wear work gloves to protect your hands when installing this part.

$8.60
In Stock
Screw
Part #5303288565
This is an authentic mounting screw, which works with ranges, wall ovens, cooktops and warming drawers.
Manuals & Care Guides for 79061130102
Click to downloadCommon Symptoms of the 79061130102
How this model fails, and the parts that fix it.
Element will not heat
Fixed by
these parts
these parts


Show All
Door won’t close
Fixed by
these parts
these parts

Show All
Will Not Start
Fixed by
these parts
these parts
Show All
Oven not heating evenly
Fixed by
these parts
these parts
Show All
Watch our pros, then fix it yourself.
See how others fixed this model. Time, tools, difficulty, and steps that lead to victory!
View More
Search repair tips from other customers using simple keywords like "replace", "fit", "remove", "inspect". DIY doesn't mean you have to do it alone!
Search filter:
Clear Filter
Your search term must have 3 or more characters.
burner shorted out
61 of 75 people
found this instruction helpful.
I followed the directions by clipping wires to old burner socket, splicing the wires to new terminal block, screwing down new "block bracket," and plugging in new burner.
Other Parts Used:
Was this helpful?
Thank you for voting!