


 My Orders




79045662102 Kenmore Range - Overview
Diagrams for 79045662102
See every part. Know exactly what you need.

Enter a part description. DIY Heroes keep it simple, eg. "belt" or "pump".
Search filter:
Clear Filter
Your search term must have 3 or more characters.

$14.25
In Stock
Drip Bowl - 8"
Part #316048413
This chrome drip bowl is designed for use with electric cooktops and ranges. This drip bowl is sold individually. At the widest point this part has a diameter of approximately 10 inches. It sits beneath the surface burner element. It catches any drips or spills coming from the cookware on your burner. Because the cooktop is a high-traffic...Read more area of the kitchen, these bowls often get damaged, or get so dirty they can no longer be adequately cleaned. When replacing this part you need to remove the burner element. While you have it out we recommend inspecting the terminals and the element for any corrosion, arcing, or discoloration. Any of those things could be a sign of a bigger problem, and it indicates that the element and terminal block should be replaced.
Read less

$15.20
In Stock
Terminal Block Kit
Part #5303935058
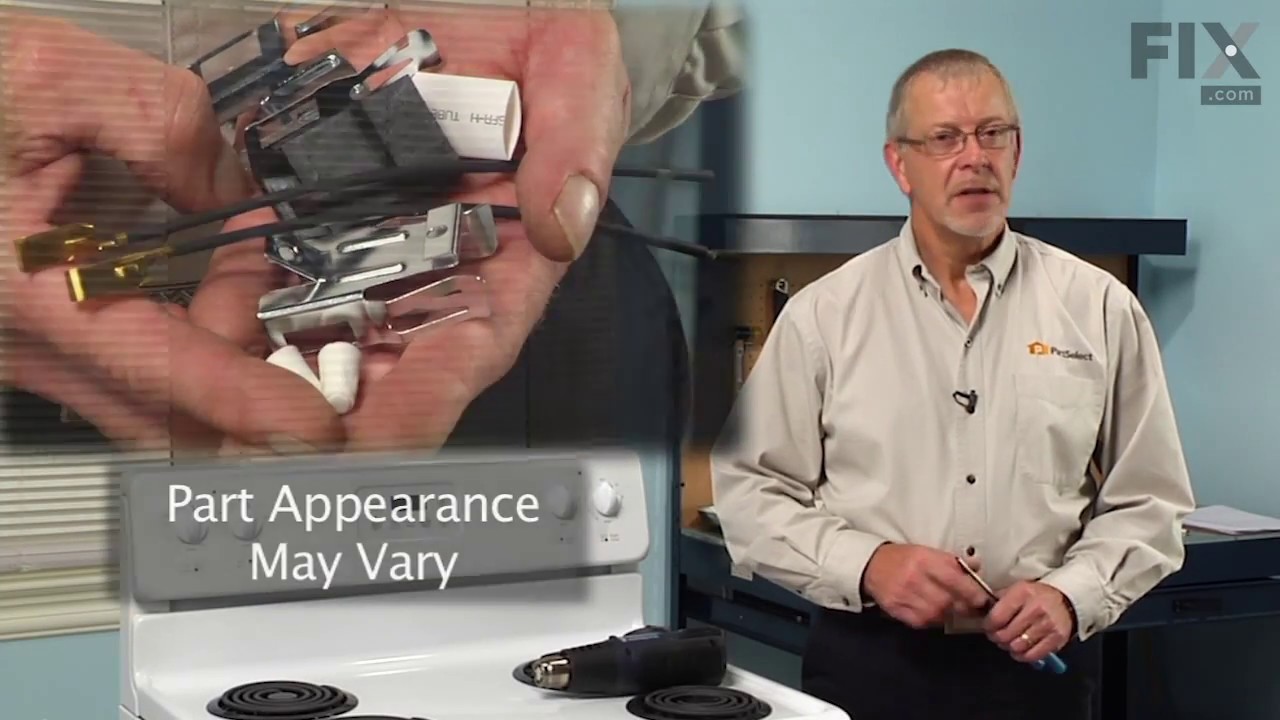
This part connects the wire harness to the surface element and is used for ranges. The kit includes interchangeable mounting brackets, ceramic wire nuts, heat shrink protective tubing, and wires. If your range/oven is having symptoms such as burner not heating, heating elements not working, burning smell, or if the oven is making a buzzin...Read moreg noise then this could be the solution. The tools needed to replace the kit are wire strippers, a heat gun or hair dryer, and #1 square heard screw driver. Refer to the installation/instructional video for further guidance to accurately replace the element.
Read less

$57.70
In Stock
6-Inch Coil Burner Element
Part #318372211
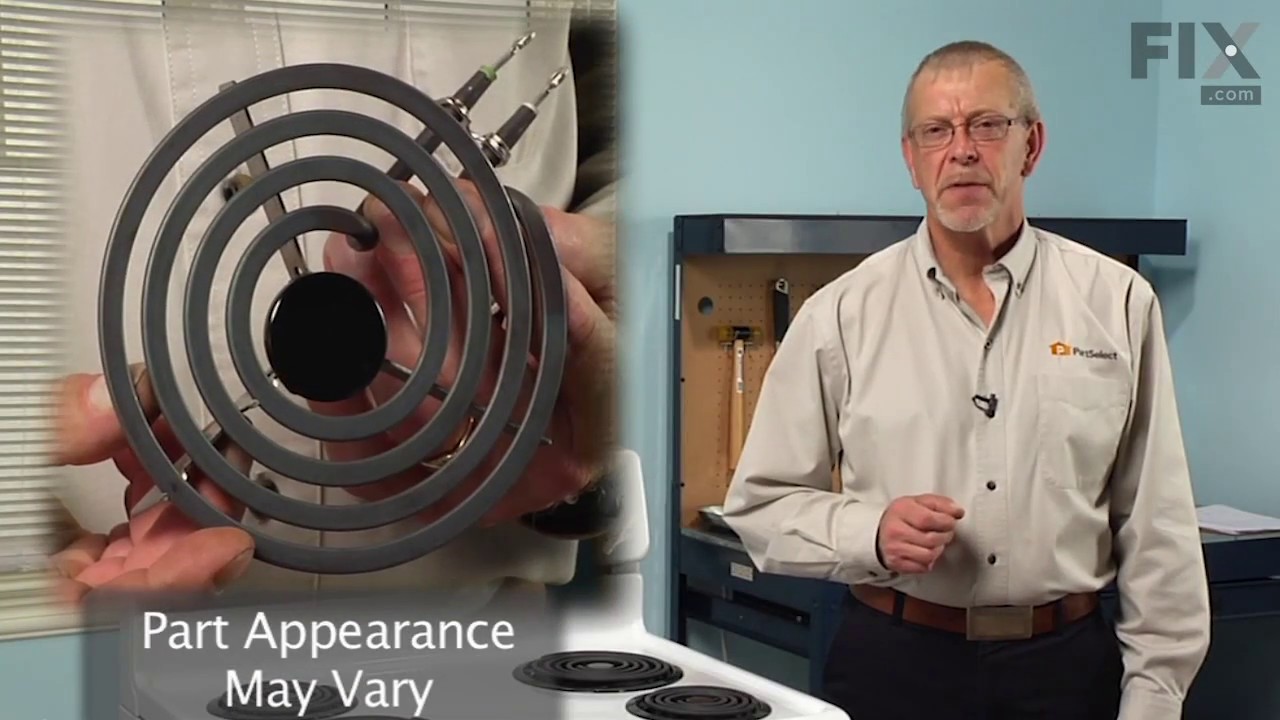
This element is a genuine OEM replacement part, has looped terminal ends, comes with a black medallion center, and fits most electric ranges. All burners are made of a heating wire that produces heat from electricity. Remove the non-functional burner element from the terminal block (or receptacle). Use a multi-meter to check for continuit...Read morey. Check the end of the terminals for corrosion or heat damage. If there is corrosion or heat damage, replace the whole terminal block or receptacle at the same time you replace the damaged coil. Before you start this repair, make sure that the element is turned off and cool to the touch.
Read less

$27.45
On Order
Light Bulb
Part #316538904
This OEM 40 watt appliance light bulb is used for some ranges, refrigerators, freezers, and microwaves. Simply locate the existing bulb, unscrew it from its socket, and replace with new light bulb. If the existing bulb is broken in the socket, disconnect the power to the refrigerator and use a pair of needle nose pliers to grip the intern...Read moreal fragments of the bulb to unscrew. Replace with the new bulb and reconnect the power to the refrigerator. These bulbs are sold individually and are a commonly replaced part; consider ordering a spare.
Read less

$62.65
In Stock
Temperature Sensor
Part #316217002
The oven temperature sensor for your range may also be called a probe. The quick connect on this part may differ than your original piece. If the temperature sensor does not fit you will have to cut off the quick connect, and then wire together with porcelain wire nuts. The function of the oven temperature sensor is to measure the tempera...Read moreture in the oven and signal the other heating components. Before you begin this repair make sure to disconnect the power to the range. The tools required for this installation include a number two Phillips screwdriver or a number two square head screwdriver, and maybe a pair of wire strippers and crimpers.
Read less

$26.37
In Stock
LENS
Part #5304524341
The Frigidaire light bulb lens covers the interior light bulb in an oven. No tools are necessary to replace this item. After unplugging the appliance, slide off the wire bracket to remove the existing light bulb lens. Be sure to remove all broken glass, if applicable, before installing the new lens. It is recommended to check the state of...Read more the light bulb while the lens is off. This part is made of glass. The lens is a genuine Frigidaire part, sourced directly from the manufacturer, and is sold individually.
Read less

$145.15
In Stock
Broil Element
Part #318255605
This broil element is found on the roof of the oven and heats food. The most common reasons you would need to replace this part is due to the oven not giving off enough heat, not turning on, or not baking your food at an even temperature. This could be due to the element being burnt out or broken. Make sure to unplug the oven before you b...Read moreegin. You will need to remove the oven from the wall to complete this repair. This is an OEM part that comes right from the manufacturer, ensuring the best quality.
Read less

$105.24
In Stock
Door Handle
Part #316270201
As per the manufacturer this handle no longer comes with the insert for the screw. You will need to order new screws.

$80.25
In Stock
Surface Burner Switch
Part #318293827
This surface element infinite switch is designed to control the temperature of a large burner on electric ranges, cooktops, and wall ovens. It regulates the power supply to the heating element, allowing precise adjustment of heat levels for cooking. Built for reliability, this switch is intended for an 8-inch surface element and ensures c...Read moreonsistent performance. Installation typically involves disconnecting power, accessing the control panel, and securing the new switch in place. Replacing a faulty switch restores accurate temperature control and safe operation.
Read less

$63.59
In Stock
Oven Light Socket
Part #316116400
The oven light socket allows you to screw in a light bulb so that you can see the inside of your oven. The light socket is located in the back of your oven, so you will need to remove the back panel to access the socket for the repair. You will also need to remove the current light bulb and the light lens cover so that the old socket can ...Read morebe removed. As you will be working around electrical circuits for this repair, be sure to disconnect the power source from the oven before you begin work on the oven.
Read less

$26.35
In Stock

$53.85
On Order
Door Switch
Part #318394803
The door lock switch, or simply door switch, is used in ranges and ovens. The switch activates signals to the oven control board about the state of the door lock. If the light in the oven is not turning on or off, or the self-cleaning option is not working, it is best to replace the switch to solve your issues. The tools needed for this i...Read morenstallation project are a flat-head screwdriver, Phillips-head screwdriver, and pliers. To repair, first remove the screws from upper rear access panel, then open oven door to disconnect the door switch wire connecter. Next, remove switch assembly through the access hole and unhook the old hook from the actuator rod. Now you can install the new switch by hooking it on to the rod and back into place. Refer to the manual provided by the manufacturer for further installation instructions and guidance.
Read less
Common Symptoms of the 79045662102
How this model fails, and the parts that fix it.
Element will not heat
Fixed by
these parts
these parts


Show All
Little to no heat when baking
Fixed by
these parts
these parts

Show All
Oven is too hot
Fixed by
these parts
these parts
Show All
Oven not heating evenly
Fixed by
these parts
these parts
Show All
Will Not Start
Fixed by
these parts
these parts

Show All
Little to no heat when broiling
Fixed by
these parts
these parts
Show All
Door won’t open after self cleaning cycle
Fixed by
these parts
these parts

Show All
Door won’t close
Fixed by
these parts
these parts


Show All
Watch our pros, then fix it yourself.


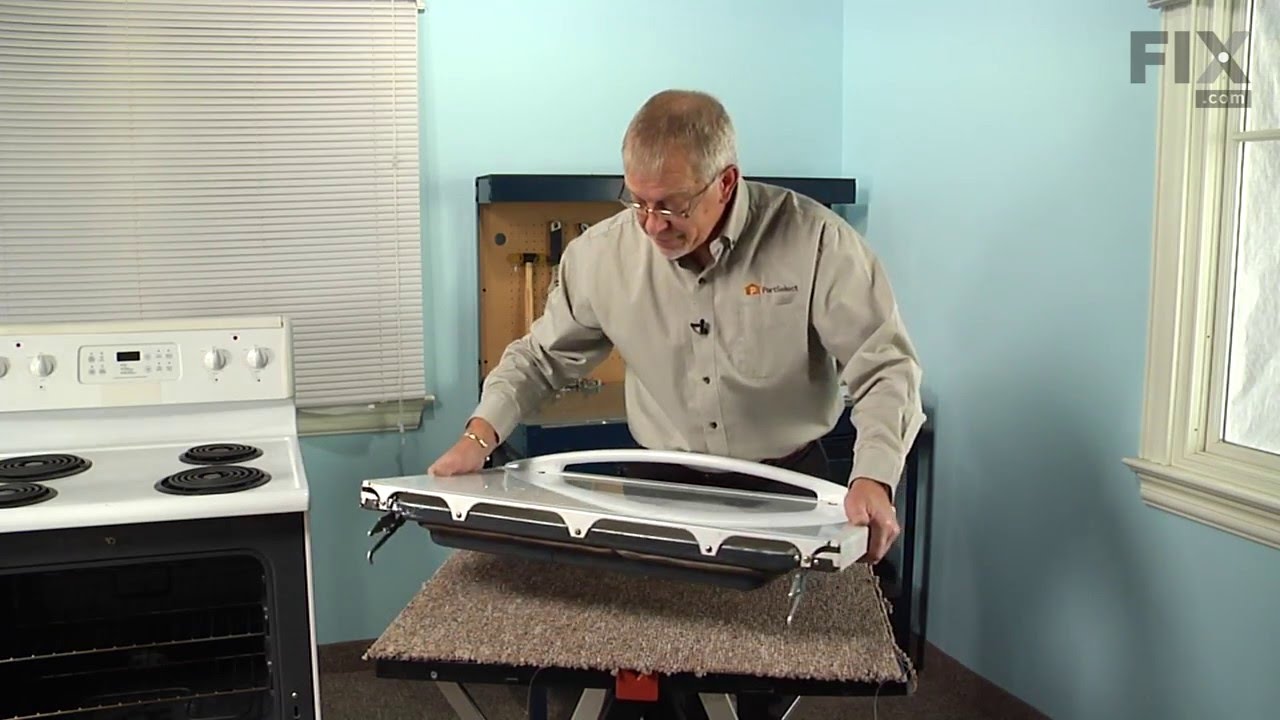
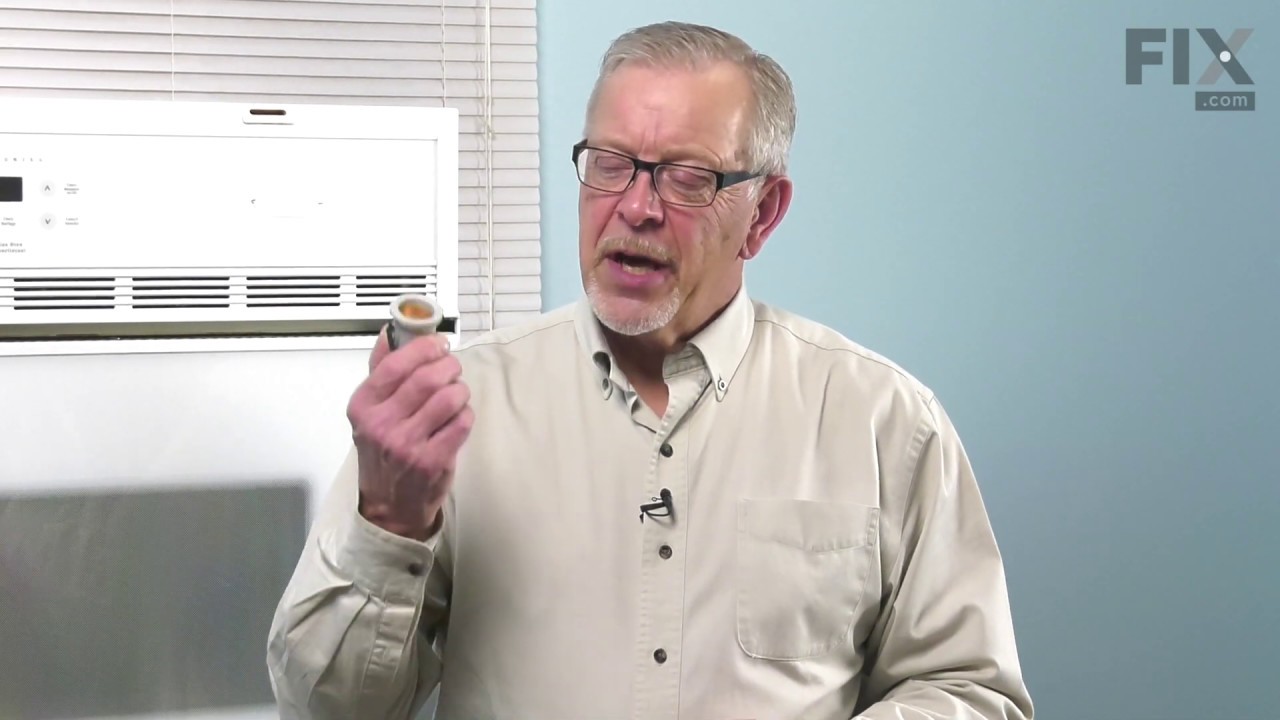
See how others fixed this model. Time, tools, difficulty, and steps that lead to victory!
View More