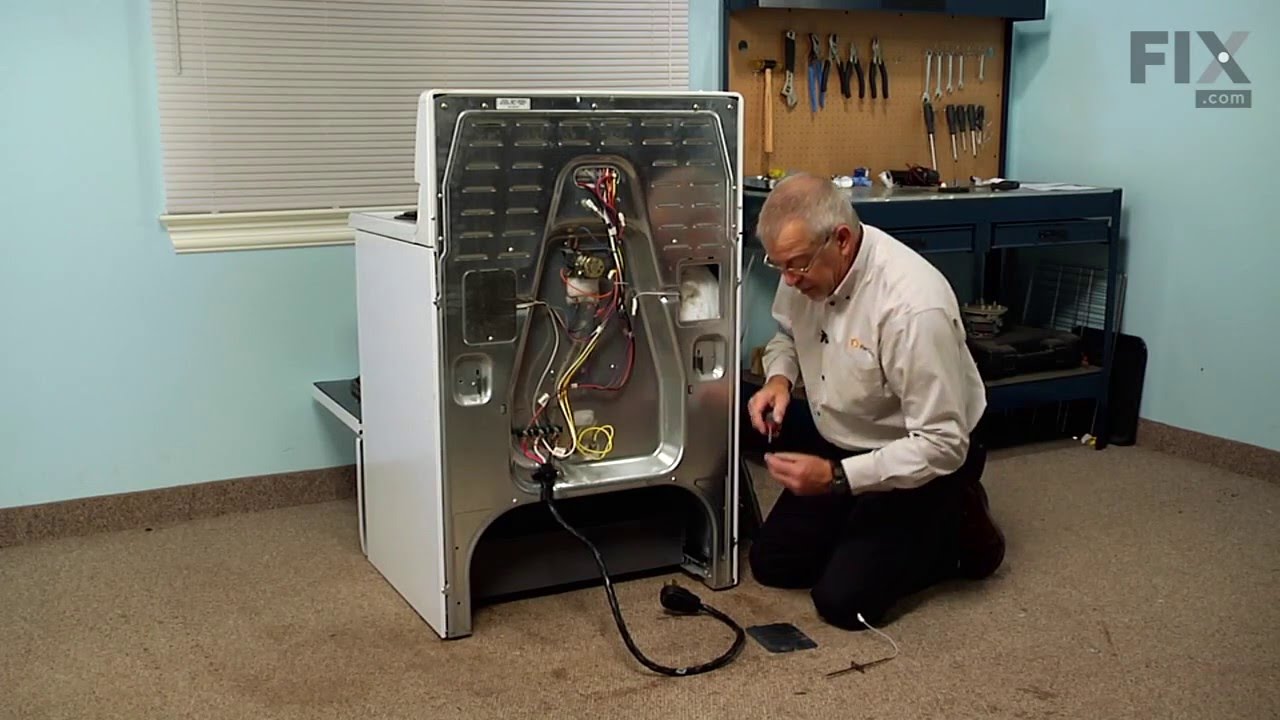
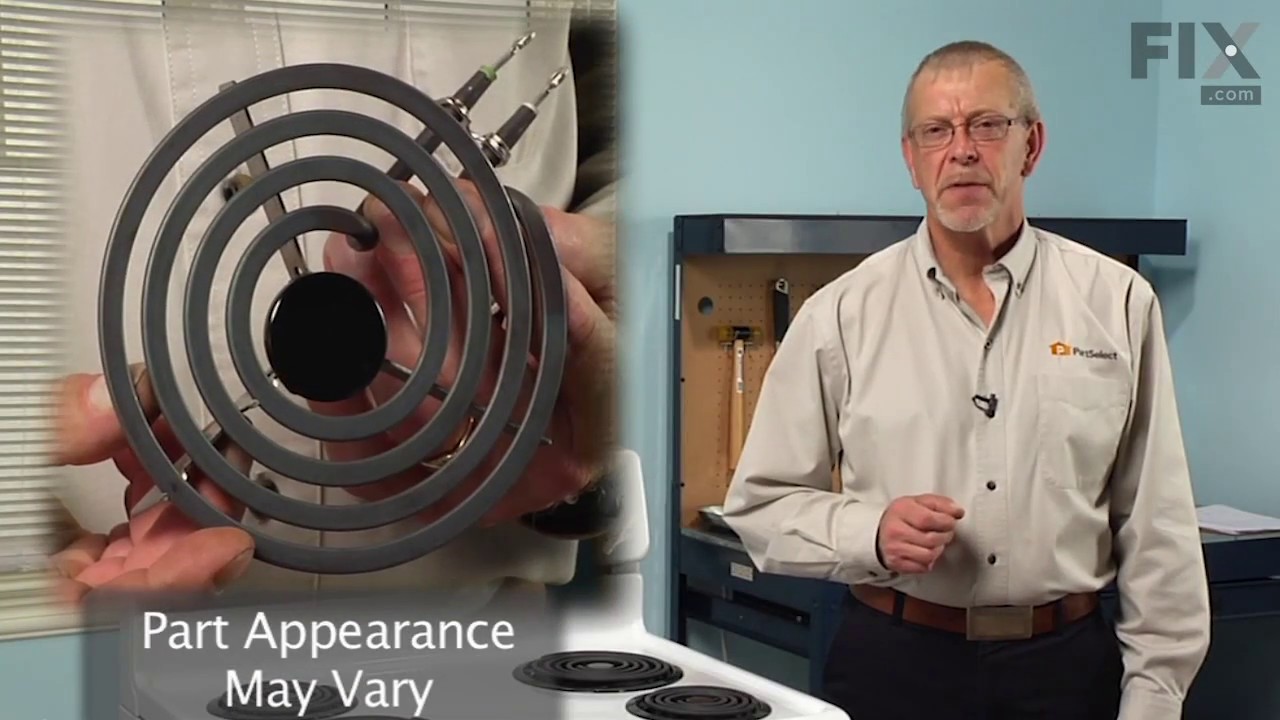
This element is a genuine OEM replacement part, has looped terminal ends, comes with a black medallion center, and fits most electric ranges. All burners are made of a heating wire that produces heat from electricity. Remove the non-functional burner element from the terminal block (or receptacle). Use a multi-meter to check for continuit...Read morey. Check the end of the terminals for corrosion or heat damage. If there is corrosion or heat damage, replace the whole terminal block or receptacle at the same time you replace the damaged coil. Before you start this repair, make sure that the element is turned off and cool to the touch.
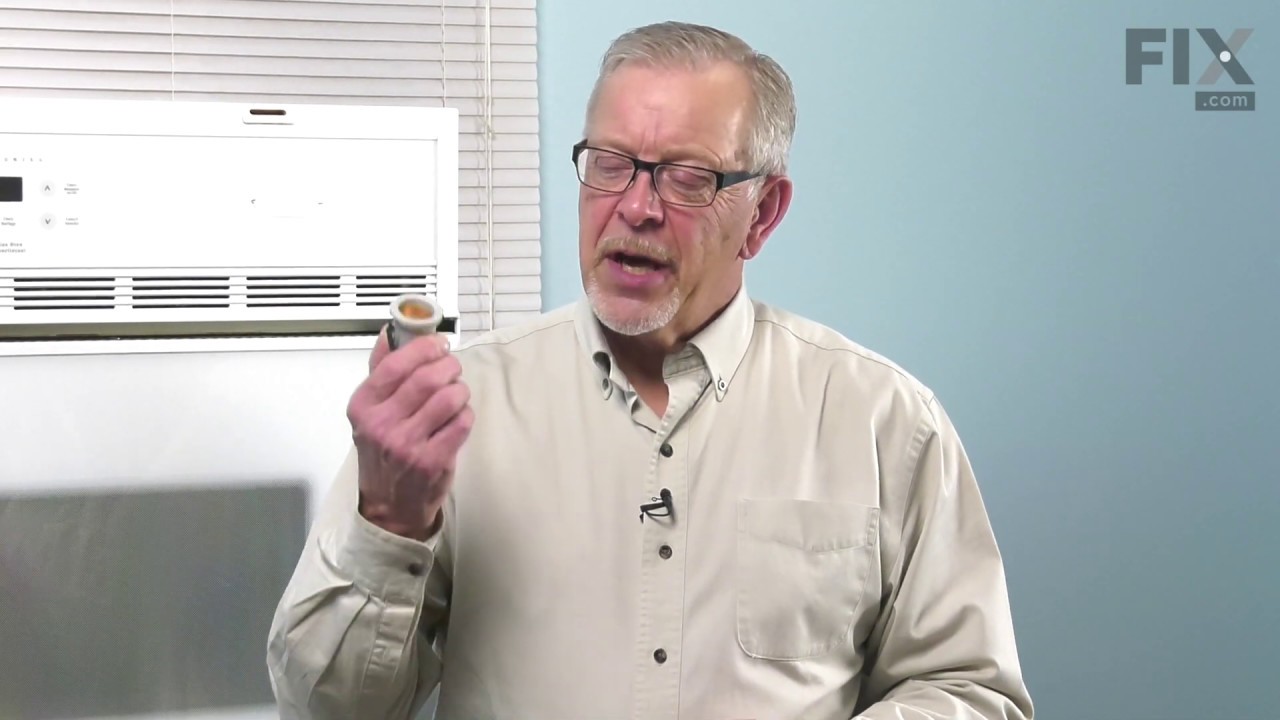
This OEM 40 watt appliance light bulb is used for some ranges, refrigerators, freezers, and microwaves. Simply locate the existing bulb, unscrew it from its socket, and replace with new light bulb. If the existing bulb is broken in the socket, disconnect the power to the refrigerator and use a pair of needle nose pliers to grip the intern...Read moreal fragments of the bulb to unscrew. Replace with the new bulb and reconnect the power to the refrigerator. These bulbs are sold individually and are a commonly replaced part; consider ordering a spare.
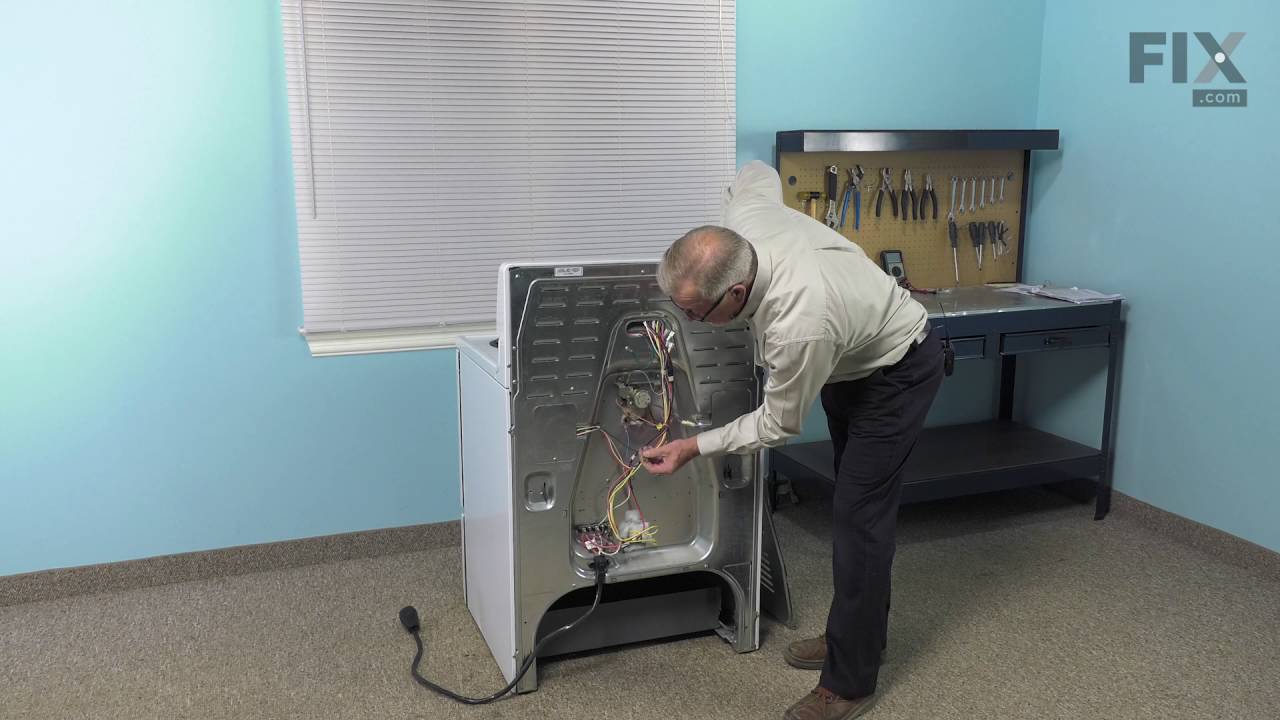
The oven temperature sensor for your range may also be called a probe. The quick connect on this part may differ than your original piece. If the temperature sensor does not fit you will have to cut off the quick connect, and then wire together with porcelain wire nuts. The function of the oven temperature sensor is to measure the tempera...Read moreture in the oven and signal the other heating components. Before you begin this repair make sure to disconnect the power to the range. The tools required for this installation include a number two Phillips screwdriver or a number two square head screwdriver, and maybe a pair of wire strippers and crimpers.
The Frigidaire light bulb lens covers the interior light bulb in an oven. No tools are necessary to replace this item. After unplugging the appliance, slide off the wire bracket to remove the existing light bulb lens. Be sure to remove all broken glass, if applicable, before installing the new lens. It is recommended to check the state of...Read more the light bulb while the lens is off. This part is made of glass. The lens is a genuine Frigidaire part, sourced directly from the manufacturer, and is sold individually.
This tempered glass is supplied by the original manufacturer and measures 20 inches by 13 inches. It is an inner door glass, designed for use in ranges/ovens and has several purposes which include providing heat insulation, acting as protective barrier, and providing an opening to monitor the cooking/heating process. Over time the glass c...Read morean break or break from impact, thermal shock, or improper installation. If the glass is defective, it needs to be replaced promptly to avoid leaking, loss of insulation and potential harm to the user. Remove any fasteners or clips that secure the glass and carefully dispose of it. Position the new glass in the same position and secure it appropriately.
This broil element is found on the roof of the oven and heats food. The most common reasons you would need to replace this part is due to the oven not giving off enough heat, not turning on, or not baking your food at an even temperature. This could be due to the element being burnt out or broken. Make sure to unplug the oven before you b...Read moreegin. You will need to remove the oven from the wall to complete this repair. This is an OEM part that comes right from the manufacturer, ensuring the best quality.
This is a 240-volt surface burner infinite switch for a range or oven. It is for an 8-inch element. This part turns your surface element on and off, and regulates the desired heat of your element. The switch is made of off-white plastic and metal.
This is a surface burner infinite switch kit for your range or oven. This replacement part activates and deactivates your burner, and controls the burner heat. If you are not getting any heat to your burner or it is not the right temperature, you may need to replace this part. It is about 2.75 inches wide and 1.5 inches tall.
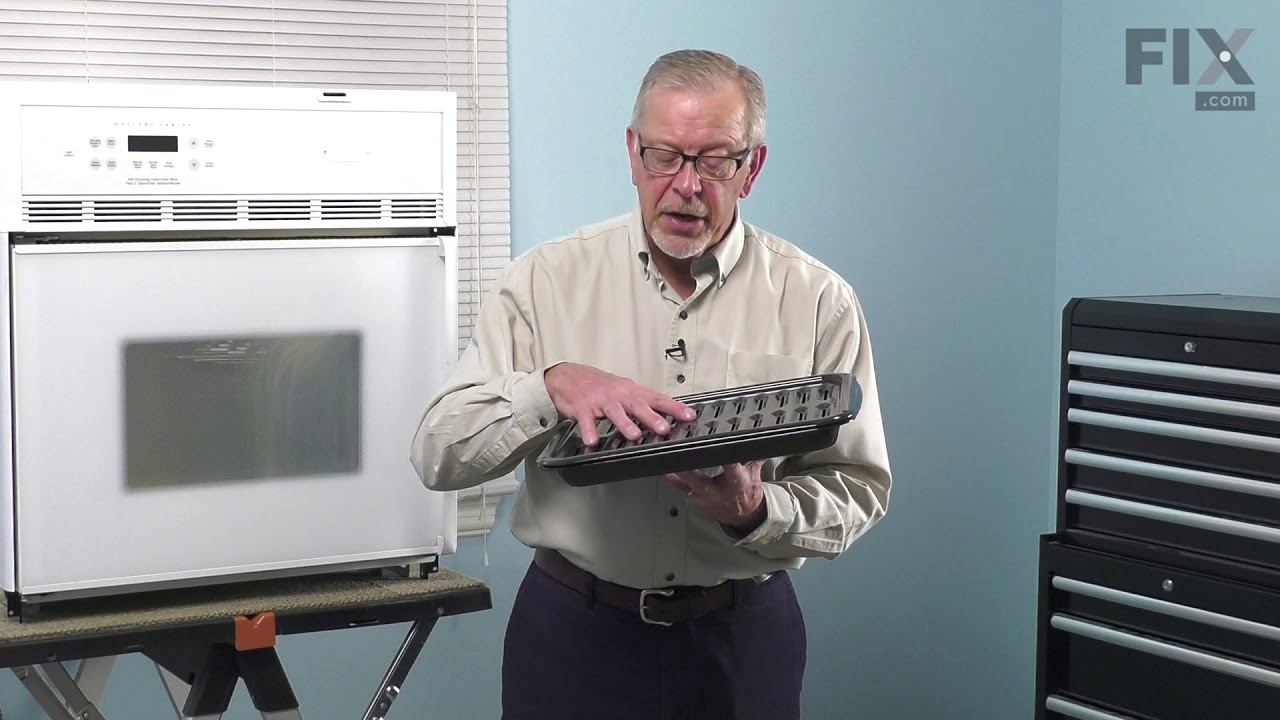
This OEM broiler pan and grate insert are cooking accessories used in your oven to broil food. The pan catches drippings and prevents them from falling into the appliance, while the grate insert ensures the food is cooked evenly. You can usually find them at the bottom of your appliance. If your broiler pan and grate insert are broken, yo...Read moreur food may not cook evenly and the drippings may fall into your appliance. Additionally, it can be difficult to clean a damaged pan or grate. These authentic accessories come together when you purchase them, ensuring that you can enjoy evenly-cooked food without any mess.
The oven light socket allows you to screw in a light bulb so that you can see the inside of your oven. The light socket is located in the back of your oven, so you will need to remove the back panel to access the socket for the repair. You will also need to remove the current light bulb and the light lens cover so that the old socket can ...Read morebe removed. As you will be working around electrical circuits for this repair, be sure to disconnect the power source from the oven before you begin work on the oven.
See how others fixed this model. Time, tools, difficulty, and steps that lead to victory!View More
Search repair tips from other customers using simple keywords like "replace", "fit", "remove", "inspect". DIY doesn't mean you have to do it alone!
Search filter:
Clear Filter
Your search term must have 3 or more characters.
Oven not heating to desired temperature
155 of 244 peoplefound this instruction helpful.
Dan from Bellevue, ID
Easy
15 - 30 mins
Screw drivers
Replaced clock control by removing surface burner control knobs and plastic nuts, and then the cover over the oven control. Two screw hold the clock in place, after removal and disconnecting the plug-in you can reinstall the new clock control. The Heat Sensor inside the oven will also need to be replaced. It is located inside the oven
... Read moreand attached with two screws; the back of the oven will need to be removed to unplug. Reverse removal procedure and turn the power back on to the stove.
Read less
Was this helpful?
Thank you for voting!
Broil element wasn't working...
93 of 132 peoplefound this instruction helpful.
Kevin from Alexandria, VA
Really Easy
Less than 15 mins
Screw drivers
I pulled my unit out of the wall and noticed that the insulation around the top broiler element was a bit brown. Closer inspection revealed that the element had shorted somehow to the oven itself and caused the element to become non-functional. I tried measuring the resistance first, and it was within typical values for the other elemen
... Read morets, but I decided to replace the element anyway.
I ordered from PD and the part arrived just a few days letter by regular shipping. I undid the screws holding in the element, undid the wire connectors and replaced the broken element with the new one. The element worked like a charm and I was back in business for cooking.
Read less
Was this helpful?
Thank you for voting!
Cracked oven door inner glass
76 of 135 peoplefound this instruction helpful.
Mitch from Fernandina Beach, FL
Easy
15 - 30 mins
Screw drivers
Repair was quite easy, as long as you have the instructions for removing the door. The screws that hold the bottom of the door to the fixed hinge are placed into the side of the hinge assembly after removal; this holds the door at a 45 degree angle for easy removal. After that, just place the door on a flat surface and dismantle the door
... Read morefrom the inside. The inner glass is contained in a metal frame with another piece of glass; this frame comes apart easily using the clips in each side. The door assembles easily after the glass is replaced; just take your time and give yourself enough room to lay out the parts as you go. Good luck!



 My Orders