


 My Orders




79044389700 Kenmore Cooktop - Overview

Enter a part description. DIY Heroes keep it simple, eg. "belt" or "pump".
Search filter:
Clear Filter
Your search term must have 3 or more characters.

$40.60
In Stock
Main Terminal Block Kit
Part #5304409888
Terminal block kits are also known as terminal boards, or terminal strips, and they are found in a wide variety of household appliances. Most often in ranges, wall ovens, and dryers. This kit attaches the power cord to the inner wiring of your appliance. If the terminal block is faulty, your appliance will not get the power it needs to op...Read moreerate properly. When removing the old block pay close attention to the wire placement, this will make installing your new part much easier. If you notice any of the wires or wire terminals are corroded or damaged they will also need to be replaced.
Read less

$75.85
In Stock

$196.94
In Stock
Radiant Dual Surface Element - 9inch/12inch
Part #316282101
This dual radiant surface element is designed to deliver flexible heating for your electric range or cooktop, accommodating both small and large cookware with its two heat zones measuring 9 inches and 12 inches in diameter. Built for efficient performance, it provides powerful heat output—up to 3000 watts at 240 volts—ensuring quick and e...Read moreven cooking. Ideal for replacing a worn or damaged element, it helps resolve issues such as uneven heating or a burner that no longer works. Installation requires disconnecting power at the circuit breaker and using appropriate tools; for best results, this task is recommended for an experienced repair person.
Read less

$25.25
In Stock
SCREW
Part #5303300265

$6.40
In Stock
PAD
Part #316459400

$11.77
Special Order
GASKET
Part #318337101

$23.60
Special Order
SCREW
Part #5303323139

$23.05
Special Order
NUT
Part #316205500

$54.24
Special Order
SPRING
Part #318122010

No Longer Available
CLAMP
Part #318367101

$25.25
Special Order

$53.28
Special Order
SPACER
Part #316247900
Manuals & Care Guides for 79044389700
Click to downloadCommon Symptoms of the 79044389700
How this model fails, and the parts that fix it.
Element will not heat
Fixed by
these parts
these parts


Show All
Little to no heat when baking
Fixed by
these parts
these parts
Show All
Will Not Start
Fixed by
these parts
these parts
Show All
Oven not heating evenly
Fixed by
these parts
these parts
Show All
Little to no heat when broiling
Fixed by
these parts
these parts
Show All
Watch our pros, then fix it yourself.
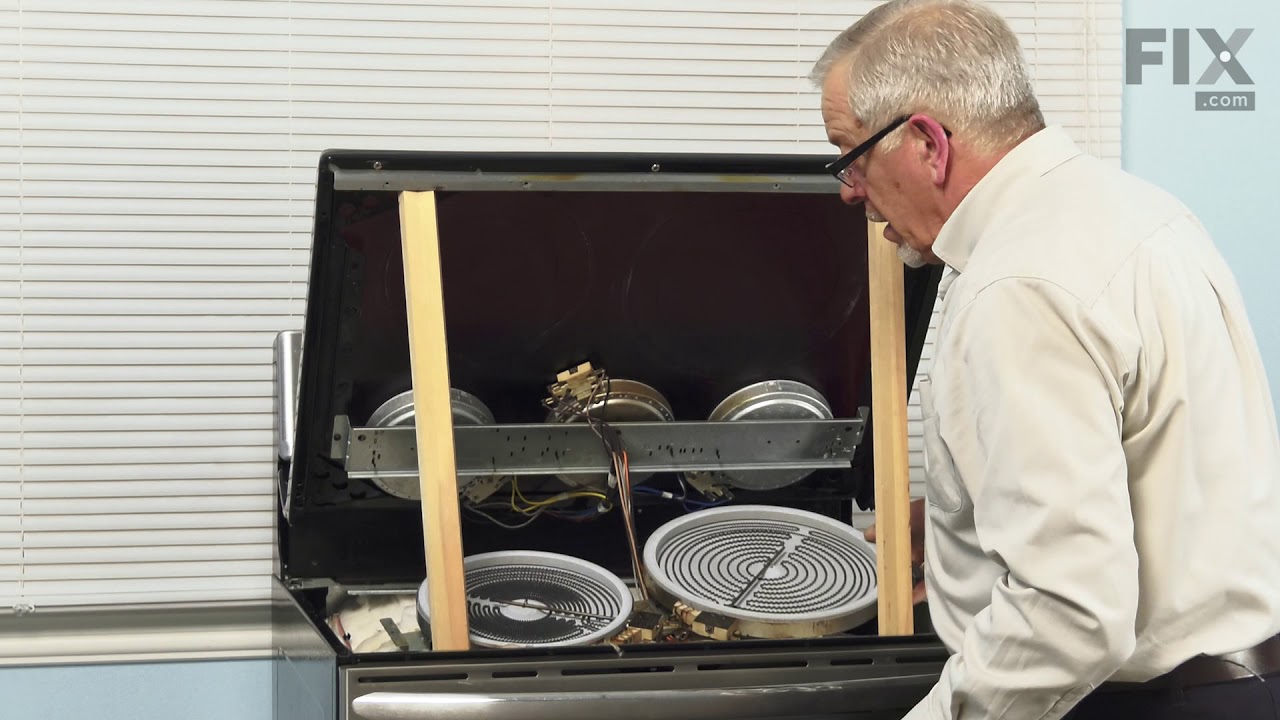
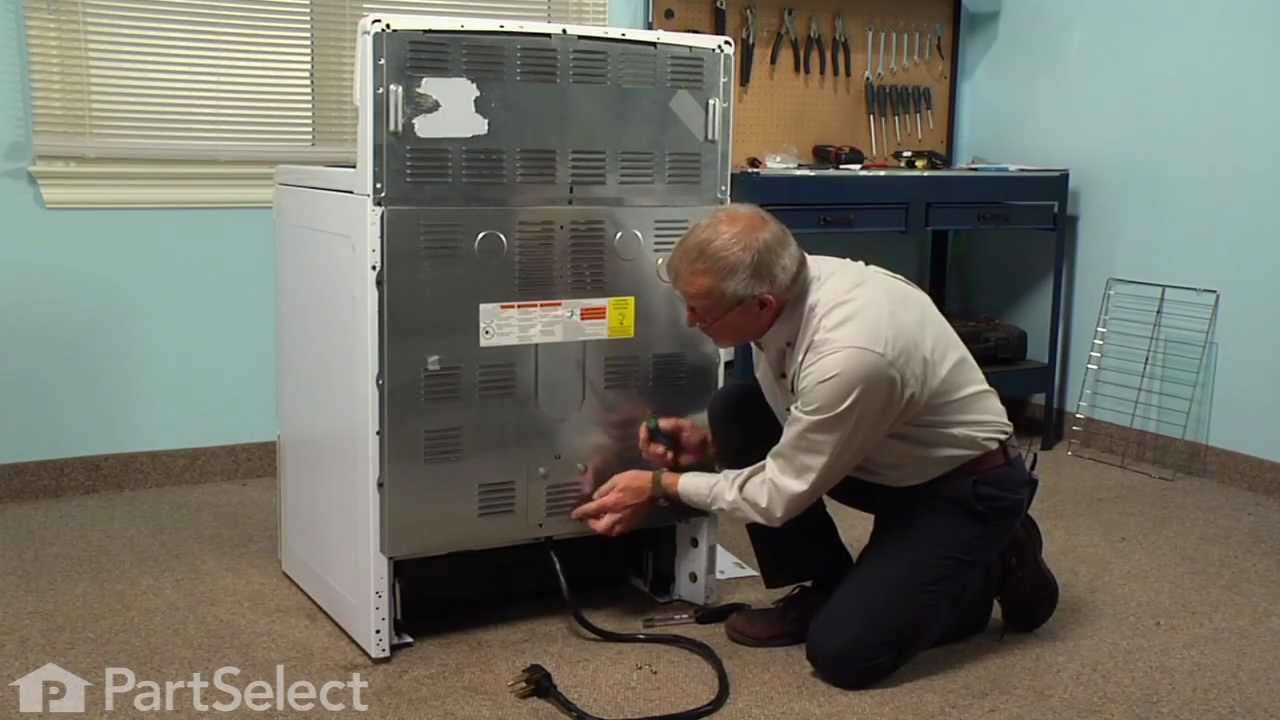
See how others fixed this model. Time, tools, difficulty, and steps that lead to victory!
View More