EasyApplianceParts is now PartSelect! We've merged our sites to provide a better shopping experience for you.   Full Details

Find Parts

Parts Departments

Top Model Types

Top Brands

Repair Help

Expert Repair Videos

Keep typing for more specific results...

79044273001 Kenmore Range - Overview

Diagrams for 79044273001

See every part. Know exactly what you need.

Enter a part description. DIY Heroes keep it simple, eg. "belt" or "pump".

Search filter:
Clear Filter
Your search term must have 3 or more characters.
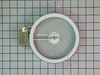
Radiant Element with Limiter - 1200W – Part Number: 318178110
$96.75
In Stock
Radiant Element with Limiter - 1200W
★★★★★
★★★★★
(16)
Part #318178110
This is a six-inch radiant element with limiter. It works in conjunction with your stove top range. The purpose of this part is to heat up the cooking area that is located on top of the range, also known as your stove top. If you suspect that your surface element is not properly heating then you may want to test the element for continuity. This model is sold individually and is 1200 watts. The tools you will need for this installation include a Phillips screwdriver and a 14-inch nut driver.
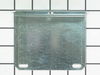
Retainer Bracket – Part Number: 318121902
$49.56
Special Order
Retainer Bracket
Part #318121902
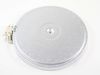
ELEMENT – Part Number: 318297810
$252.92
In Stock
ELEMENT
Part #318297810
This triple radiant surface element is designed to replace a malfunctioning burner beneath the glass cooktop of select electric ranges. It features a three-zone heating design that accommodates various cookware sizes, with adjustable wattage settings of approximately 1200W, 2000W, and 3000W. The element delivers consistent heat distribution across the cooking surface, helping to eliminate hot spots and improve cooking performance. Installation involves accessing the underside of the cooktop and securely connecting the element to the range’s wiring system. For safety, ensure the appliance is disconnected from power before beginning any replacement. Refer to your appliance’s service manual to confirm compatibility and installation procedures.
GASKET – Part Number: 318337101
$11.77
Special Order
GASKET
Part #318337101
BOARD – Part Number: 316442120
$233.66
Special Order
BOARD
Part #316442120
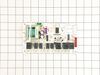
This power relay board helps manage how electricity is distributed to key heating components in an electric range or wall oven. It supports proper temperature control, responds to signals from the control panel, and helps ensure the oven heats steadily and operates normally. A failing board may cause issues like no heat, an oven that won’t start, unresponsive controls, or a blank or flickering display. Replacing it can restore consistent heating and reliable performance, but it’s important to confirm it matches your specific appliance model.
SCREW – Part Number: 5303307980
$26.35
Special Order
SCREW
Part #5303307980
SPACER – Part Number: 318531702
$18.22
Special Order
SPACER
Part #318531702
SCREW – Part Number: 5303323139
$23.60
Special Order
SCREW
Part #5303323139
CLAMP – Part Number: 318367101
No Longer Available
CLAMP
Part #318367101
SPRING – Part Number: 5303317177
$21.79
Special Order
SPRING
Part #5303317177
SCREW – Part Number: 5303323140
$20.37
Special Order
SCREW
Part #5303323140
CLEANER – Part Number: 316136900
No Longer Available
CLEANER
Part #316136900

Common Symptoms of the 79044273001

How this model fails, and the parts that fix it.

Watch our pros, then fix it yourself.

See how others fixed this model. Time, tools, difficulty, and steps that lead to victory! View More

Search repair tips from other customers using simple keywords like "replace", "fit", "remove", "inspect". DIY doesn't mean you have to do it alone!

Search filter:
Clear Filter
Your search term must have 3 or more characters.
burned out burner
70 of 99 people found this instruction helpful.
  • Lori from Winter Haven, FL
  • Easy
  • Less than 15 mins
  • Pliers, Screw drivers
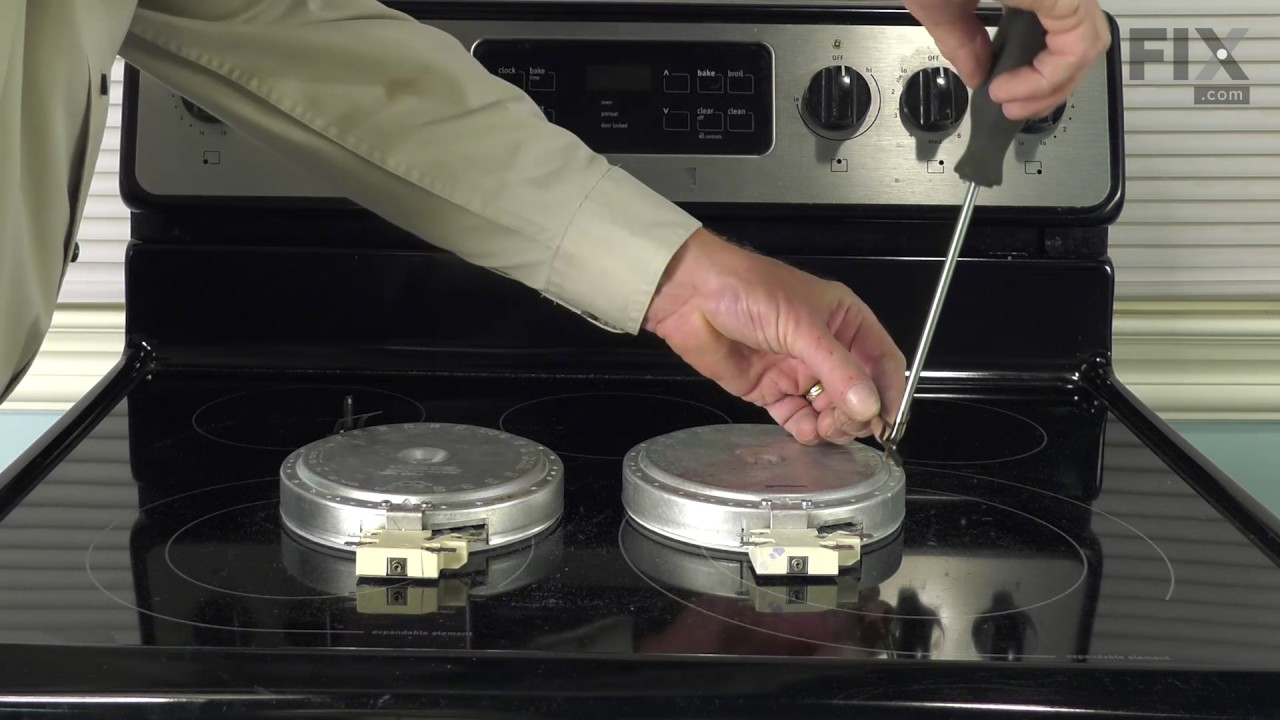
First we removed two screws under the rim of the range top to open the lid. Lifted the lid and removed the screws from the bracket that holds the elements, Be careful with the clips that hold the element in, if you break them or bend them there aren't any more! Also note which holes they were in, they are marked according to the differ ent sizes of elements. Disconnected the wires, needed needlenose pliers to grip them...connected new element, popped it back in place, replaced bracket, closed top ...Easy peasy!!!

Was this helpful?
Thank you for voting!
2 elements stopped working.
9 of 14 people found this instruction helpful.
  • Ruth from MORGANTOWN, WV
  • Really Easy
  • 30 - 60 mins
  • Nutdriver
My husband followed the video instructions and it was easy to fix.
Was this helpful?
Thank you for voting!
old element coil burned apart breaking the circuit.
6 of 8 people found this instruction helpful.
  • James from WARRENTON, MO
  • A Bit Difficult
  • 15 - 30 mins
  • Nutdriver, Screw drivers
removed the old burner and put the new one in it's place.
Was this helpful?
Thank you for voting!