


 My Orders




79043999404 Kenmore Cooktop - Overview

Enter a part description. DIY Heroes keep it simple, eg. "belt" or "pump".
Search filter:
Clear Filter
Your search term must have 3 or more characters.

$92.35
In Stock
Dual Element with Limiter
Part #316555800
This dual radiant surface element is designed for electric ranges and cooktops, offering two heating zones—9 inches and 6 inches—to accommodate a variety of cookware sizes. It delivers consistent, even heat for efficient cooking and serves as a direct replacement for damaged or underperforming elements. Operating at 240 volts, the unit fe...Read moreatures a durable all-metal temperature control rod that enhances heat stability and longevity. Compatible with multiple models across several brands, this component is ideal for restoring optimal performance to your cooktop. Installation should be performed with the appliance disconnected from power and may require basic tools.
Read less

$9.85
In Stock

$49.56
Special Order
Retainer Bracket
Part #318121902

$6.40
In Stock
PAD
Part #316459400

$321.46
Special Order
ELEMENT
Part #318258203
This genuine Frigidaire bridge element delivers consistent, even heat for your range, stove, or cooktop. Positioned beneath the glass surface, it uses electric resistance to generate radiant heat for precise cooking performance. The bridge feature allows it to connect with other elements, creating a larger heating zone ideal for oversized...Read more cookware like griddle pans. Offering dual wattage settings of 1800W and 2600W, this component ensures flexibility for different cooking needs. Replacing a worn or faulty element can resolve issues such as uneven heating or burners that fail to heat. Installation is straightforward—disconnect power, remove the old element, and secure the new one before reconnecting.
Read less

$26.35
Special Order
SCREW
Part #5303307980

$18.22
Special Order
SPACER
Part #318531702

$23.05
Special Order
NUT
Part #316205500

$54.24
Special Order
SPRING
Part #318122010

No Longer Available
GASKET
Part #318052604

$57.38
Special Order
SPRING
Part #318122006
$32.63
Special Order
PANEL
Part #318194721
Manuals & Care Guides for 79043999404
Click to downloadCommon Symptoms of the 79043999404
How this model fails, and the parts that fix it.

Watch our pros, then fix it yourself.
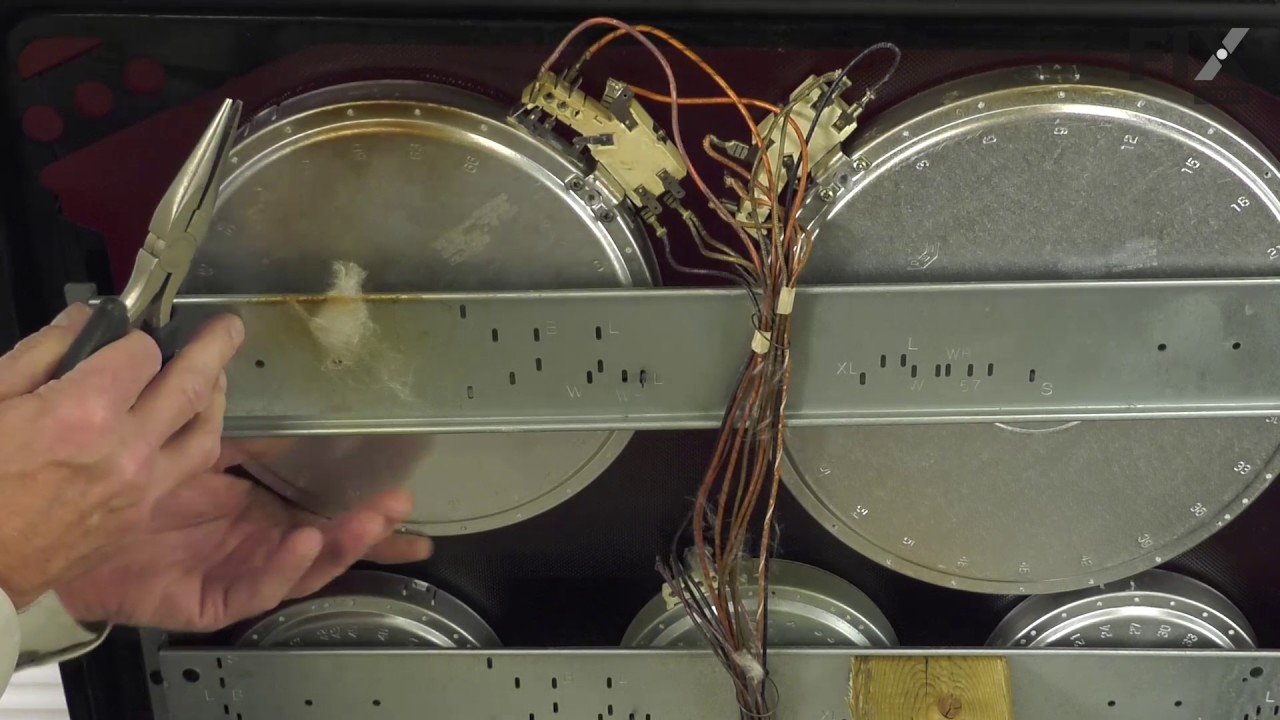
See how others fixed this model. Time, tools, difficulty, and steps that lead to victory!
View More