


 My Orders




79043494401 Kenmore Cooktop - Overview
Diagrams for 79043494401
See every part. Know exactly what you need.


Enter a part description. DIY Heroes keep it simple, eg. "belt" or "pump".
Search filter:
Clear Filter
Your search term must have 3 or more characters.

$14.25
In Stock
Drip Bowl - 8"
Part #316048413
This chrome drip bowl is designed for use with electric cooktops and ranges. This drip bowl is sold individually. At the widest point this part has a diameter of approximately 10 inches. It sits beneath the surface burner element. It catches any drips or spills coming from the cookware on your burner. Because the cooktop is a high-traffic...Read more area of the kitchen, these bowls often get damaged, or get so dirty they can no longer be adequately cleaned. When replacing this part you need to remove the burner element. While you have it out we recommend inspecting the terminals and the element for any corrosion, arcing, or discoloration. Any of those things could be a sign of a bigger problem, and it indicates that the element and terminal block should be replaced.
Read less

$13.15
In Stock
Chrome Drip Bowl - 6"
Part #316048414
The drip bowl catches grease and spills that come from cooking on your stove top. They are located under the heating elements. Drip bowls are often neglected and can become rusted and cracked. If your drip bowl is damaged, it could allow grease, food, or other spills to drip inside your range. This could become a fire hazard. This 6 inch ...Read morechrome drip bowl fits most electric ranges. Before you replace your damaged drip bowl, make sure the element is turned off and cool to the touch. To replace the drip bowl, remove the element, replace the current drip bowl, and reattach the element. This part is sold individually.
Read less

$14.25
In Stock
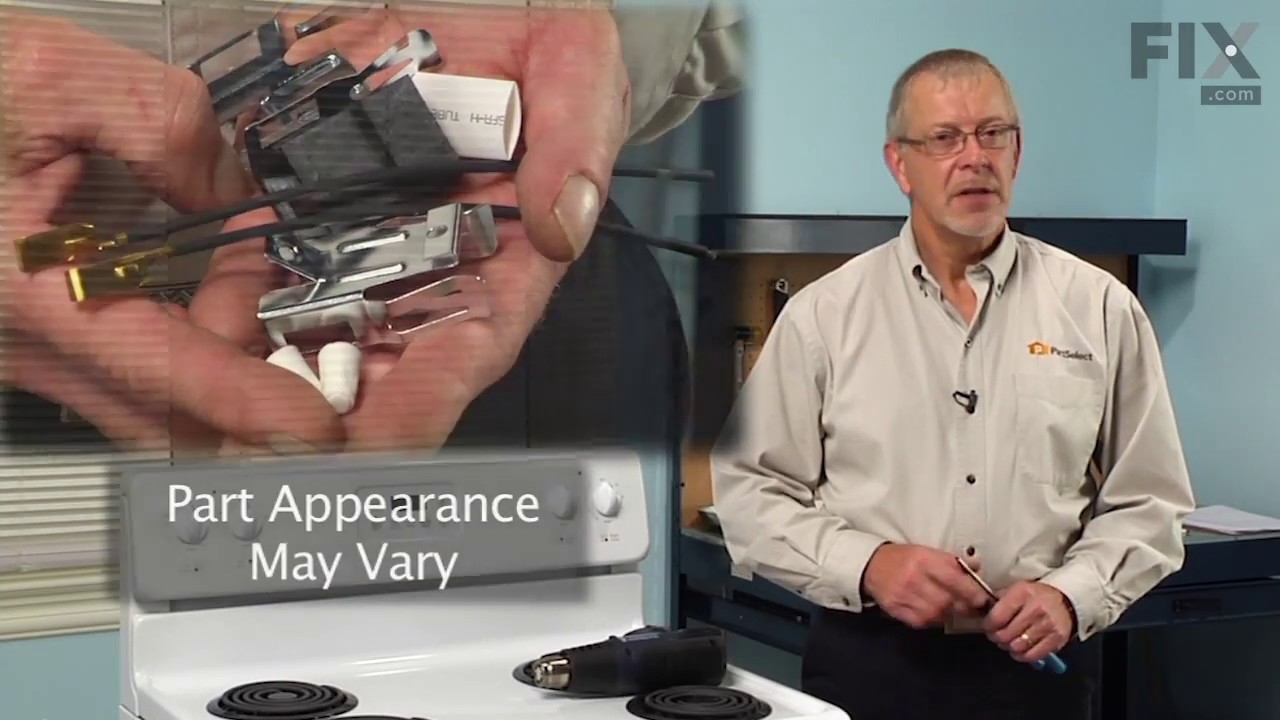
Terminal Block Kit
Part #5303935058
This part connects the wire harness to the surface element and is used for ranges. The kit includes interchangeable mounting brackets, ceramic wire nuts, heat shrink protective tubing, and wires. If your range/oven is having symptoms such as burner not heating, heating elements not working, burning smell, or if the oven is making a buzzin...Read moreg noise then this could be the solution. The tools needed to replace the kit are wire strippers, a heat gun or hair dryer, and #1 square heard screw driver. Refer to the installation/instructional video for further guidance to accurately replace the element.
Read less

$23.05
In Stock
Indicator Light Lens
Part #318228310
This is a red indicator light lens for an oven that covers the indicator light for the surface element. The indicator light signifies when the element is on and heated. This part is sold individually. It is recommended to check other red indicator lights in case they need to be replaced because they often wear at the same rate. It is diff...Read moreicult to see the light without the red lens. This part does not include the light. If your light does not illuminate, you may want to consider ordering the light as well. Tools required for this repair are a 1/4 inch nut driver and a stubby Phillips screwdriver.
Read less

$20.85
In Stock
SCREW
Part #5303323137

$77.05
Special Order

$53.85
Special Order
Support Bracket
Part #318264301

$68.10
Special Order

$145.15
In Stock
Surface Element - 6"
Part #316439802
This genuine OEM 6-inch electric surface burner element is designed to provide reliable heat for smaller cooking areas on your range or cooktop. Featuring a durable coil design with plug-in terminals, it delivers consistent heating and supports even cooking performance. Ideal for replacing a worn or non-functioning element, it helps resto...Read morere proper operation and efficiency. For safe installation, always disconnect power and handle the element with care.
Read less

$30.62
Special Order
BUSHING
Part #318146010

$173.45
Special Order
Surface Element - 8"
Part #316442303

$25.75
Special Order
SCREW
Part #5303323138
Common Symptoms of the 79043494401
How this model fails, and the parts that fix it.
Element will not heat
Fixed by
these parts
these parts


Show All
Will Not Start
Fixed by
these parts
these parts
Show All
Oven not heating evenly
Fixed by
these parts
these parts
Show All
Watch our pros, then fix it yourself.
See how others fixed this model. Time, tools, difficulty, and steps that lead to victory!
View More
Search repair tips from other customers using simple keywords like "replace", "fit", "remove", "inspect". DIY doesn't mean you have to do it alone!
Search filter:
Clear Filter
Your search term must have 3 or more characters.
Old pans/bowls were corroded
48 of 55 people
found this instruction helpful.
Very easy---simply unplug the burners, remove the old pans and replace with the new ones
I was extremely pleased with the easy ordering and prompt delivery of parts that actually fit as they should!
I was extremely pleased with the easy ordering and prompt delivery of parts that actually fit as they should!
Other Parts Used:


Was this helpful?
Thank you for voting!