


 My Orders




79042563310 Kenmore Range - Overview

Enter a part description. DIY Heroes keep it simple, eg. "belt" or "pump".
Search filter:
Clear Filter
Your search term must have 3 or more characters.

$96.75
In Stock
Radiant Element with Limiter - 1200W
Part #318178110
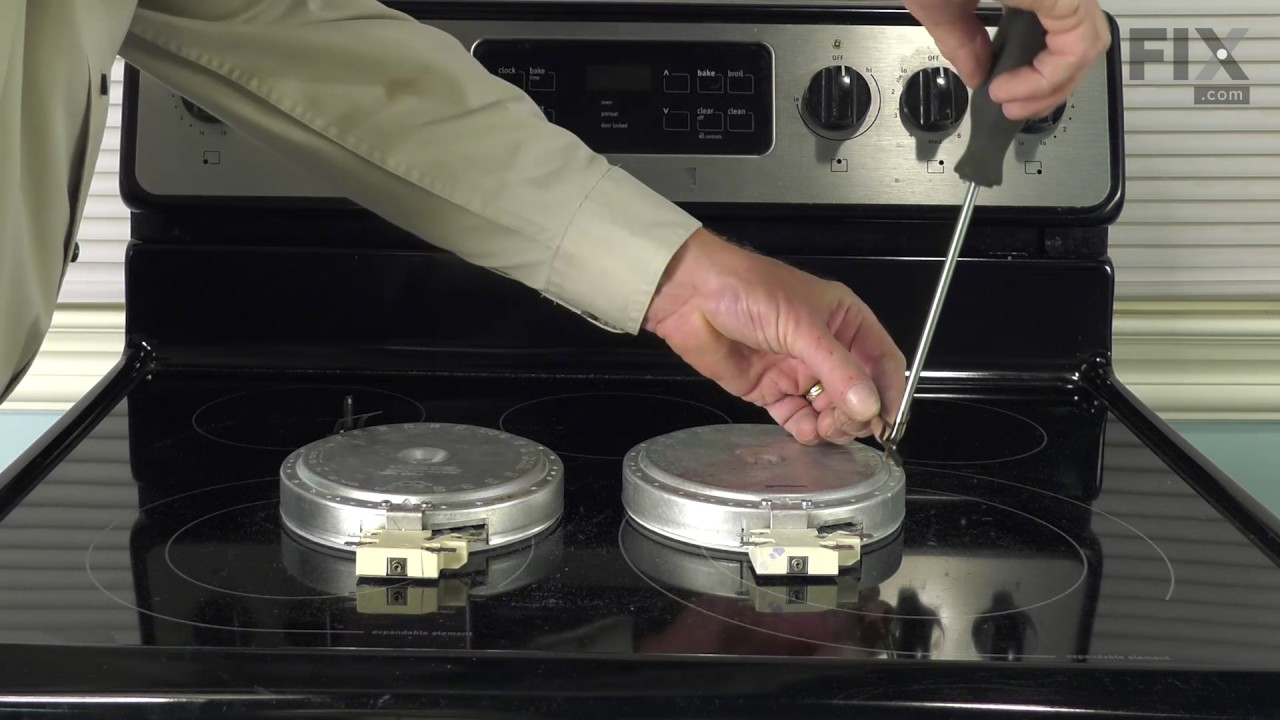
This is a six-inch radiant element with limiter. It works in conjunction with your stove top range. The purpose of this part is to heat up the cooking area that is located on top of the range, also known as your stove top. If you suspect that your surface element is not properly heating then you may want to test the element for continuity...Read more. This model is sold individually and is 1200 watts. The tools you will need for this installation include a Phillips screwdriver and a 14-inch nut driver.
Read less

$26.35
In Stock

$80.25
In Stock
Outer Drawer Glide
Part #316105501
As per the factory, the original part was 19 3/4 inches and the new substituted part is 16 1/4 inches. According to the factory, this part will still work with your appliance.

$13.77
In Stock
SCREW
Part #5304507924
This is an authentic door handle mounting screw, which works with ranges, wall ovens and microwaves.

$42.95
In Stock
HEATING ELEMENT,MIDDLE,TURBO
Part #8583165300010
This radiant burner element delivers powerful, even heat for your cooktop, ensuring fast and efficient cooking. Measuring 9 inches and rated at 3200 watts, it is ideal for replacing a worn or malfunctioning element. Installation requires disconnecting power and connecting the new element to the existing wiring and mounting brackets.

$31.47
Special Order
Range Insulation
Part #318372016

$149.96
In Stock

$71.45
In Stock

$26.35
In Stock
SCREW
Part #5304414648

$73.68
In Stock
ELEMENT
Part #5304521861

$6.40
In Stock
PAD
Part #316459400

$252.92
In Stock
ELEMENT
Part #318297810
This triple radiant surface element is designed to replace a malfunctioning burner beneath the glass cooktop of select electric ranges. It features a three-zone heating design that accommodates various cookware sizes, with adjustable wattage settings of approximately 1200W, 2000W, and 3000W. The element delivers consistent heat distributi...Read moreon across the cooking surface, helping to eliminate hot spots and improve cooking performance. Installation involves accessing the underside of the cooktop and securely connecting the element to the range’s wiring system. For safety, ensure the appliance is disconnected from power before beginning any replacement. Refer to your appliance’s service manual to confirm compatibility and installation procedures.
Read less
Common Symptoms of the 79042563310
How this model fails, and the parts that fix it.

Watch our pros, then fix it yourself.
See how others fixed this model. Time, tools, difficulty, and steps that lead to victory!
View More