EasyApplianceParts is now PartSelect! We've merged our sites to provide a better shopping experience for you.   Full Details

Find Parts

Parts Departments

Top Model Types

Top Brands

Repair Help

Expert Repair Videos

Keep typing for more specific results...

79042562316 Kenmore Range - Overview

Diagrams for 79042562316

See every part. Know exactly what you need.

Enter a part description. DIY Heroes keep it simple, eg. "belt" or "pump".

Search filter:
Clear Filter
Your search term must have 3 or more characters.
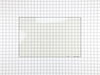
GLASS – Part Number: 5304503232
$95.93
In Stock
GLASS
★★★★★
★★★★★
(14)
Part #5304503232
This tempered glass is supplied by the original manufacturer and measures 20 inches by 13 inches. It is an inner door glass, designed for use in ranges/ovens and has several purposes which include providing heat insulation, acting as protective barrier, and providing an opening to monitor the cooking/heating process. Over time the glass can break or break from impact, thermal shock, or improper installation. If the glass is defective, it needs to be replaced promptly to avoid leaking, loss of insulation and potential harm to the user. Remove any fasteners or clips that secure the glass and carefully dispose of it. Position the new glass in the same position and secure it appropriately.
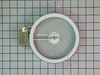
Radiant Element with Limiter - 1200W – Part Number: 318178110
$96.75
In Stock
Radiant Element with Limiter - 1200W
★★★★★
★★★★★
(16)
Part #318178110
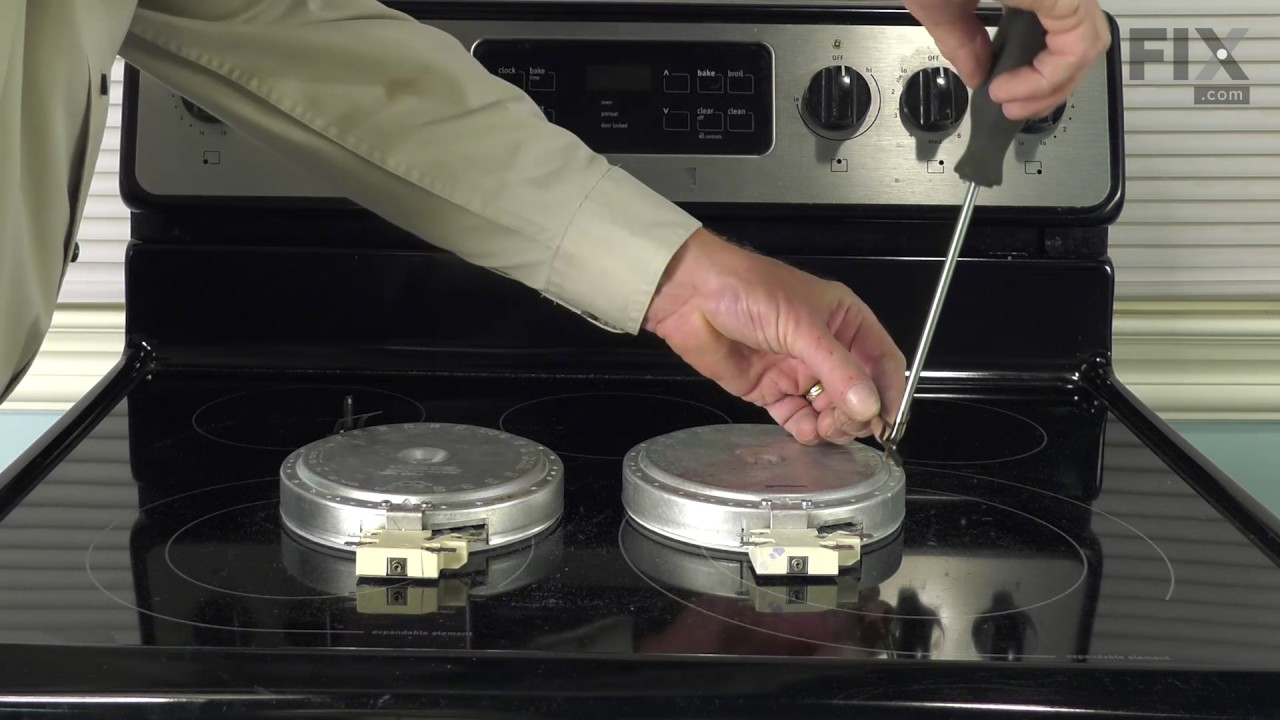
This is a six-inch radiant element with limiter. It works in conjunction with your stove top range. The purpose of this part is to heat up the cooking area that is located on top of the range, also known as your stove top. If you suspect that your surface element is not properly heating then you may want to test the element for continuity. This model is sold individually and is 1200 watts. The tools you will need for this installation include a Phillips screwdriver and a 14-inch nut driver.
SCREW – Part Number: 316021109
$26.35
In Stock
SCREW
Part #316021109
Sold Individually.
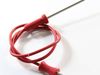
Meat Probe Sensor – Part Number: 5304504202
$86.02
In Stock
Meat Probe Sensor
★★★★★
★★★★★
(3)
Part #5304504202
This meat probe sensor is an authentic manufacturer replacement part for cooking appliances that have a built-in meat probe feature. It is plugged into the receptacle assembly for use inside the appliance. The sensor measures the internal temperature of meat during the cooking process and sends the readings to the control panel where they can be viewed in real time. This ensures that the food is cooked to your desired level of doneness. Over time the internal sensor components may become faulty or the probe can fail due to mechanical damage resulting in inaccurate temperature readings, and failure to communicate with the control panel. Follow the sensor cable to the insertion point in the oven cavity and disconnect the faulty sensor. Install the new sensor into the insertion point and reattach the connectors to complete the repair.
PROBE – Part Number: 5304525427
$46.18
In Stock
PROBE
Part #5304525427
This OEM-manufactured metal temperature sensor, or oven probe, measures and regulates the temperature within the oven. If you find that your food is being overcooked, undercooked, or is not cooking evenly, the sensor may be faulty. You can verify this by testing it with a multimeter or looking out for an error code on the control board. If you do not replace the broken sensor, your oven will run too hot or too cold. To replace the sensor, you first need to turn off the power to the oven and let it cool down. Access the probe inside the oven cavity, it is commonly attached to the rear wall. Using a screwdriver or pliers, remove any screws or clips that are securing the sensor in position. You may also need to unscrew or unclip the wire attached to the probe from the back of the oven. This sensor is sold as a single unit.
SCREW – Part Number: 5304507924
$13.77
In Stock
SCREW
Part #5304507924
This is an authentic door handle mounting screw, which works with ranges, wall ovens and microwaves.
Convection Fan Blade – Part Number: 318398302
$41.17
In Stock
Convection Fan Blade
Part #318398302
This convection fan blade is designed for use with various makes and models of range and oven and is sold as an individual part. Made of metal and measuring approximately 4.75-inches in diameter, this genuine OEM fan blade works with the convection motor to circulate and distribute heat evenly throughout the oven. If your oven is not getting hot enough or the heat is not circulating properly, or if the fan blade in your oven has become warped, damaged, or chipped, it needs to be replaced immediately. To replace the fan blade, disconnect your range from the power and locate the fan assembly. With the appropriate screwdriver and wrench, remove any assembly covers and the securing nut from the blade. Once the nut is removed, install the new blade and secure it and re-install the cover.
Leveling Leg – Part Number: 318175510
$36.06
In Stock
Leveling Leg
Part #318175510
This part is a levelling leg and it is used in conjunction with your range. The function of this part is to supply stability and support to your appliance. This part is adjustable to allow you to tailor each leg to meet your levelled cooking needs. A range typically uses four of these parts, and this model is sold individually. This part measures to be just over a square inch wide, and almost two inches high. The body of this part resembles a screw and is made of metal. The bottom of the leg is black, flat, and made of plastic.
Light Bulb – Part Number: 318946500
$53.85
In Stock
Light Bulb
Part #318946500
This replacement light bulb provides clear illumination to improve visibility during appliance operation. It is commonly replaced when the original bulb burns out, flickers, or no longer produces adequate light.
Door Glass – Part Number: 316446401
$89.30
In Stock
Door Glass
Part #316446401
This oven door glass panel forms the clear outer viewing window of the oven door while helping maintain proper internal cooking temperatures. Designed for ovens with air-wash style airflow, it helps keep the glass clearer during use so food is easy to monitor while cooking. The glass has a clear, transparent finish and serves as a thermal barrier to support efficient oven performance. Replacement is recommended if the existing glass is cracked, discoloured, loose, or damaged, as this can affect heat retention and visibility. Installation should be completed with the oven powered off and fully cooled, using protective gloves and eye protection for safety.
MOTOR – Part Number: 318575612
$149.96
In Stock
Oven Rack – Part Number: 807328301
$71.45
In Stock
Oven Rack
Part #807328301
Sold individually.

Common Symptoms of the 79042562316

How this model fails, and the parts that fix it.

Watch our pros, then fix it yourself.

See how others fixed this model. Time, tools, difficulty, and steps that lead to victory! View More

Search repair tips from other customers using simple keywords like "replace", "fit", "remove", "inspect". DIY doesn't mean you have to do it alone!

Search filter:
Clear Filter
Your search term must have 3 or more characters.
burned out burner
70 of 99 people found this instruction helpful.
  • Lori from Winter Haven, FL
  • Easy
  • Less than 15 mins
  • Pliers, Screw drivers
First we removed two screws under the rim of the range top to open the lid. Lifted the lid and removed the screws from the bracket that holds the elements, Be careful with the clips that hold the element in, if you break them or bend them there aren't any more! Also note which holes they were in, they are marked according to the differ ent sizes of elements. Disconnected the wires, needed needlenose pliers to grip them...connected new element, popped it back in place, replaced bracket, closed top ...Easy peasy!!!
Was this helpful?
Thank you for voting!
Cracked oven door inner glass
76 of 135 people found this instruction helpful.
  • Mitch from Fernandina Beach, FL
  • Easy
  • 15 - 30 mins
  • Screw drivers
Repair was quite easy, as long as you have the instructions for removing the door. The screws that hold the bottom of the door to the fixed hinge are placed into the side of the hinge assembly after removal; this holds the door at a 45 degree angle for easy removal. After that, just place the door on a flat surface and dismantle the door from the inside. The inner glass is contained in a metal frame with another piece of glass; this frame comes apart easily using the clips in each side. The door assembles easily after the glass is replaced; just take your time and give yourself enough room to lay out the parts as you go. Good luck!
Was this helpful?
Thank you for voting!
Broken glass interior oven door
33 of 56 people found this instruction helpful.
  • stephen from garden grove, CA
  • Easy
  • 30 - 60 mins
  • Screw drivers
Had to reference original owner's manual for instruction(s) on how to remove oven door. Used several "YouTube" videos to reference oven door design (Oven door glass is actually several layers of glass.) After completing about 30 mins of research and finding the right square drive bit, the repair went smoothly and without complications. Th e biggest challenge was researching and understanding what part(s) were needed and how to replace them. It seemed liked a lot of work doing the research however it sure beat a $350 repair bill. It cost me $90 and about 1 1/2 hours of total time. Oven works better than ever, thanks parts select for the part(s) and diagram(s) ...

Was this helpful?
Thank you for voting!