


 My Orders




79042553310 Kenmore Range - Overview

Enter a part description. DIY Heroes keep it simple, eg. "belt" or "pump".
Search filter:
Clear Filter
Your search term must have 3 or more characters.

$40.60
In Stock
Main Terminal Block Kit
Part #5304409888
Terminal block kits are also known as terminal boards, or terminal strips, and they are found in a wide variety of household appliances. Most often in ranges, wall ovens, and dryers. This kit attaches the power cord to the inner wiring of your appliance. If the terminal block is faulty, your appliance will not get the power it needs to op...Read moreerate properly. When removing the old block pay close attention to the wire placement, this will make installing your new part much easier. If you notice any of the wires or wire terminals are corroded or damaged they will also need to be replaced.
Read less

$95.93
In Stock
GLASS
Part #5304503232
This tempered glass is supplied by the original manufacturer and measures 20 inches by 13 inches. It is an inner door glass, designed for use in ranges/ovens and has several purposes which include providing heat insulation, acting as protective barrier, and providing an opening to monitor the cooking/heating process. Over time the glass c...Read morean break or break from impact, thermal shock, or improper installation. If the glass is defective, it needs to be replaced promptly to avoid leaking, loss of insulation and potential harm to the user. Remove any fasteners or clips that secure the glass and carefully dispose of it. Position the new glass in the same position and secure it appropriately.
Read less

$96.75
In Stock
Radiant Element with Limiter - 1200W
Part #318178110
This is a six-inch radiant element with limiter. It works in conjunction with your stove top range. The purpose of this part is to heat up the cooking area that is located on top of the range, also known as your stove top. If you suspect that your surface element is not properly heating then you may want to test the element for continuity...Read more. This model is sold individually and is 1200 watts. The tools you will need for this installation include a Phillips screwdriver and a 14-inch nut driver.
Read less

$26.35
In Stock

$46.18
In Stock
PROBE
Part #5304525427
This OEM-manufactured metal temperature sensor, or oven probe, measures and regulates the temperature within the oven. If you find that your food is being overcooked, undercooked, or is not cooking evenly, the sensor may be faulty. You can verify this by testing it with a multimeter or looking out for an error code on the control board. I...Read moref you do not replace the broken sensor, your oven will run too hot or too cold. To replace the sensor, you first need to turn off the power to the oven and let it cool down. Access the probe inside the oven cavity, it is commonly attached to the rear wall. Using a screwdriver or pliers, remove any screws or clips that are securing the sensor in position. You may also need to unscrew or unclip the wire attached to the probe from the back of the oven. This sensor is sold as a single unit.
Read less

$31.47
In Stock
Door Spacer
Part #318165800

$196.94
On Order
Radiant Dual Surface Element - 9inch/12inch
Part #316282101
This dual radiant surface element is designed to deliver flexible heating for your electric range or cooktop, accommodating both small and large cookware with its two heat zones measuring 9 inches and 12 inches in diameter. Built for efficient performance, it provides powerful heat output—up to 3000 watts at 240 volts—ensuring quick and e...Read moreven cooking. Ideal for replacing a worn or damaged element, it helps resolve issues such as uneven heating or a burner that no longer works. Installation requires disconnecting power at the circuit breaker and using appropriate tools; for best results, this task is recommended for an experienced repair person.
Read less

$13.77
In Stock
SCREW
Part #5304507924
This is an authentic door handle mounting screw, which works with ranges, wall ovens and microwaves.

$36.06
In Stock
Leveling Leg
Part #318175510
This part is a levelling leg and it is used in conjunction with your range. The function of this part is to supply stability and support to your appliance. This part is adjustable to allow you to tailor each leg to meet your levelled cooking needs. A range typically uses four of these parts, and this model is sold individually. This part ...Read moremeasures to be just over a square inch wide, and almost two inches high. The body of this part resembles a screw and is made of metal. The bottom of the leg is black, flat, and made of plastic.
Read less

$33.90
In Stock
Fan Blade Retainer Nut
Part #316136600
This fan blade retainer nut in your oven secures the fan blade onto the motor shaft, preventing it from coming loose during operation. You can typically find it at the back of your oven behind a cover. If you notice that the fan blade becomes wobbly or does not rotate smoothly, or your oven starts to make rattling or scraping sounds, the ...Read morenut may be damaged. If the fan blade cannot spin properly, your food may cook unevenly. Your oven will also work harder and consume more energy to maintain the desired temperature. To access the nut, you will need to remove the back panel of your oven. Remove any screws or release any clips holding it using a screwdriver. To remove the nut itself, you will need either a wrench or a pair of pliers to loosen it from the motor shaft. The fan blade is sold separately from this genuine OEM nut.
Read less

$53.85
In Stock
Light Bulb
Part #318946500
This replacement light bulb provides clear illumination to improve visibility during appliance operation. It is commonly replaced when the original bulb burns out, flickers, or no longer produces adequate light.

$31.47
Special Order
Range Insulation
Part #318372016
Common Symptoms of the 79042553310
How this model fails, and the parts that fix it.
Element will not heat
Fixed by
these parts
these parts


Show All
Little to no heat when baking
Fixed by
these parts
these parts
Show All
Will Not Start
Fixed by
these parts
these parts
Show All
Oven not heating evenly
Fixed by
these parts
these parts
Show All
Little to no heat when broiling
Fixed by
these parts
these parts
Show All
Watch our pros, then fix it yourself.

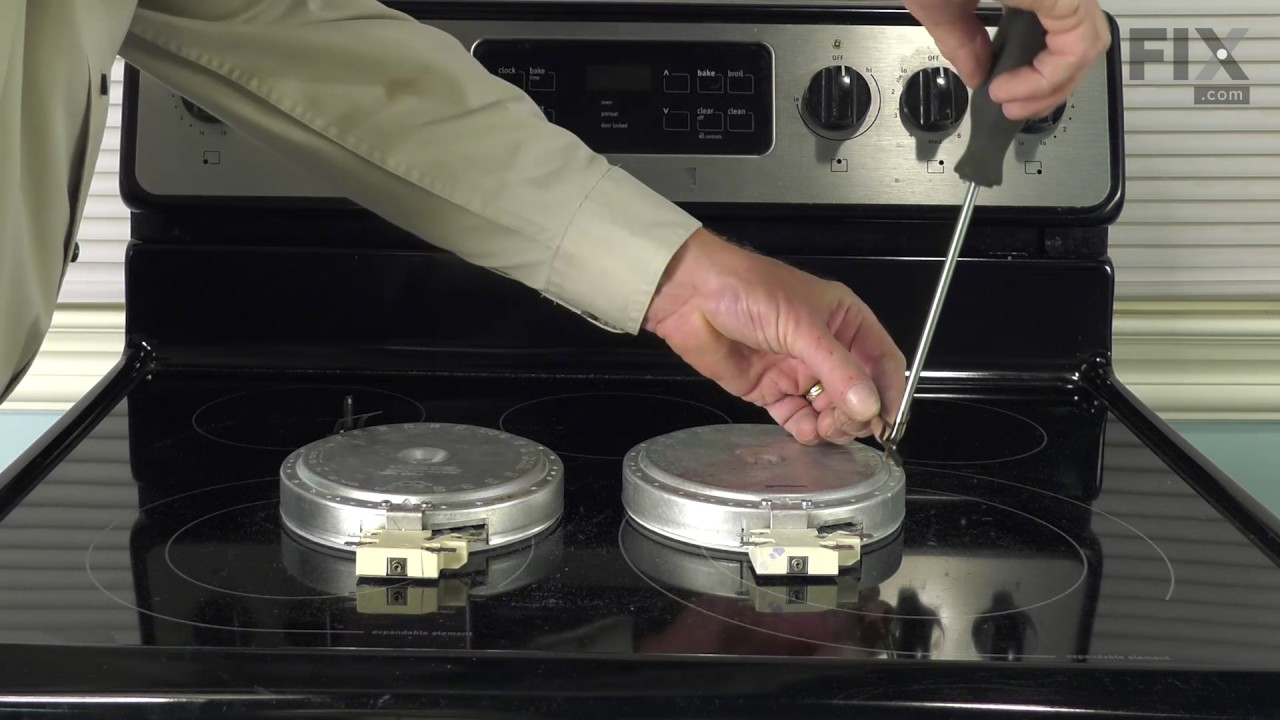

See how others fixed this model. Time, tools, difficulty, and steps that lead to victory!
View More