


 My Orders




79042533310 Kenmore Range - Overview
Diagrams for 79042533310
See every part. Know exactly what you need.


Enter a part description. DIY Heroes keep it simple, eg. "belt" or "pump".
Search filter:
Clear Filter
Your search term must have 3 or more characters.

$40.60
In Stock
Main Terminal Block Kit
Part #5304409888
Terminal block kits are also known as terminal boards, or terminal strips, and they are found in a wide variety of household appliances. Most often in ranges, wall ovens, and dryers. This kit attaches the power cord to the inner wiring of your appliance. If the terminal block is faulty, your appliance will not get the power it needs to op...Read moreerate properly. When removing the old block pay close attention to the wire placement, this will make installing your new part much easier. If you notice any of the wires or wire terminals are corroded or damaged they will also need to be replaced.
Read less

$95.93
In Stock
GLASS
Part #5304503232
This tempered glass is supplied by the original manufacturer and measures 20 inches by 13 inches. It is an inner door glass, designed for use in ranges/ovens and has several purposes which include providing heat insulation, acting as protective barrier, and providing an opening to monitor the cooking/heating process. Over time the glass c...Read morean break or break from impact, thermal shock, or improper installation. If the glass is defective, it needs to be replaced promptly to avoid leaking, loss of insulation and potential harm to the user. Remove any fasteners or clips that secure the glass and carefully dispose of it. Position the new glass in the same position and secure it appropriately.
Read less

$96.75
In Stock
Radiant Element with Limiter - 1200W
Part #318178110
This is a six-inch radiant element with limiter. It works in conjunction with your stove top range. The purpose of this part is to heat up the cooking area that is located on top of the range, also known as your stove top. If you suspect that your surface element is not properly heating then you may want to test the element for continuity...Read more. This model is sold individually and is 1200 watts. The tools you will need for this installation include a Phillips screwdriver and a 14-inch nut driver.
Read less

$53.85
In Stock
Temperature Sensor
Part #5304504897
The temperature sensor, also known as an oven probe, helps measure the temperature within the oven cavity. If your oven is too hot, not heating evenly, has little to no heat when baking, or flashing F3/F4 error messages on your control board, you may need to replace this part. This part measures 6" long and is made of metal. Please make s...Read moreure to disconnect the power to your oven range before starting this repair. This temperature sensor is a genuine OEM part.
Read less

$92.35
In Stock
Dual Element with Limiter
Part #316555800
This dual radiant surface element is designed for electric ranges and cooktops, offering two heating zones—9 inches and 6 inches—to accommodate a variety of cookware sizes. It delivers consistent, even heat for efficient cooking and serves as a direct replacement for damaged or underperforming elements. Operating at 240 volts, the unit fe...Read moreatures a durable all-metal temperature control rod that enhances heat stability and longevity. Compatible with multiple models across several brands, this component is ideal for restoring optimal performance to your cooktop. Installation should be performed with the appliance disconnected from power and may require basic tools.
Read less

$75.85
In Stock

$23.05
In Stock
Steel Washer
Part #316008401
This steel washer is also known as the range washer and is used on your oven door. The measurements for the steel washer are a three quarter inch outer diameter, and a one quarter inch inner diameter. This washer is an OEM part, made of steel, which is sourced directly from the manufacturer. This specific steel washer is used with your ra...Read morenge, to secure the inner and outer door together and to secure the oven door handle back in place. Users have ranked this repair as a simple installation that should take you less than fifteen minutes to complete.
Read less

$26.35
In Stock

$78.05
In Stock
Dual Infinite Switch
Part #318191023
This switch allows you to choose which size burner you require according to the size of the pots and pans you're using.

$79.15
In Stock
Oven Door Light Switch
Part #316445501
This oven door light switch signals the light to turn off when the oven door closes. If your light switch is defective or you smell a burning odor, make sure to check the switch and replace it. The tool needed for this replacement is a screwdriver. Locate the switch, usually from under the oven top. Remove the wires and pull the switch ou...Read moret. Refer to the diagram provided by the manufacturer for further instructions and guidance before installation. Make sure you remember to unplug the oven from the power source before starting this repair, and wear gloves for protection.
Read less

$31.47
In Stock
Door Spacer
Part #318165800

No Longer Available
Common Symptoms of the 79042533310
How this model fails, and the parts that fix it.
Element will not heat
Fixed by
these parts
these parts


Show All
Little to no heat when baking
Fixed by
these parts
these parts


Show All
Will Not Start
Fixed by
these parts
these parts
Show All
Oven is too hot
Fixed by
these parts
these parts
Show All
Oven not heating evenly
Fixed by
these parts
these parts
Show All
Door won’t close
Fixed by
these parts
these parts


Show All
Little to no heat when broiling
Fixed by
these parts
these parts
Show All
Watch our pros, then fix it yourself.
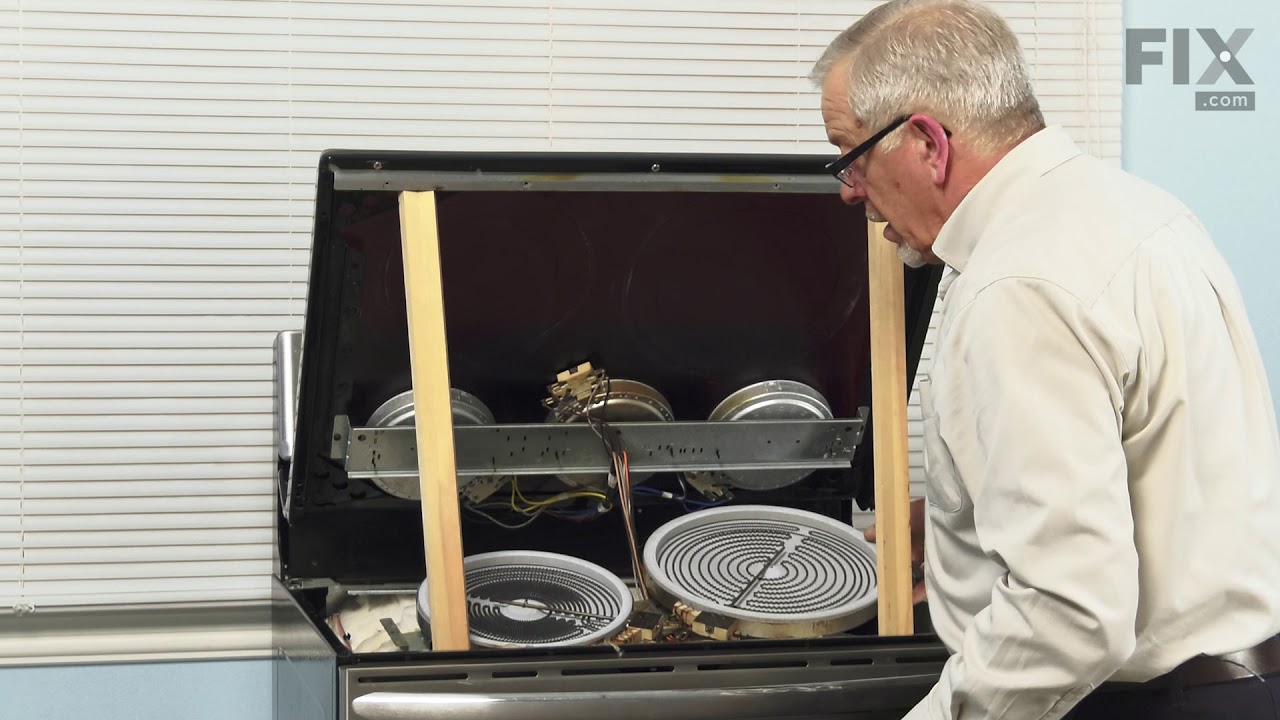

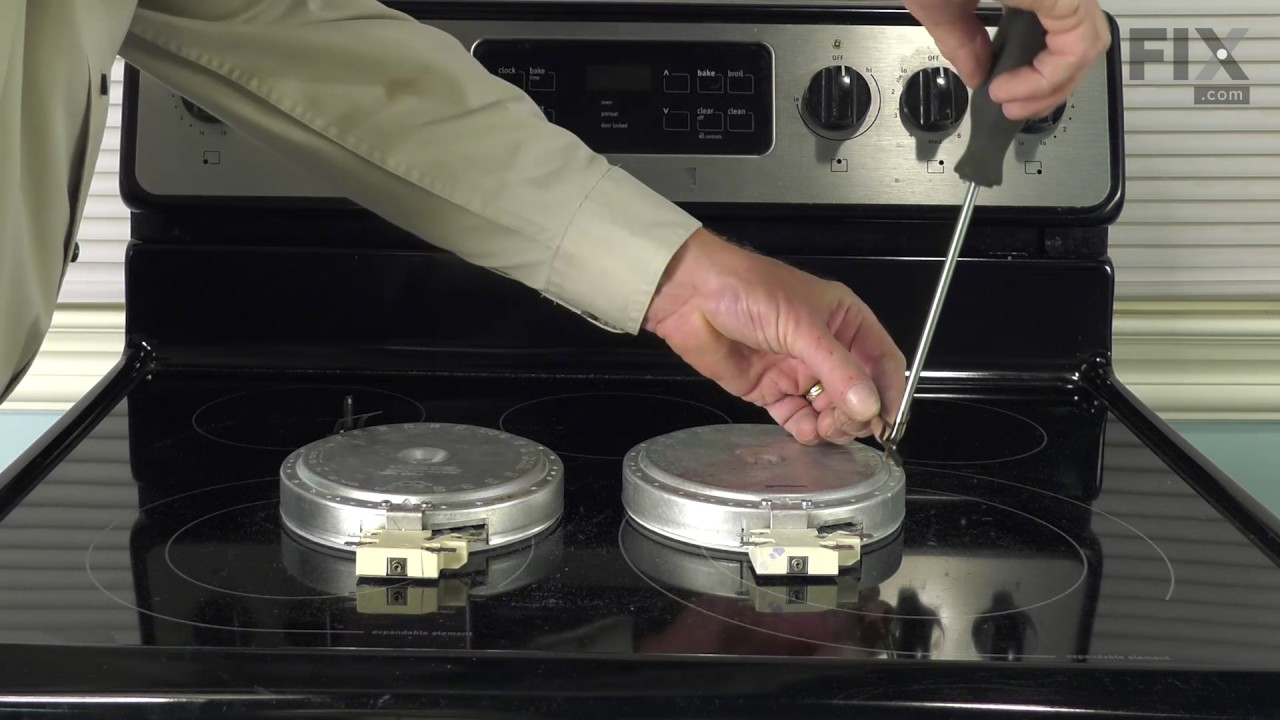

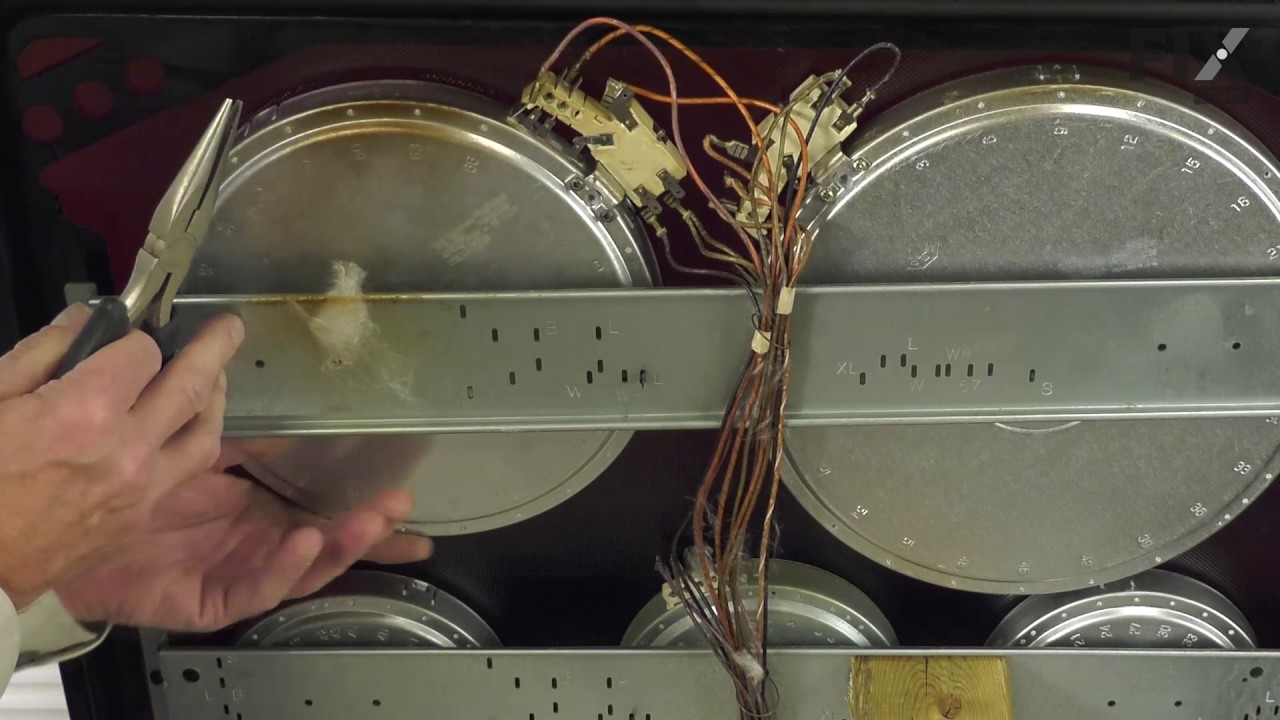
See how others fixed this model. Time, tools, difficulty, and steps that lead to victory!
View More