


 My Orders




79042523317 Kenmore Range - Overview
Diagrams for 79042523317
See every part. Know exactly what you need.


Enter a part description. DIY Heroes keep it simple, eg. "belt" or "pump".
Search filter:
Clear Filter
Your search term must have 3 or more characters.

$62.84
In Stock
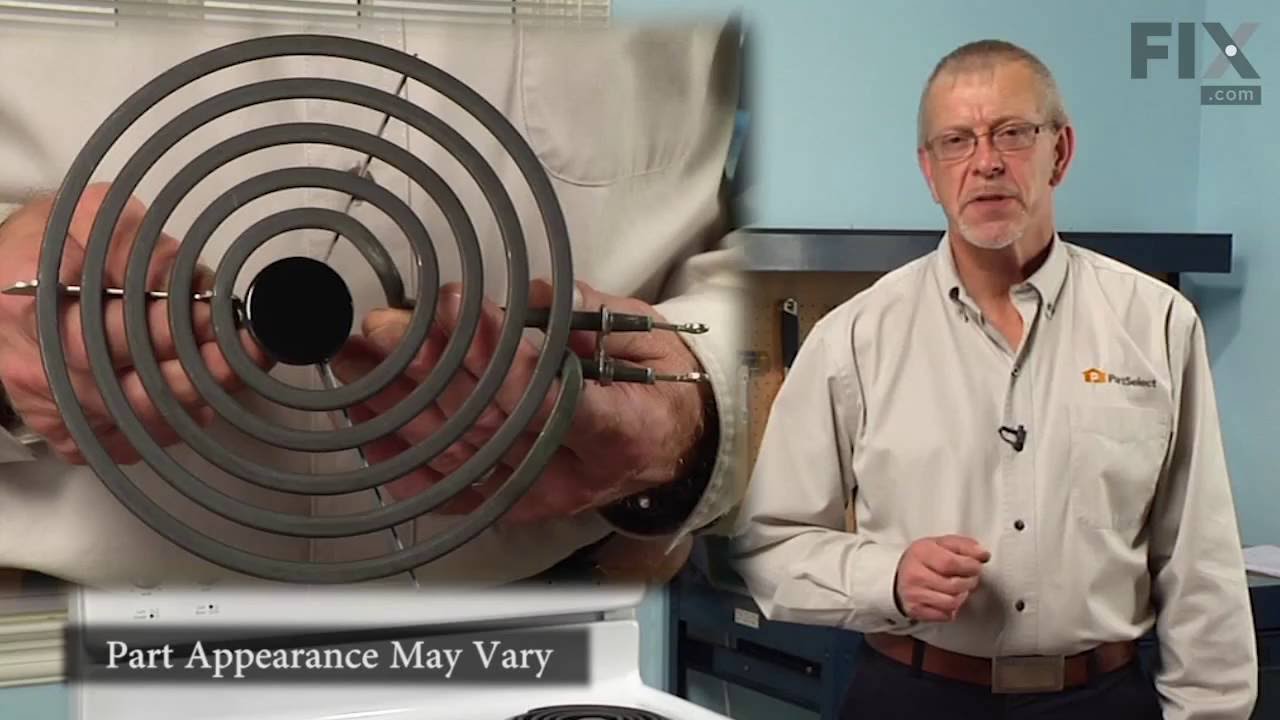
Surface Element - 8 Inch - 2600W
Part #316442301
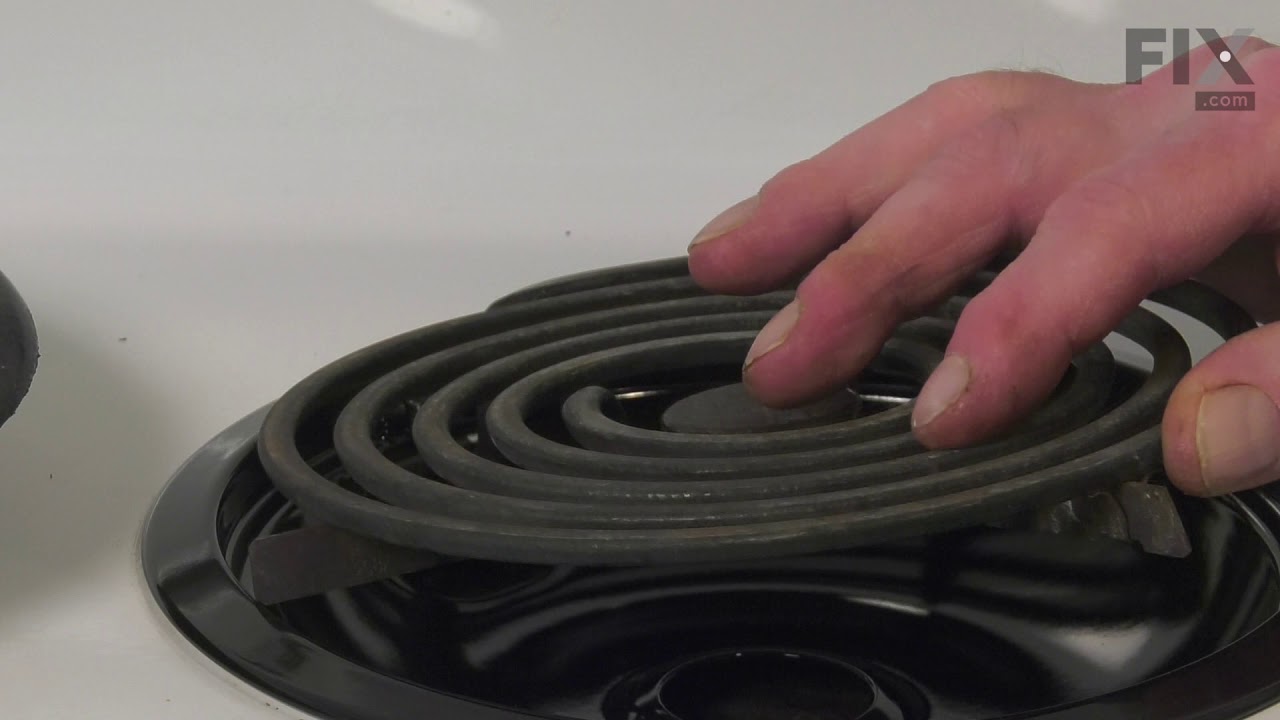
The range surface element provides heat to the cooking surface on top of the range. The element has a universal plug, is 8 inches in diameter, spans 5 coils in width and reaches 2600 watts. Before you begin your repair, ensure that the elements are turned off and have had time to cool. Once you have removed the element this is a good time...Read more to ensure the terminal is in good condition (they can wear over time) which may need to be replaced as well. This quick repair requires no tools except gloves for safety, and a small amount of time.
Read less

$57.70
In Stock
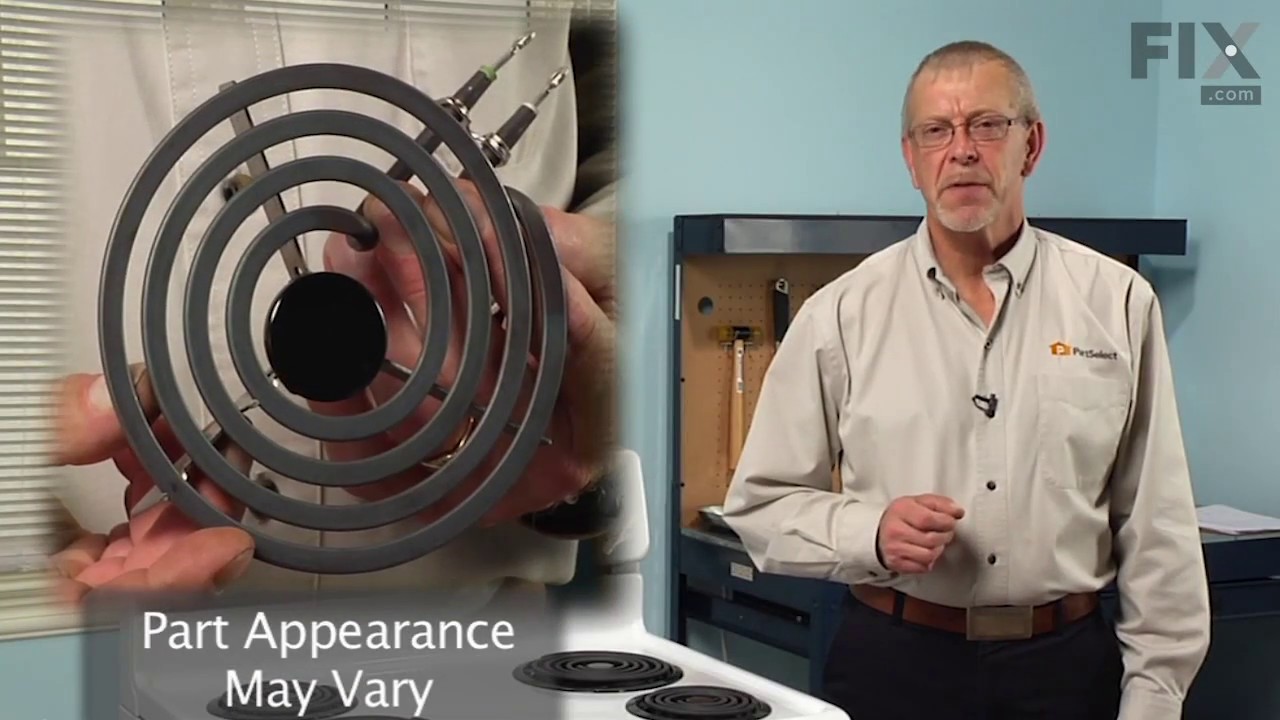
6-Inch Coil Burner Element
Part #318372211
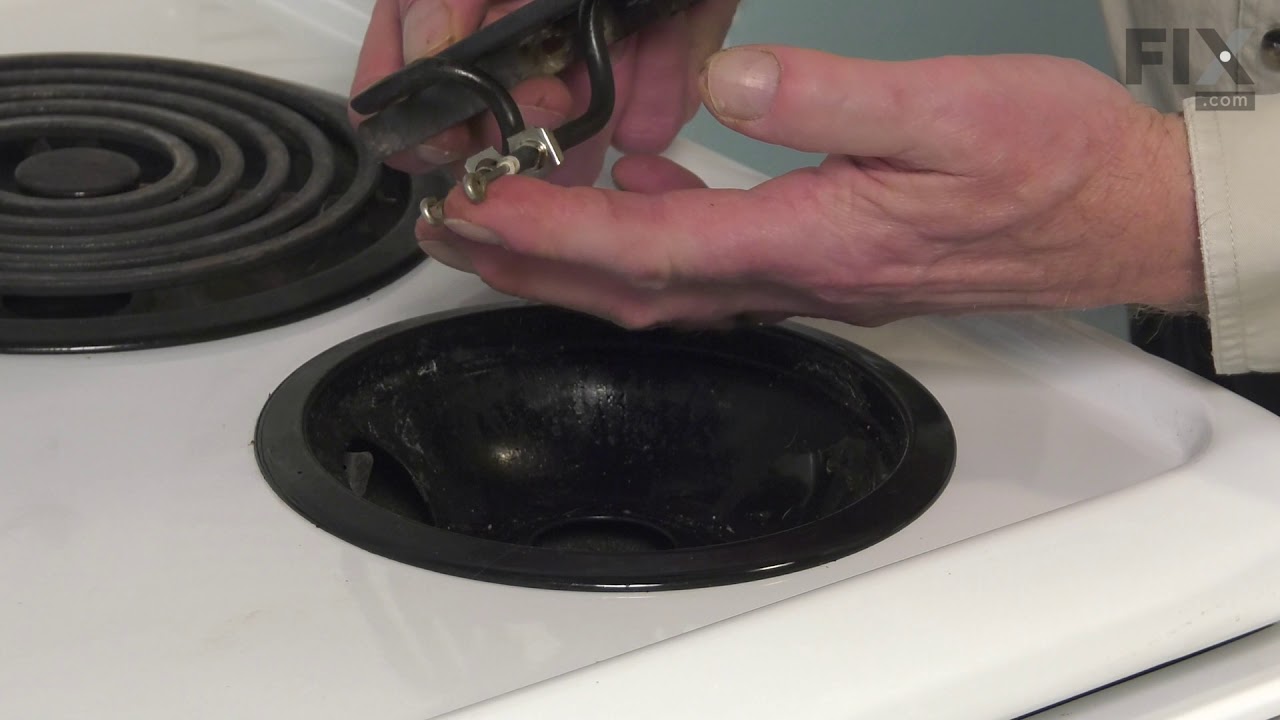
This element is a genuine OEM replacement part, has looped terminal ends, comes with a black medallion center, and fits most electric ranges. All burners are made of a heating wire that produces heat from electricity. Remove the non-functional burner element from the terminal block (or receptacle). Use a multi-meter to check for continuit...Read morey. Check the end of the terminals for corrosion or heat damage. If there is corrosion or heat damage, replace the whole terminal block or receptacle at the same time you replace the damaged coil. Before you start this repair, make sure that the element is turned off and cool to the touch.
Read less

$40.60
In Stock
Main Terminal Block Kit
Part #5304409888
Terminal block kits are also known as terminal boards, or terminal strips, and they are found in a wide variety of household appliances. Most often in ranges, wall ovens, and dryers. This kit attaches the power cord to the inner wiring of your appliance. If the terminal block is faulty, your appliance will not get the power it needs to op...Read moreerate properly. When removing the old block pay close attention to the wire placement, this will make installing your new part much easier. If you notice any of the wires or wire terminals are corroded or damaged they will also need to be replaced.
Read less

$15.35
In Stock
Drip Bowl - 8 Inch
Part #A316222301
This is an 8-inch drip bowl for your range or cooktop. It is made of porcelain and is black in color. Place the drip pan under your burner to catch food that may drip or spill while you cook. It is 10 inches in total diameter. Be sure to wait until drip pan and burner are cool to the touch before completing this replacement.

$95.93
In Stock
GLASS
Part #5304503232
This tempered glass is supplied by the original manufacturer and measures 20 inches by 13 inches. It is an inner door glass, designed for use in ranges/ovens and has several purposes which include providing heat insulation, acting as protective barrier, and providing an opening to monitor the cooking/heating process. Over time the glass c...Read morean break or break from impact, thermal shock, or improper installation. If the glass is defective, it needs to be replaced promptly to avoid leaking, loss of insulation and potential harm to the user. Remove any fasteners or clips that secure the glass and carefully dispose of it. Position the new glass in the same position and secure it appropriately.
Read less

$12.58
In Stock
Drip Bowl - 6 Inch
Part #A316222201
This drip bowl is a genuine OEM replacement part for your stovetop. It is black in color, made of porcelain, and six inches in diameter. To replace the drip pan, you simply need to remove the burner element. It may be held in place by a spring-loaded mechanism. Pop out the burner, remove the old drip pan and clean up any cooking residue, and replace with the new drip pan.

$53.85
In Stock
Temperature Sensor
Part #5304504897
The temperature sensor, also known as an oven probe, helps measure the temperature within the oven cavity. If your oven is too hot, not heating evenly, has little to no heat when baking, or flashing F3/F4 error messages on your control board, you may need to replace this part. This part measures 6" long and is made of metal. Please make s...Read moreure to disconnect the power to your oven range before starting this repair. This temperature sensor is a genuine OEM part.
Read less

$23.05
In Stock
Steel Washer
Part #316008401
This steel washer is also known as the range washer and is used on your oven door. The measurements for the steel washer are a three quarter inch outer diameter, and a one quarter inch inner diameter. This washer is an OEM part, made of steel, which is sourced directly from the manufacturer. This specific steel washer is used with your ra...Read morenge, to secure the inner and outer door together and to secure the oven door handle back in place. Users have ranked this repair as a simple installation that should take you less than fifteen minutes to complete.
Read less

$26.35
In Stock

$33.95
Special Order

$80.40
In Stock
Surface Burner Switch - 240V
Part #318293831
This range surface element switch, also known as an infinite switch or burner control switch, regulates the heat output of the large 8-inch surface burner on your stove, oven, or cooktop. Designed for precise temperature control, it ensures consistent cooking performance. Ideal for replacing a faulty switch, this OEM component restores pr...Read moreoper burner operation. Installation typically involves disconnecting power, removing the old switch, and securing the new one in place.
Read less

$31.47
In Stock
Door Spacer
Part #318165800
Common Symptoms of the 79042523317
How this model fails, and the parts that fix it.
Element will not heat
Fixed by
these parts
these parts


Show All
Little to no heat when baking
Fixed by
these parts
these parts

Show All
Will Not Start
Fixed by
these parts
these parts
Show All
Oven is too hot
Fixed by
these parts
these parts
Show All
Oven not heating evenly
Fixed by
these parts
these parts
Show All
Little to no heat when broiling
Fixed by
these parts
these parts
Show All
Watch our pros, then fix it yourself.


See how others fixed this model. Time, tools, difficulty, and steps that lead to victory!
View More