


 My Orders




79036689502 Kenmore Range - Overview
Diagrams for 79036689502
See every part. Know exactly what you need.

Enter a part description. DIY Heroes keep it simple, eg. "belt" or "pump".
Search filter:
Clear Filter
Your search term must have 3 or more characters.

$47.25
In Stock
Flat Style Oven Igniter
Part #5303935066
This is a flat style oven igniter used to light the oven burner in a gas range. When the element in this igniter glows white hot, the gas is released from the safety valves, which lights the oven burner. If your range is not heating properly, or not heating at all, it might indicate a problem with this part. If the element in the igniter ...Read moreis only glowing red or orange, or not glowing at all, it will need to be replaced. This is a shorter style igniter. It is 3.72 inches in length, and it features an 18-inch wire lead. This kit includes the igniter, an instruction sheet, a mounting bracket, and the two ceramic wire nuts needed for installation. This part has an amperage range of 3.2 to 3.6. Unplug your appliance before you start any repair work.
Read less

$27.45
In Stock
Light Bulb
Part #316538904
This OEM 40 watt appliance light bulb is used for some ranges, refrigerators, freezers, and microwaves. Simply locate the existing bulb, unscrew it from its socket, and replace with new light bulb. If the existing bulb is broken in the socket, disconnect the power to the refrigerator and use a pair of needle nose pliers to grip the intern...Read moreal fragments of the bulb to unscrew. Replace with the new bulb and reconnect the power to the refrigerator. These bulbs are sold individually and are a commonly replaced part; consider ordering a spare.
Read less

$62.65
In Stock
Temperature Sensor
Part #316217002
The oven temperature sensor for your range may also be called a probe. The quick connect on this part may differ than your original piece. If the temperature sensor does not fit you will have to cut off the quick connect, and then wire together with porcelain wire nuts. The function of the oven temperature sensor is to measure the tempera...Read moreture in the oven and signal the other heating components. Before you begin this repair make sure to disconnect the power to the range. The tools required for this installation include a number two Phillips screwdriver or a number two square head screwdriver, and maybe a pair of wire strippers and crimpers.
Read less

$26.37
In Stock
LENS
Part #5304524341
The Frigidaire light bulb lens covers the interior light bulb in an oven. No tools are necessary to replace this item. After unplugging the appliance, slide off the wire bracket to remove the existing light bulb lens. Be sure to remove all broken glass, if applicable, before installing the new lens. It is recommended to check the state of...Read more the light bulb while the lens is off. This part is made of glass. The lens is a genuine Frigidaire part, sourced directly from the manufacturer, and is sold individually.
Read less

$95.93
In Stock
GLASS
Part #5304503232
This tempered glass is supplied by the original manufacturer and measures 20 inches by 13 inches. It is an inner door glass, designed for use in ranges/ovens and has several purposes which include providing heat insulation, acting as protective barrier, and providing an opening to monitor the cooking/heating process. Over time the glass c...Read morean break or break from impact, thermal shock, or improper installation. If the glass is defective, it needs to be replaced promptly to avoid leaking, loss of insulation and potential harm to the user. Remove any fasteners or clips that secure the glass and carefully dispose of it. Position the new glass in the same position and secure it appropriately.
Read less

$25.25
In Stock
Mounting Screw
Part #5304453707

$23.05
In Stock
Steel Washer
Part #316008401
This steel washer is also known as the range washer and is used on your oven door. The measurements for the steel washer are a three quarter inch outer diameter, and a one quarter inch inner diameter. This washer is an OEM part, made of steel, which is sourced directly from the manufacturer. This specific steel washer is used with your ra...Read morenge, to secure the inner and outer door together and to secure the oven door handle back in place. Users have ranked this repair as a simple installation that should take you less than fifteen minutes to complete.
Read less

$63.59
In Stock
Oven Light Socket
Part #316116400
The oven light socket allows you to screw in a light bulb so that you can see the inside of your oven. The light socket is located in the back of your oven, so you will need to remove the back panel to access the socket for the repair. You will also need to remove the current light bulb and the light lens cover so that the old socket can ...Read morebe removed. As you will be working around electrical circuits for this repair, be sure to disconnect the power source from the oven before you begin work on the oven.
Read less

$22.52
In Stock

$59.17
In Stock

$56.90
In Stock
Center Burner Orifice - 9.5K
Part #316237902
This top burner orifice is engineered for use in residential gas ranges and cooktops, specifically designed to regulate the flow of natural gas to a 9,500 BTU burner. Its precision-machined opening ensures consistent and efficient flame output, contributing to optimal cooking performance. Compatible with a variety of models from Frigidair...Read moree, Electrolux, and other related brands, this OEM component supports safe and reliable operation. Installation involves replacing the existing orifice within the burner assembly to restore proper gas flow and heat distribution. Crafted for durability and accuracy, it plays a vital role in maintaining the efficiency and safety of your appliance.
Read less

No Longer Available
Range Rack
Part #318262516
Meet the 2 Freezer Ice Bucket, your at-home cooling solution. This frid2 replacement part is more than just an add-on?it's the key to always having fresh ice cubes at your disposal for those scorching summer days, party cocktail hours, or simply keeping your bevera2s super cool. Fitting comfortably in the freezer section of your refri2r...Read moreator, this 2 Freezer Ice Bucket is specially crafted to store ice efficiently for all your cooling needs?be it for a solitary sip or a lar2 gathering. Why is it a must-have? Well, we all know there's nothing more frustrating than reaching for ice and finding an empty tray. With this dynamically designed ice bucket, you'll kick those ice-shorta2 moments to the curb and always stay refreshed. For the seamless performance of your refri2rator and your peace of mind, it's worth noting the importance of correct placement and usa2 of this ice bucket. A quick glance at your refri2rator owner's manual can guide you through a smooth, hassle-free installation process. Ensuring it's properly installed not only keeps your appliance working like new, but also boosts efficiency saving you energy and, in turn, money over time. Compatible with many 2 models, this 2 Freezer Ice Bucket is known for its sturdy construction and long-time performance. So why wait? Upgrade your refri2rator today with the 2 Freezer Ice Bucket and never worry about running out of ice again. Your drinks?and your guests?will thank you.
Read less
Manuals & Care Guides for 79036689502
Click to downloadCommon Symptoms of the 79036689502
How this model fails, and the parts that fix it.
Gas igniter glows, but will not light
Fixed by
these parts
these parts


Show All
Little to no heat when baking
Fixed by
these parts
these parts

Show All
Will Not Start
Fixed by
these parts
these parts
Show All
Element will not heat
Fixed by
these parts
these parts
Show All
Oven is too hot
Fixed by
these parts
these parts
Show All
Oven not heating evenly
Fixed by
these parts
these parts
Show All
Gas smell
Fixed by
these parts
these parts
Show All
Door won’t close
Fixed by
these parts
these parts


Show All
Little to no heat when broiling
Fixed by
these parts
these parts
Show All
Touchpad does not respond
Fixed by
these parts
these parts

Show All
Watch our pros, then fix it yourself.

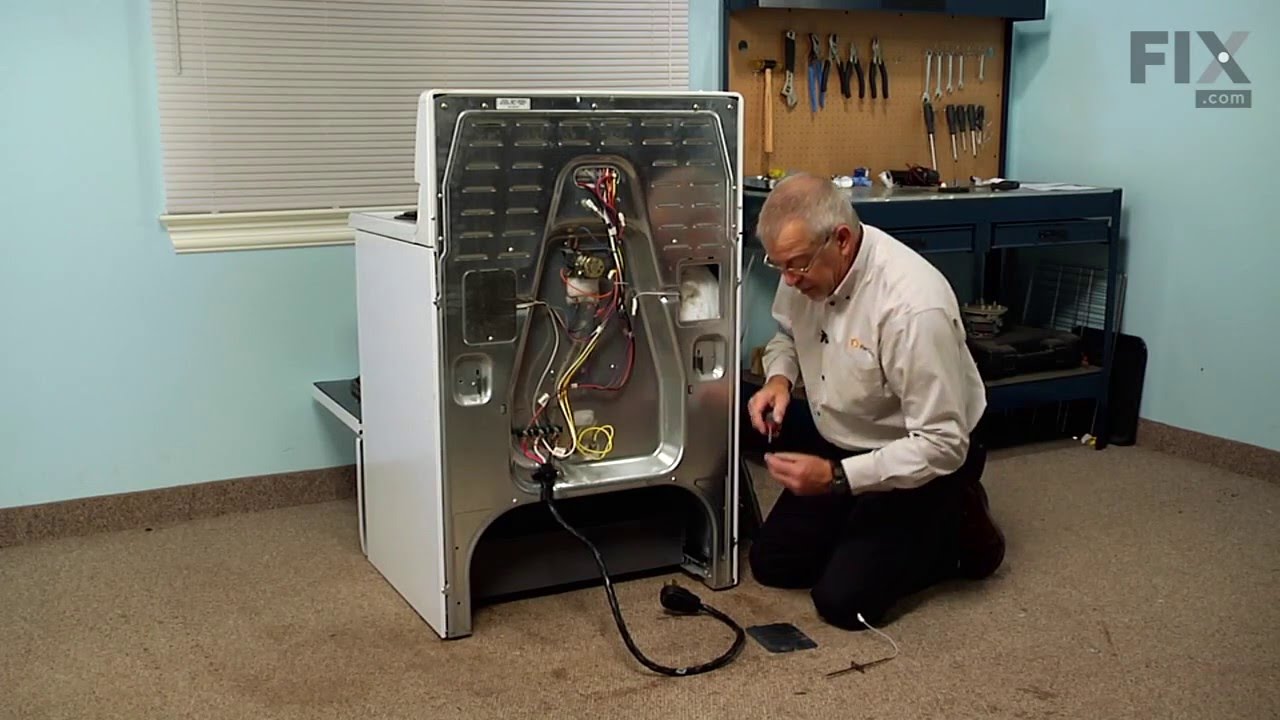


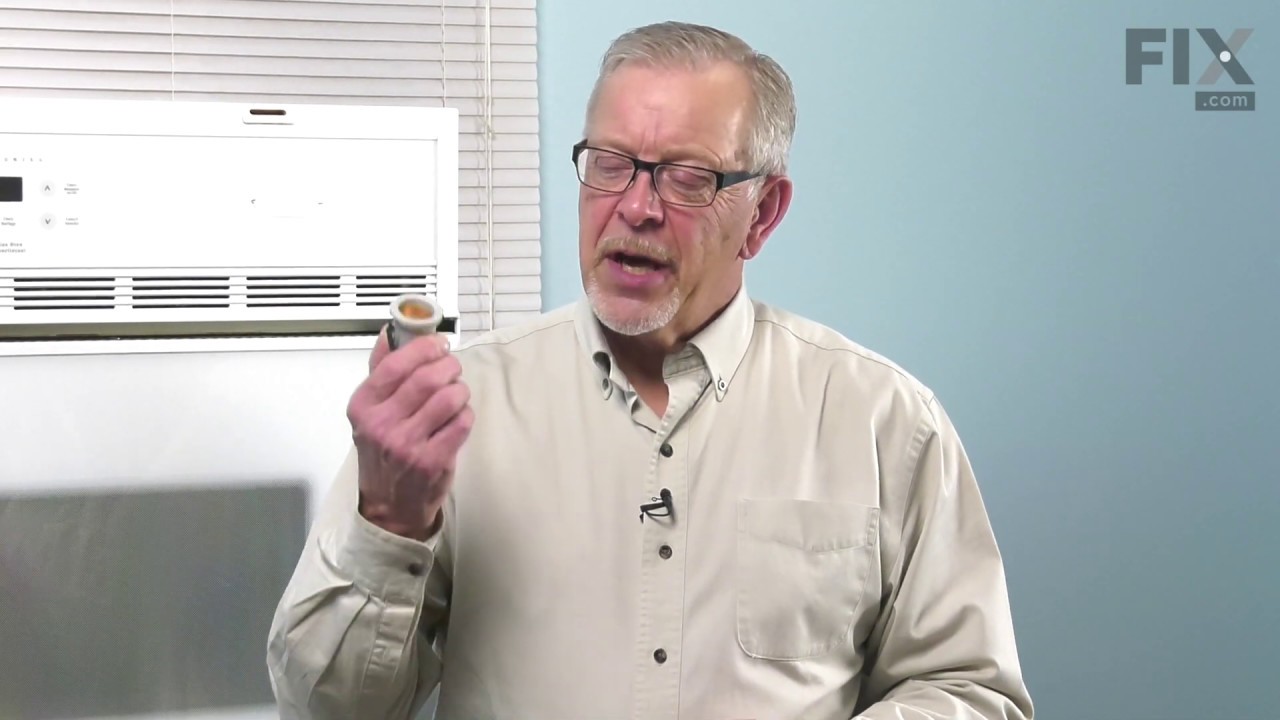
See how others fixed this model. Time, tools, difficulty, and steps that lead to victory!
View More