


 My Orders




79032643318 Kenmore Range - Overview

Enter a part description. DIY Heroes keep it simple, eg. "belt" or "pump".
Search filter:
Clear Filter
Your search term must have 3 or more characters.

$60.51
In Stock

$39.82
In Stock
CAP
Part #5304508442
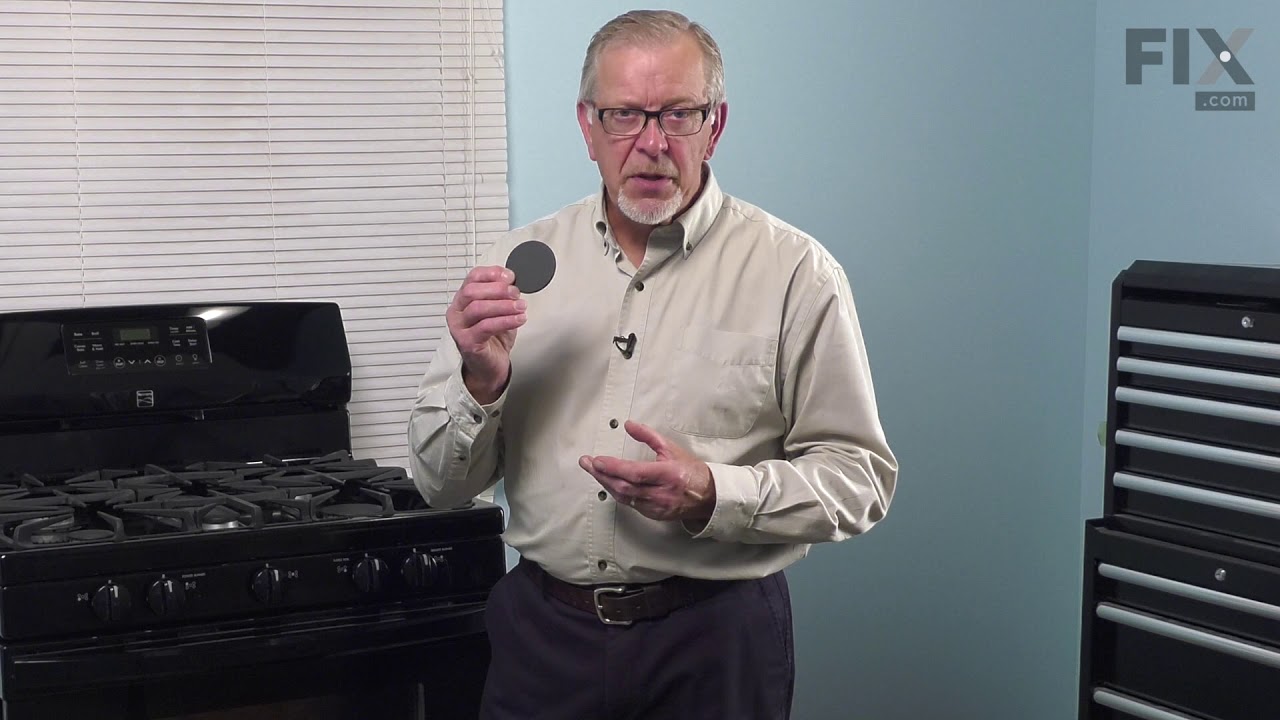
The surface Meduim 9.5K burner cap is located on the top of the burner head and is used in ranges and ovens. The burner cap helps spread out the burner flame for even heating, and protects the burner head from cooking spills. Without the cap you can have a burning gas torch. If your cap is missing or is discolored, replacing this part ca...Read moren solve the issue. This part comes in the color black. Remember to unplug your range from the power source and allow surface to cool before installing this part. Refer to the manual provided by the manufacturer for further installation instructions.
Read less

$21.79
In Stock
Igniter/Orifice Mounting Screw
Part #316240600
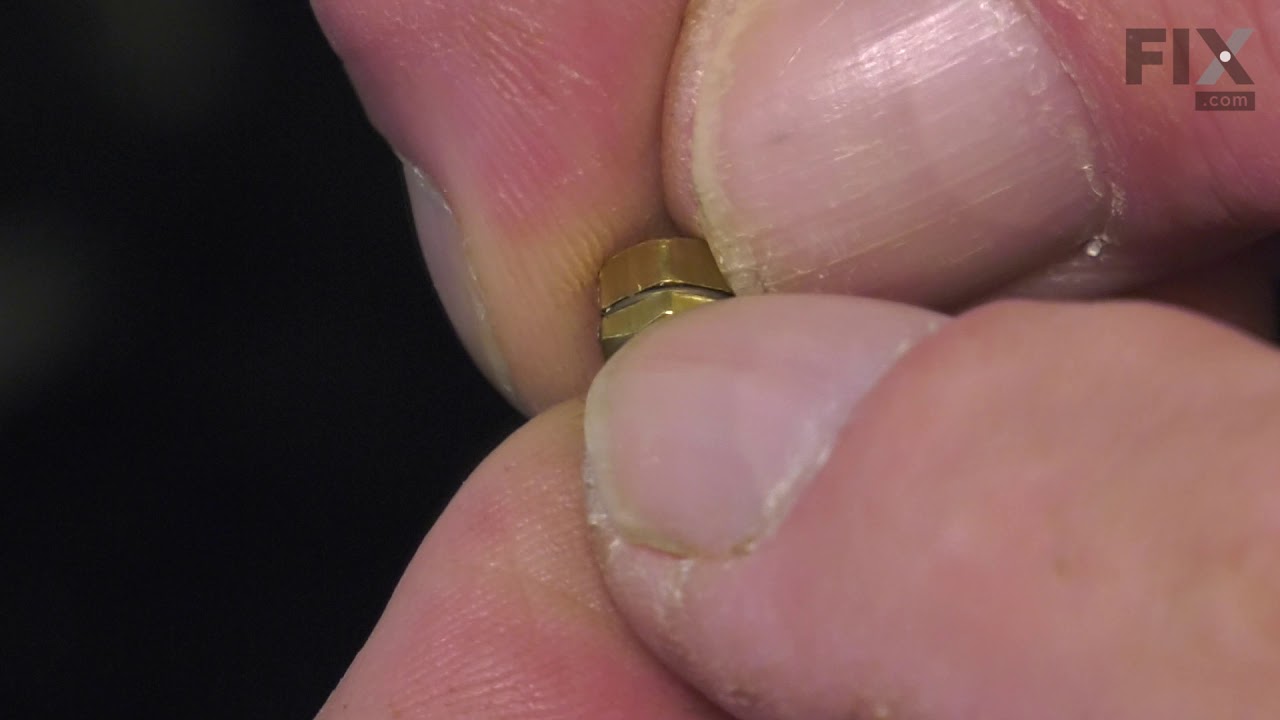
This part is the igniter/orifice mounting screw for your cooktop or range. It is approximately ½ an inch in length and is made of metal. The mounting screw connects the orifice to the cooktop. If the orifice is loose, or the screw is missing, this is the part that will replace it. This part is sold individually and is a genuine OEM part sourced directly from the manufacturer.

$36.30
In Stock
Left Front Orifice - 9.5K
Part #316527500
This orifice is a replacement fuel-delivery component designed to regulate gas flow to a burner. It plays a critical role in maintaining proper flame size and efficiency and is commonly replaced when flow becomes restricted or uneven.

$26.35
In Stock

$38.71
In Stock

$80.25
In Stock
Outer Drawer Glide
Part #316105501
As per the factory, the original part was 19 3/4 inches and the new substituted part is 16 1/4 inches. According to the factory, this part will still work with your appliance.

$54.95
In Stock
Sealed Burner - 9.5K
Part #316558300
This sealed burner delivers consistent heat output for precise cooking performance. Its design helps contain spills and simplifies cleanup while ensuring efficient flame control. Installation is straightforward for restoring your cooktop’s functionality.

$31.47
In Stock
Door Spacer
Part #318165800

$13.77
In Stock
SCREW
Part #5304507924
This is an authentic door handle mounting screw, which works with ranges, wall ovens and microwaves.

$41.17
In Stock
Convection Fan Blade
Part #318398302
This convection fan blade is designed for use with various makes and models of range and oven and is sold as an individual part. Made of metal and measuring approximately 4.75-inches in diameter, this genuine OEM fan blade works with the convection motor to circulate and distribute heat evenly throughout the oven. If your oven is not gett...Read moreing hot enough or the heat is not circulating properly, or if the fan blade in your oven has become warped, damaged, or chipped, it needs to be replaced immediately. To replace the fan blade, disconnect your range from the power and locate the fan assembly. With the appropriate screwdriver and wrench, remove any assembly covers and the securing nut from the blade. Once the nut is removed, install the new blade and secure it and re-install the cover.
Read less

$216.60
In Stock
VALVE
Part #316031501
This dual gas safety valve is a critical oven component designed to regulate and safeguard the flow of gas to both the bake and broil burners. Engineered for safe operation, the valve remains closed until the igniter reaches the proper operating temperature, ensuring gas is released only when ignition can occur and preventing unburned gas...Read more from entering the oven cavity. By precisely managing gas flow, it supports consistent heating performance, reliable ignition, and safe cooking operation. Replacement is commonly required when the igniter glows but the burner does not light, the oven fails to heat properly, heating is inconsistent, or the valve no longer shuts off completely. Installing a properly functioning safety valve helps restore dependable oven operation, stable temperatures, and safe day-to-day use.
Read less
Common Symptoms of the 79032643318
How this model fails, and the parts that fix it.

Watch our pros, then fix it yourself.

See how others fixed this model. Time, tools, difficulty, and steps that lead to victory!
View More