


 My Orders




79032632319 Kenmore Range - Overview

Enter a part description. DIY Heroes keep it simple, eg. "belt" or "pump".
Search filter:
Clear Filter
Your search term must have 3 or more characters.

$42.82
In Stock
CAP
Part #5304508441
Sold individually. This part helps the flame to spread for even heat. Also protects your burner head from spills.

$21.79
In Stock
Igniter/Orifice Mounting Screw
Part #316240600
This part is the igniter/orifice mounting screw for your cooktop or range. It is approximately ½ an inch in length and is made of metal. The mounting screw connects the orifice to the cooktop. If the orifice is loose, or the screw is missing, this is the part that will replace it. This part is sold individually and is a genuine OEM part sourced directly from the manufacturer.

$36.30
In Stock
Left Front Orifice - 9.5K
Part #316527500
This orifice is a replacement fuel-delivery component designed to regulate gas flow to a burner. It plays a critical role in maintaining proper flame size and efficiency and is commonly replaced when flow becomes restricted or uneven.

$26.35
In Stock

$38.71
In Stock

$75.92
In Stock
SPARK MODULE
Part #808608804
This part sends enough current to the igniter to create a spark to the bottom of the burner cap.

$85.75
In Stock

$13.77
In Stock
SCREW
Part #5304507924
This is an authentic door handle mounting screw, which works with ranges, wall ovens and microwaves.

$59.35
In Stock
Sealed Burner - 5K
Part #316438200
This sealed surface burner delivers controlled heat for precise cooking while preventing spills from entering internal components. Designed for efficiency and easy cleaning, it is replaced when ignition fails, heat output weakens, or burner performance becomes inconsistent.

$33.90
In Stock
Fan Blade Retainer Nut
Part #316136600
This fan blade retainer nut in your oven secures the fan blade onto the motor shaft, preventing it from coming loose during operation. You can typically find it at the back of your oven behind a cover. If you notice that the fan blade becomes wobbly or does not rotate smoothly, or your oven starts to make rattling or scraping sounds, the ...Read morenut may be damaged. If the fan blade cannot spin properly, your food may cook unevenly. Your oven will also work harder and consume more energy to maintain the desired temperature. To access the nut, you will need to remove the back panel of your oven. Remove any screws or release any clips holding it using a screwdriver. To remove the nut itself, you will need either a wrench or a pair of pliers to loosen it from the motor shaft. The fan blade is sold separately from this genuine OEM nut.
Read less

$53.85
In Stock
Light Bulb
Part #318946500
This replacement light bulb provides clear illumination to improve visibility during appliance operation. It is commonly replaced when the original bulb burns out, flickers, or no longer produces adequate light.

$89.30
In Stock
Door Glass
Part #316446401
This oven door glass panel forms the clear outer viewing window of the oven door while helping maintain proper internal cooking temperatures. Designed for ovens with air-wash style airflow, it helps keep the glass clearer during use so food is easy to monitor while cooking. The glass has a clear, transparent finish and serves as a thermal...Read more barrier to support efficient oven performance. Replacement is recommended if the existing glass is cracked, discoloured, loose, or damaged, as this can affect heat retention and visibility. Installation should be completed with the oven powered off and fully cooled, using protective gloves and eye protection for safety.
Read less
Common Symptoms of the 79032632319
How this model fails, and the parts that fix it.


Watch our pros, then fix it yourself.
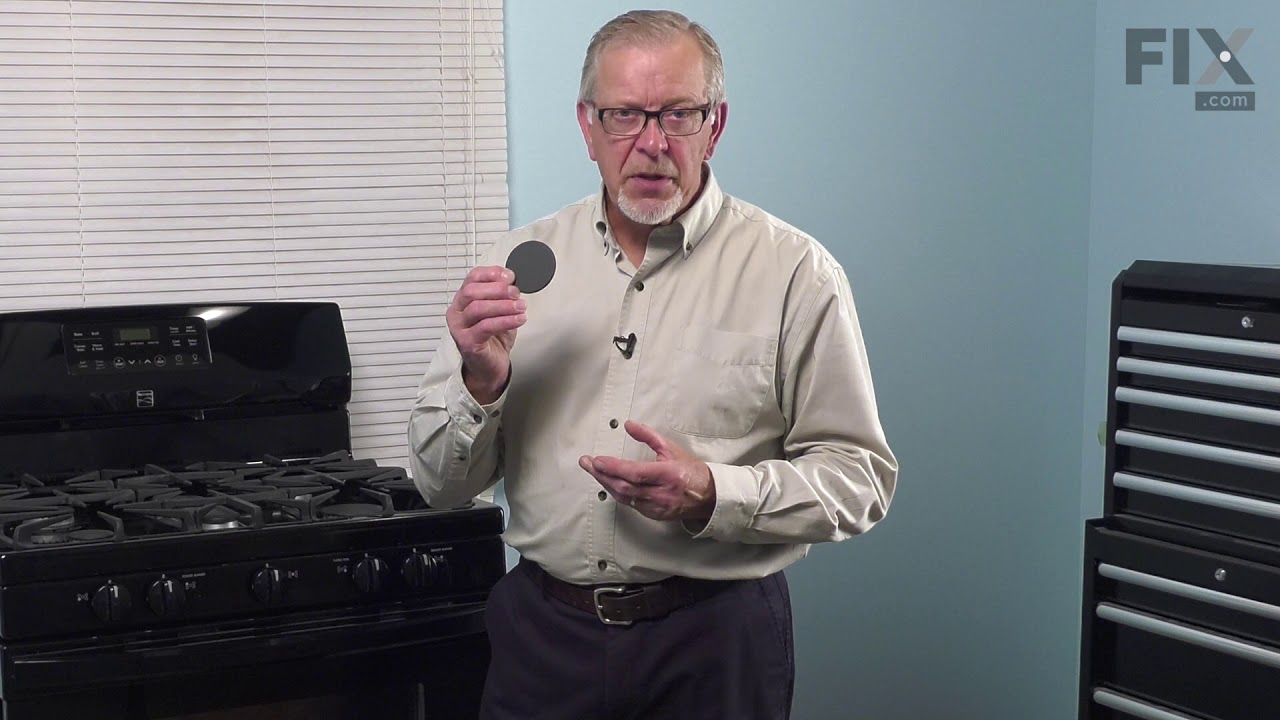
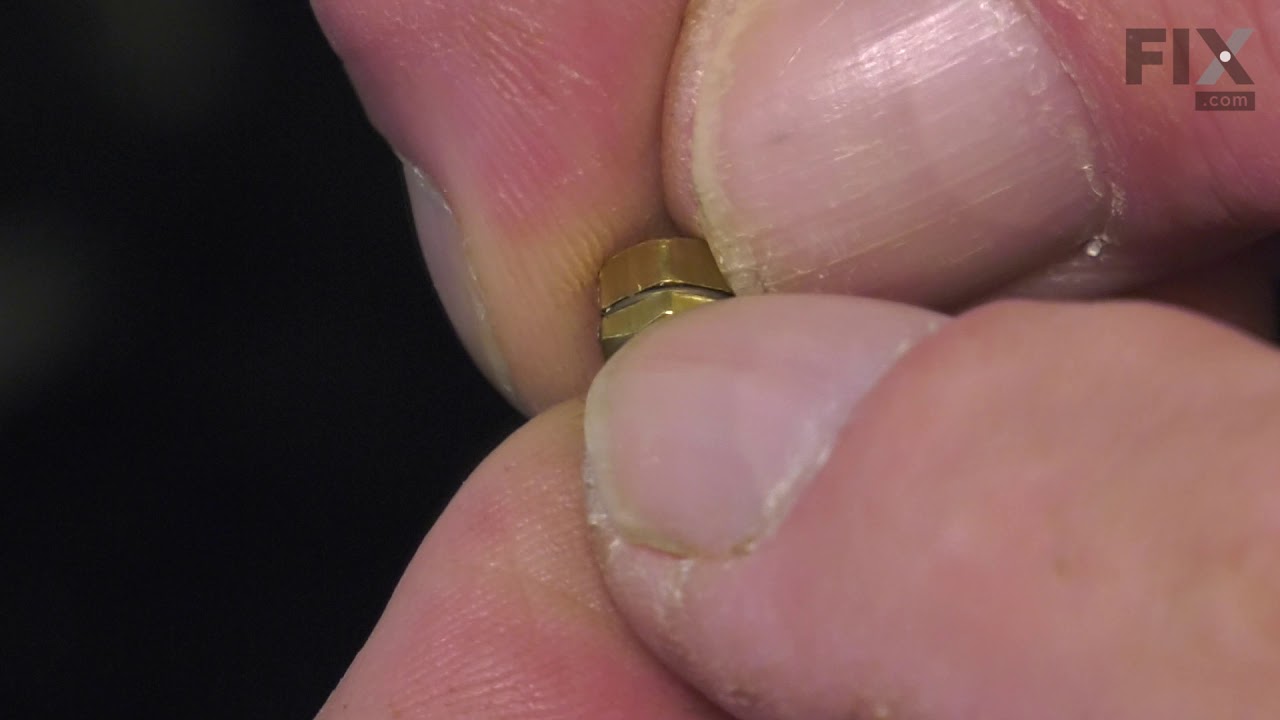
See how others fixed this model. Time, tools, difficulty, and steps that lead to victory!
View More