


 My Orders




79032363411 Kenmore Range - Overview

Enter a part description. DIY Heroes keep it simple, eg. "belt" or "pump".
Search filter:
Clear Filter
Your search term must have 3 or more characters.

$60.51
In Stock

$42.82
In Stock
CAP
Part #5304508441
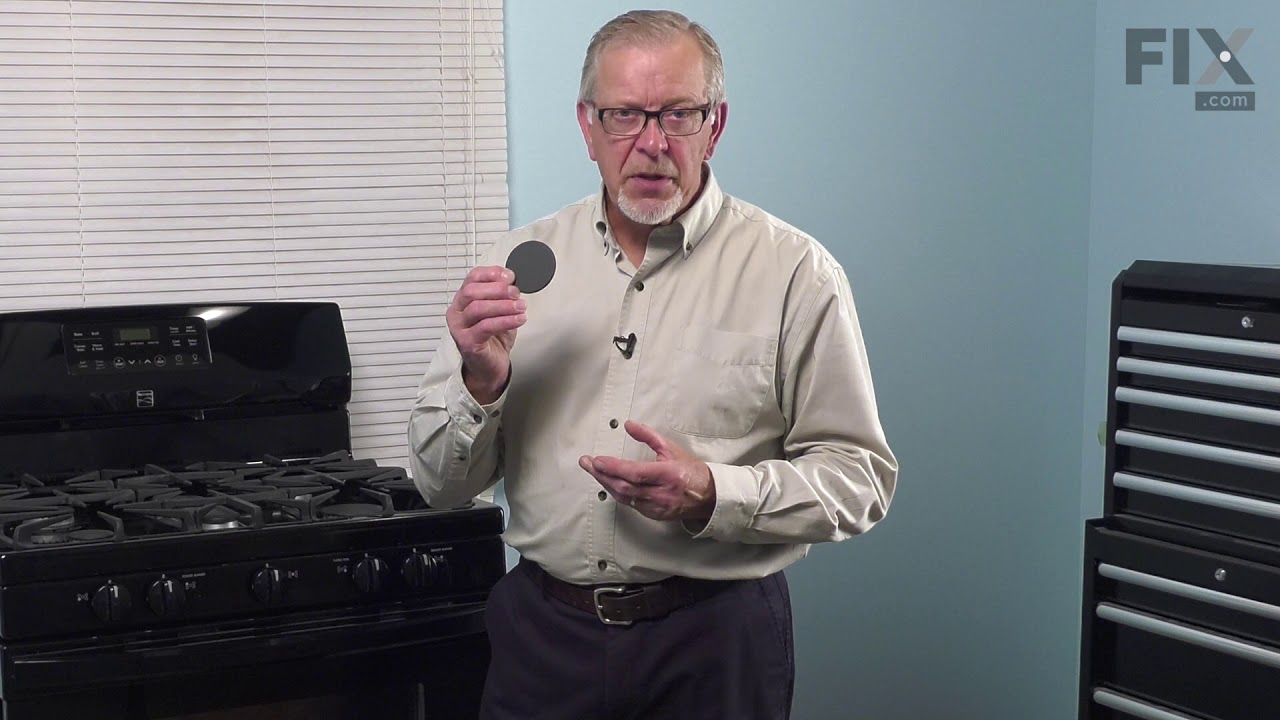
Sold individually. This part helps the flame to spread for even heat. Also protects your burner head from spills.

$50.55
In Stock
CAP
Part #5304508443
This black burner cap is a genuine OEM part made of a durable material capable of reaching 14,000-BTU, with an approximately 3-inch diameter. It is compatible with various models of ranges and cooktops, where it helps to distribute heat evenly and protects the burner assembly from thermal damage. Since this cap is sold as an individual pa...Read morert, consider how many caps you need to replace on your stovetop before ordering. Burner caps often need to be replaced if they are damaged or worn, no longer providing even heat distribution, or if they simply no longer look good. To replace this cap, make sure the stovetop is cool, and then simply lift any necessary grates to get access to the cap. Then lift and swap out the old cap for the new one, making sure it is settled properly on the burner before you reseat the grate(s).
Read less

$26.35
In Stock

$59.35
In Stock
Light Indicator - 125v
Part #316022500

$8.60
In Stock
Screw
Part #5303288565
This is an authentic mounting screw, which works with ranges, wall ovens, cooktops and warming drawers.

$38.71
In Stock

$80.25
In Stock
Spark Module
Part #5304508269
This spark module provides the electrical spark needed to ignite surface burners on a gas range or cooktop, helping ensure safe and reliable burner operation. It is commonly replaced when burners will not light, sparking is weak or inconsistent, or clicking occurs without ignition. This component plays a key role in proper burner startup ...Read moreduring normal cooking use. Installation generally involves disconnecting power and gas, accessing the spark module beneath the cooktop, and carefully reconnecting the wiring during replacement; professional installation is recommended to ensure correct and safe operation.
Read less

$86.02
In Stock
Meat Probe Sensor
Part #5304504202
This meat probe sensor is an authentic manufacturer replacement part for cooking appliances that have a built-in meat probe feature. It is plugged into the receptacle assembly for use inside the appliance. The sensor measures the internal temperature of meat during the cooking process and sends the readings to the control panel where they...Read more can be viewed in real time. This ensures that the food is cooked to your desired level of doneness. Over time the internal sensor components may become faulty or the probe can fail due to mechanical damage resulting in inaccurate temperature readings, and failure to communicate with the control panel. Follow the sensor cable to the insertion point in the oven cavity and disconnect the faulty sensor. Install the new sensor into the insertion point and reattach the connectors to complete the repair.
Read less

$35.14
In Stock

$54.95
In Stock
Sealed Burner - 9.5K
Part #316558300
This sealed burner delivers consistent heat output for precise cooking performance. Its design helps contain spills and simplifies cleanup while ensuring efficient flame control. Installation is straightforward for restoring your cooktop’s functionality.

$85.75
In Stock
Common Symptoms of the 79032363411
How this model fails, and the parts that fix it.


Watch our pros, then fix it yourself.

See how others fixed this model. Time, tools, difficulty, and steps that lead to victory!
View More